.webp)
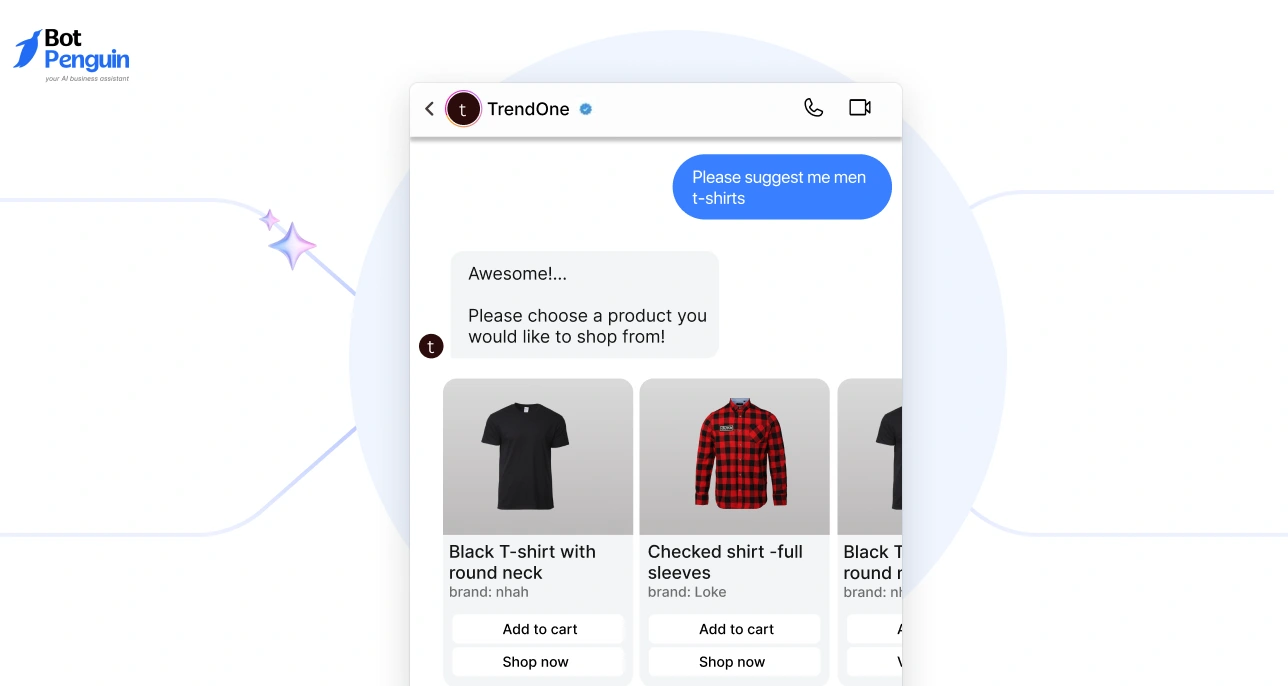
If you’ve spent any time scrolling through Instagram, you’ve likely come across profiles with a Shop Now button sitting right beneath their bio.
But what exactly is it?
The Shop Now button is part of Instagram’s built-in shopping feature. It lets businesses display their products directly on their profile, allowing followers to browse, tap, and even purchase without leaving the app.
And why does it matter? Because it removes friction. Instead of sending followers to external links or managing orders through DMs, you give them a direct and professional shopping experience. It builds trust, saves time, and helps turn casual views into real sales — all within the platform they’re already using.
Here’s the good news: you can add this button to your own profile too.
In this blog, we’ll guide you through everything — from confirming if you’re eligible to setting up Instagram Shopping step by step.
And if you’ve already tried but things didn’t go as planned, don’t worry, we’ll show you exactly how to fix the most common issues and get your shop button working.
Are You Eligible to Add the Shop Now Button on Instagram?
Instagram Shopping can be a powerful sales tool — but not every account qualifies to use it right away.
Before you invest time setting things up, it’s important to know whether your account meets Instagram’s current requirements. This ensures you won’t run into dead ends mid-process.
Many users assume they can add the Shop Now button by simply changing a setting. In reality, Instagram has specific eligibility rules that control who can sell directly through the platform. Missing just one of these can prevent your Shop from being approved or delay your setup indefinitely.
For example, if your account isn’t set up as a Business or Creator profile, you won’t be able to submit your shop for review. If your product catalog isn’t linked through Commerce Manager, the option to tag products may never appear.
These issues often lead to frustration — especially when the Shop button is visible on competitor accounts but not yours.
By confirming your eligibility up front, you eliminate guesswork and start with a clear path.
✅ Instagram Shop Eligibility Checklist

Here’s what you need to have in place before proceeding:
- Instagram Business or Creator account (not Personal)
- Connected Facebook Page that’s active and properly linked
- Ownership or access to a product catalog (via Commerce Manager, Shopify, or similar)
- Products that comply with Meta’s Commerce Policies
- A website domain you can verify (unless you’re using supported partner platforms
- Operating in a supported country (Instagram Shopping isn’t available everywhere)
Meeting all of these criteria puts your account in a strong position to unlock Instagram Shopping features, including the Shop and Shop Now buttons.
Once these boxes are checked, the rest of the setup process becomes much more straightforward.
How to Add the Shop Now Button on Instagram (Step-by-Step)
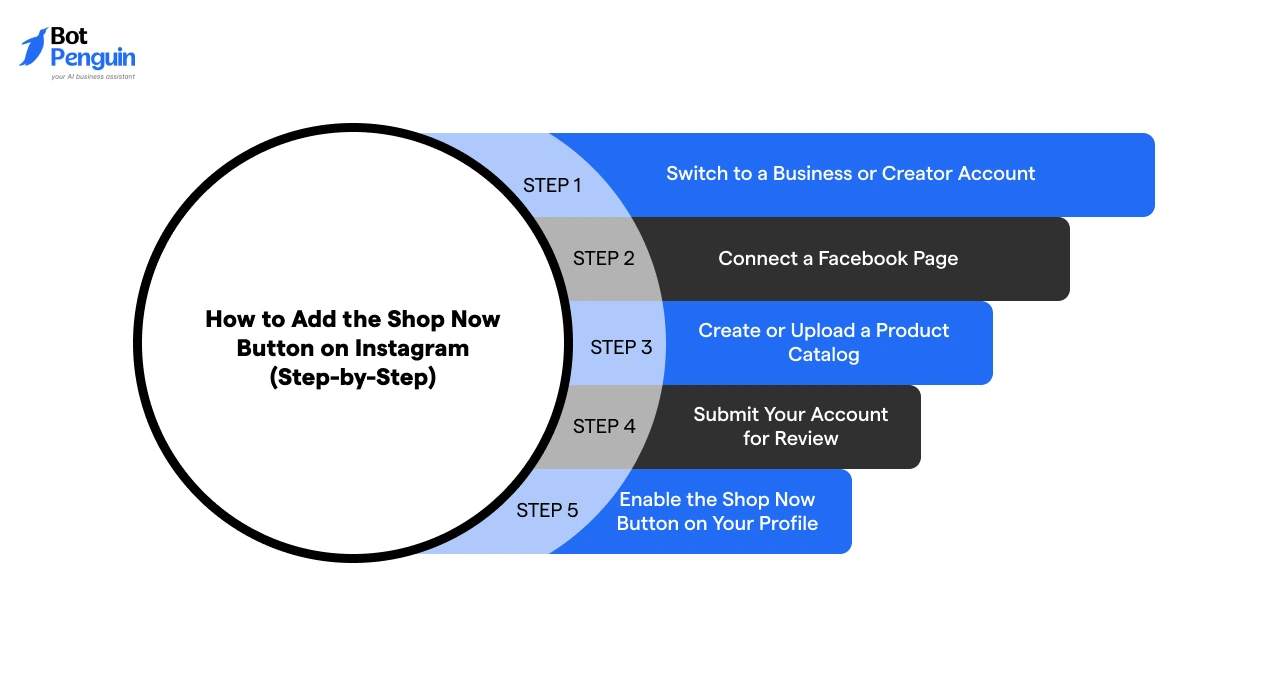
Once your account meets the eligibility requirements and you’ve chosen the setup method that fits your business, the next step is to actually add the Shop or Shop Now button to your Instagram profile.
This process involves connecting your product catalog, submitting your account for approval, and enabling the shopping feature within the Instagram app.
Here’s how to do it from start to finish:
Step 1: Switch to a Business or Creator Account
Instagram Shopping features are only available on Business or Creator accounts. If you're still using a personal profile, switch it now.
How to switch:
- Go to your Instagram profile
- Tap the menu (☰) > Settings and Privacy
- Scroll to Account type and tools > Switch to Professional Account
- Choose either Business or Creator
Step 2: Connect a Facebook Page
Your Instagram account must be linked to a Facebook Page, not just a Facebook profile.
To connect:
- Go to Settings and Privacy > Account Center
- Tap Add Facebook Account
- Log into the Facebook account that manages your business Page
This connection allows Meta to manage your product catalog and commerce approvals through one system.
Step 3: Create or Upload a Product Catalog
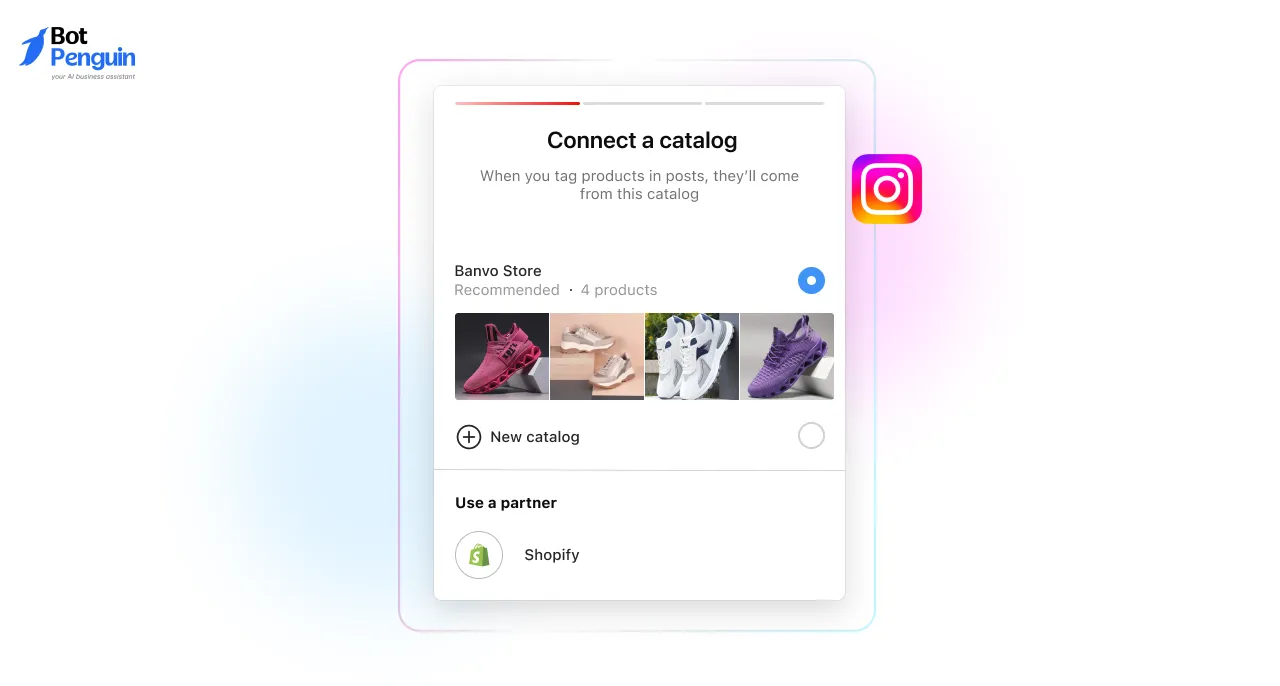
Depending on your method (Shopify, manual, or product feed), create your catalog via Facebook Commerce Manager.
Options:
- Shopify/WooCommerce: Use your e-commerce platform’s native Meta integration to sync your products automatically
- Manual Setup: Go to Meta Commerce Manager > Add Catalog > choose E-commerce
- Upload product images, titles, prices, links, and availability manually
- CSV/XML Upload: Select Use Data Feeds in Catalog Manager and upload your product file
Step 4: Submit Your Account for Review
Once your catalog is linked and your Facebook Page is connected, you need to submit your account for Instagram Shopping review.
How to submit:
- Go to Instagram app > Settings > Business > Set Up Instagram Shopping
- Follow the prompts to submit for review
- Approval can take from a few hours to a few days. You’ll receive a notification once it’s complete.
Step 5: Enable the Shop Now Button on Your Profile
After approval, it’s time to activate the shopping feature.
To enable it:
- Go to Settings > Business > Shopping
- Select the product catalog you want to connect
- Tap Done
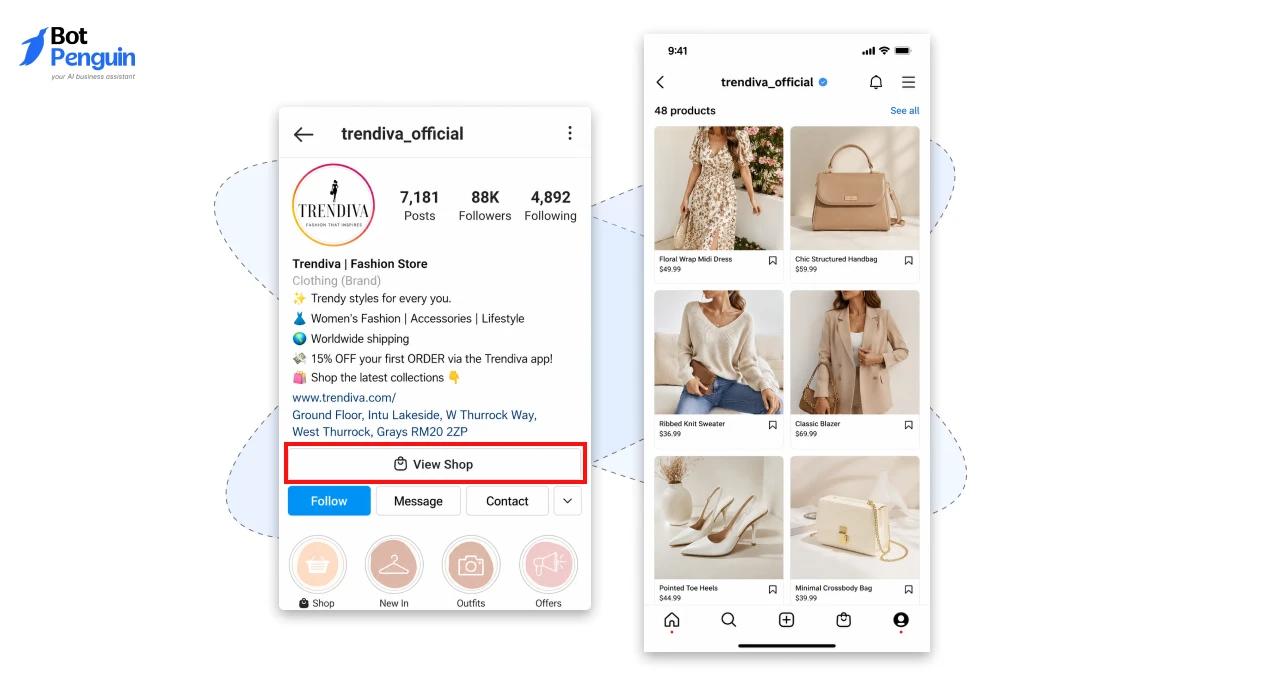
Your Instagram profile will now show a Shop or View Shop button (depending on your setup and region). You’ll also be able to tag products in feed posts, Stories, Reels, and Lives.
At this point, your Shop is officially active. Next, we’ll show you how to add products, tag them in content, and make your first post shoppable.
Try BotPenguin
🛍️ How to Add Products to Your Instagram Shop
Once your Instagram Shop is connected and approved, the next crucial step is adding products to your catalog. Without this, your “Shop” or “Shop Now” button won’t have anything to display, and your followers won’t have anything to explore or purchase.
Adding products might sound simple, but the method you choose can impact how smoothly your catalog updates, how your content performs, and how customers engage with your profile.
This section walks you through the three reliable ways to add products to Instagram Shopping — manually, automatically via an e-commerce platform, or using a product feed file.
Method 1: Add Products Automatically Using Shopify or Another E-commerce Platform
If you already sell products through a platform like Shopify, WooCommerce, or BigCommerce, the easiest way to add products is through automatic catalog syncing.
This process keeps your product listings up to date without the need for double entry, which means your stock levels, pricing, descriptions, and photos are always current.
✅ How to connect and sync products:
- Open your Shopify (or other platform) dashboard.
- Find the Facebook & Instagram Sales Channel in your app store or integrations panel.
- Log into your Meta Business Account when prompted.
- Select the Facebook Page and Instagram profile to connect.
- Choose the product collections you want to sync to your catalog.
- Finish the setup and confirm catalog visibility in Meta Commerce Manager.
Once linked, Meta pulls your product data into your Instagram Shop. As long as your items comply with commerce policies, they'll appear automatically in your Shop tab.
Advantages:
- Zero manual data entry
- Auto-updates on price and inventory
- Easy catalog management from one dashboard
Method 2: Add Products Manually Through Meta Commerce Manager
This method is ideal for creators, personal brands, or small businesses that don’t use a third-party storefront — especially if you're setting up Instagram Shop without a website.
It gives you full control over each product listing but requires a bit more time upfront.
✅ Steps to manually add products:
1. Go to Meta Commerce Manager.
2. Select the catalog linked to your Instagram account.
3. Click Items > Add Items > Add Manually.
4. For each product, enter:
- Name (keep it short and clear)
- Description (focus on clarity over creativity)
- Price (use your local currency)
- Product URL (Linktree, Gumroad, your site — anything that allows checkout)
- Inventory availability
- High-quality image (square, 1080x1080 recommended)
5. Click Finish. Products will appear in your Instagram Shop after processing.
Tips for manual uploads:
- Use clean, consistent product images — avoid backgrounds that distract
- Titles should match what your audience expects (“Gold Hoop Earrings” vs “GH Earrings L2”)
- Always test links to make sure they open correctly on mobile
Method 3: Add Products via Product Feed (CSV or XML)
If you manage many products or work with inventory systems, using a product feed provides full control and scalability. Meta allows bulk uploads through structured files.
✅Steps to use a feed:
Open Meta Commerce Manager and select your catalog.
1. Open Meta Commerce Manager and select your catalog.
2. Go to Data Sources > Product Data Feeds
3. Choose:
- Upload a .CSV or .XML file, or
- Provide a URL to a hosted feed file (Google Sheets, Dropbox, etc.)
4, Map columns for product attributes (title, price, availability, image URL, etc.)Schedule regular updates (daily or weekly)
5. This method is perfect for stores that need automation but aren’t using Shopify or WooCommerce.
🧠 Bonus: Tips for Optimizing Product Listings in Your Instagram Shop
A good product catalog is more than a list. It’s the foundation of how your Shop performs and whether your customers feel confident enough to buy.
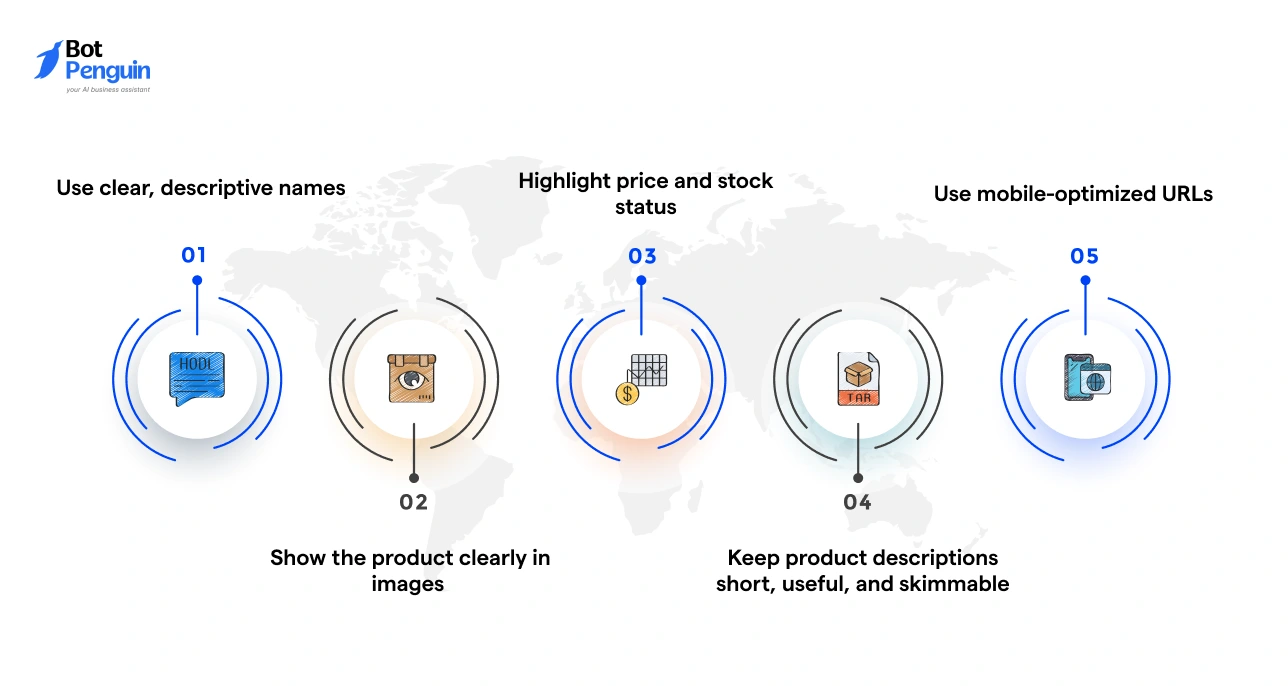
Here’s how to make your products stand out:
- Use clear, descriptive names that match how people search (“Black Running Shoes” beats “Model 3X”)
- Show the product clearly in images — avoid cluttered backgrounds
- Highlight price and stock status — no surprises at checkout
- Keep product descriptions short, useful, and skimmable
- Use mobile-optimized URLs so the buying experience doesn’t break after they leave Instagram
Once your products are live in your catalog, you can start tagging them in posts, reels, and stories — which turns your content into a real sales channel.
Real-Life Example: From Zero to Selling with the Shop Button
Take this example: imagine someone running a small candle business in the U.S. — let’s say they’re based in Austin, Texas. They’re making high-quality, handmade soy candles and promoting them entirely through Instagram.
The product photos are polished, the stories are engaging, and the comments show real interest. But the sales process? It’s messy.
They rely on DMs to answer questions, send prices, check availability, and collect payments. Every order takes time, and as interest grows, so does the chaos. Missed messages. Confused customers. Lost sales.
Now fast forward to today — that same person sets up an Instagram Shop.
What Changed?
- They switched their Instagram to a Business account
- Connected it to a Facebook Page
- Used Meta’s Commerce Manager to manually create a product catalog (no website required)
- Linked product images, scent options, prices, and a checkout link (like Square or Linktree)
- Submitted their account for review
- Got approved, and the Shop Now button appeared on their profile
What It Looks Like Now
- Their posts are tagged with specific candle scents
- Followers tap the image, view the product, and buy — no messages needed
- The Shop tab on their profile acts like a storefront
- Orders come in faster and require fewer steps to complete
- Customers say it “feels more like a brand now”
This isn’t a celebrity brand or a tech-heavy business — it’s someone selling out of their kitchen, garage, or local market — and now converting views into sales directly on Instagram.
That’s the power of Instagram Shopping when it’s set up intentionally. The best part? You don’t need a complex website or e-commerce system to make it work.
Now let’s look at how you can get more eyes and clicks on your new shop.
Promote Your Instagram Shop & Get Sales
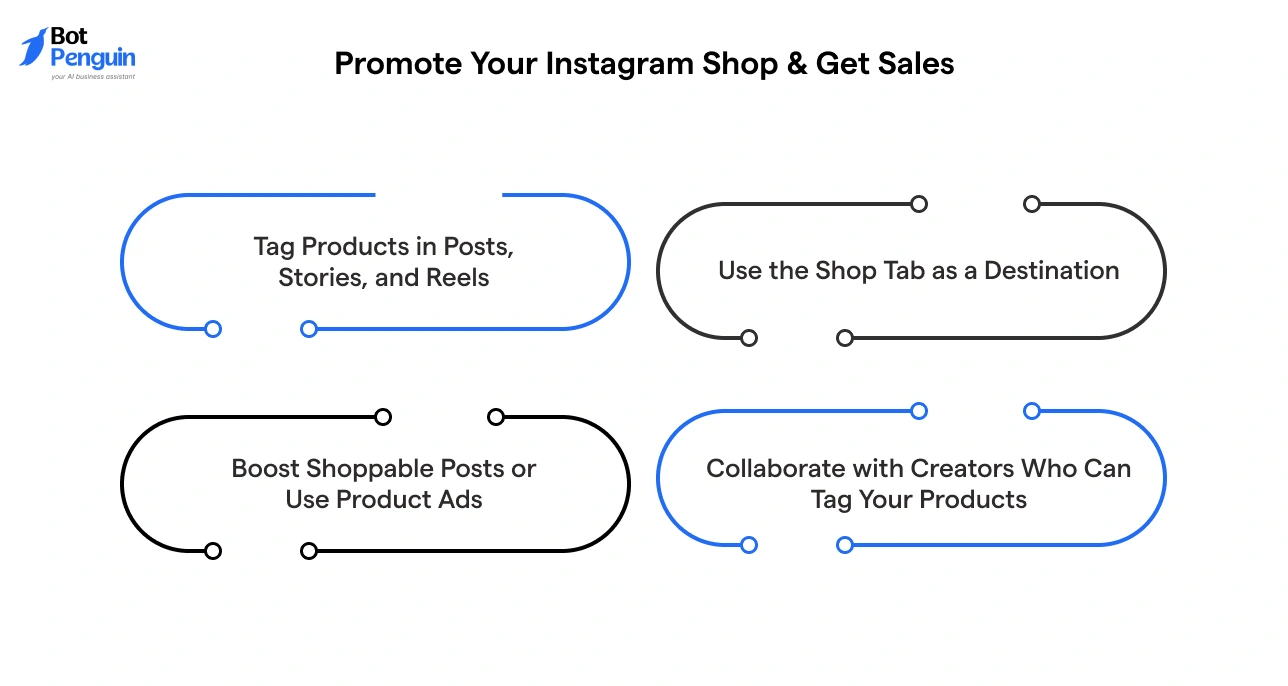
Once your Instagram Shop is live and your product catalog is ready, the next step is to drive traffic to it. The Shop button alone won’t bring results — you need to make your products visible throughout your content.
Instagram gives you tools that let your posts do more than entertain. With product tags and thoughtful content planning, you can turn your feed into a working storefront.
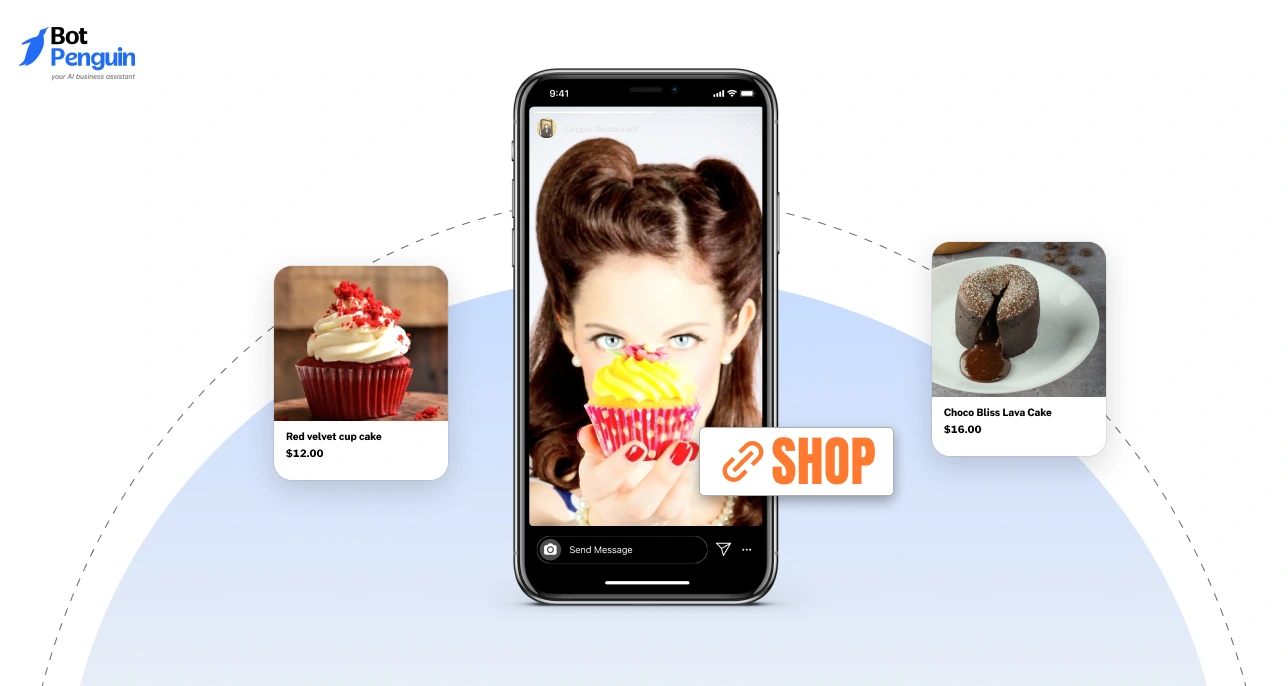
1. Tag Products in Posts, Stories, and Reels
Tagging makes your content instantly shoppable. Instead of viewers needing to message you or click away, they can tap and explore the product without leaving the app.
You can tag products in:
- Feed posts: up to 5 products per single image
- Carousels: tag different products in each frame
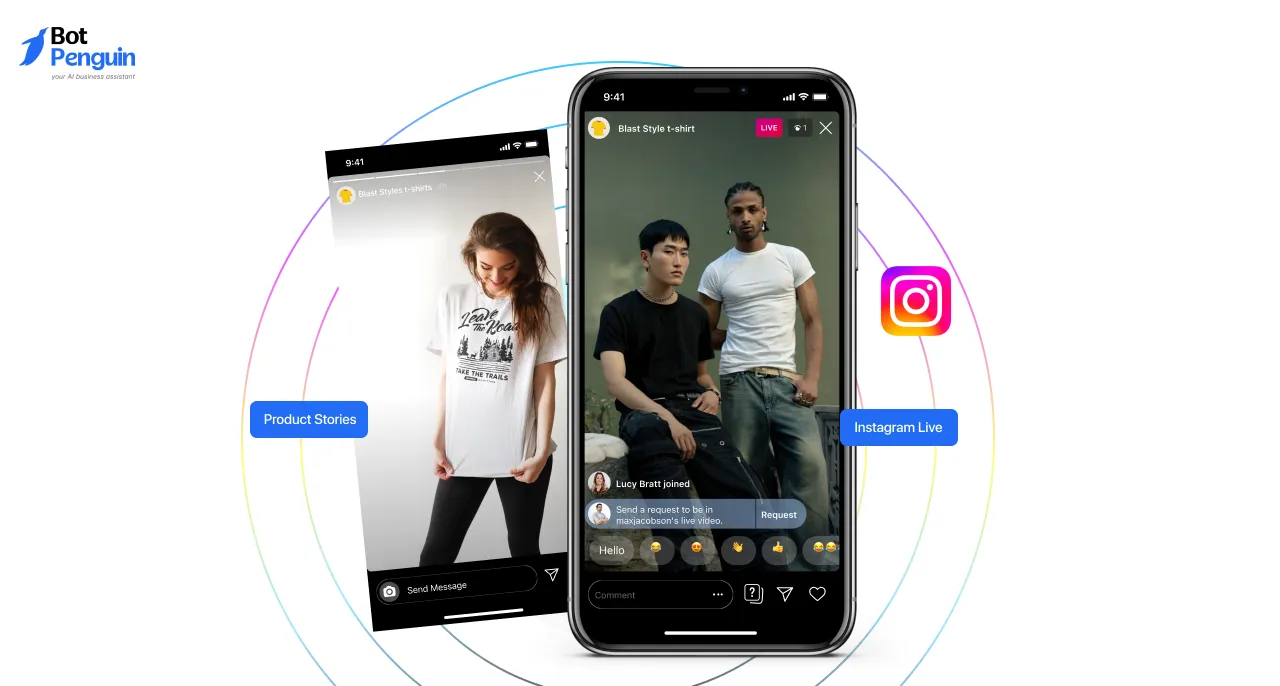
- Stories: use the Product sticker (available after Shop setup)
- Reels and Lives: up to 30 products per reel
Tips for product tagging:
- Add tags early in carousels or videos — attention drops after the first few seconds
- Use clean, focused visuals — don’t bury the product in busy backgrounds
- Use simple CTAs in captions like “Tap to view” or “Available now in our Shop”
2. Use the Shop Tab as a Destination
Your profile now has a Shop or View Shop button. That button works best when it feels like part of the journey, not a forgotten extra.
Ways to make the Shop tab more visible:
- Pin your top 3 shoppable posts to the top of your profile
- Create a Story Highlight labeled “🛍 Shop” or “Featured”
- Mention your Shop in your bio — e.g., “Tap View Shop to browse all”
- Include product walkthroughs or behind-the-scenes videos in your tagged content
A shop that looks active, clean, and consistently promoted builds trust — and encourages browsing.
3. Boost Shoppable Posts or Use Product Ads
If you’re ready to scale, ads with product tags can help drive more visits to your Shop.
Types of Instagram ads that support product tagging:
- Boosted feed posts that already have product tags
- Story ads using product stickers
- Reels with tagged products promoted as ads
- Catalog sales campaigns run via Meta Ads Manager
Why this helps:
- Puts your best products in front of the right audience
- Lets users take action without leaving Instagram
- Helps you test which products and content formats convert best
4. Collaborate with Creators Who Can Tag Your Products
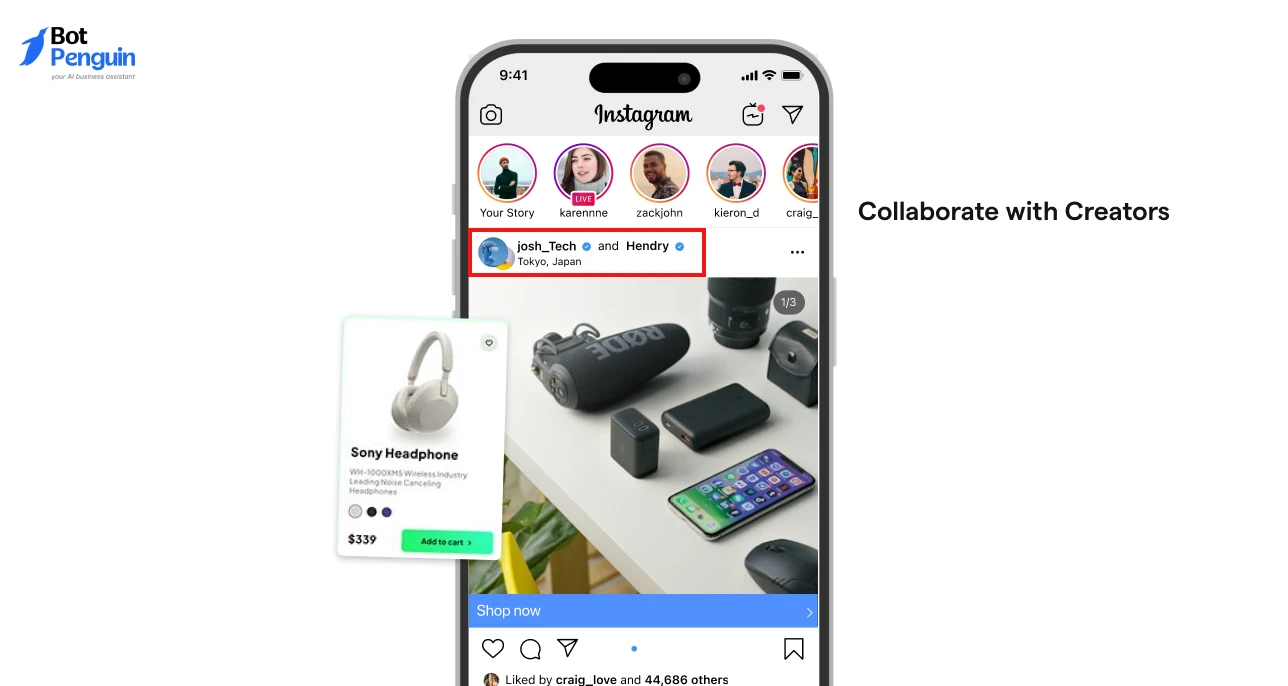
Once your Instagram Shop is approved, you can work with creators who are allowed to tag your products in their own content.
This is powerful because it brings your products into feeds you wouldn’t reach organically.
How this works:
- Send products to trusted micro or mid-tier creators
- Provide product links from your catalog
- Ask them to create content that feels authentic to their audience
- They tag your products directly, sending traffic to your Shop
Why it works:
- Social proof: followers trust their creators
- Shop tags mean fewer steps between interest and purchase
- You benefit from both reach and conversion in one post
Once these systems are in place — product tagging, visible shop promotion, ads, and creator tagging — your Instagram Shop becomes a real selling tool, not just a static tab.
If you’re not seeing your Shop Now button or products the way you expected, let’s handle that next.
Troubleshooting: Why Can’t I See the Shop Now Button on Instagram?
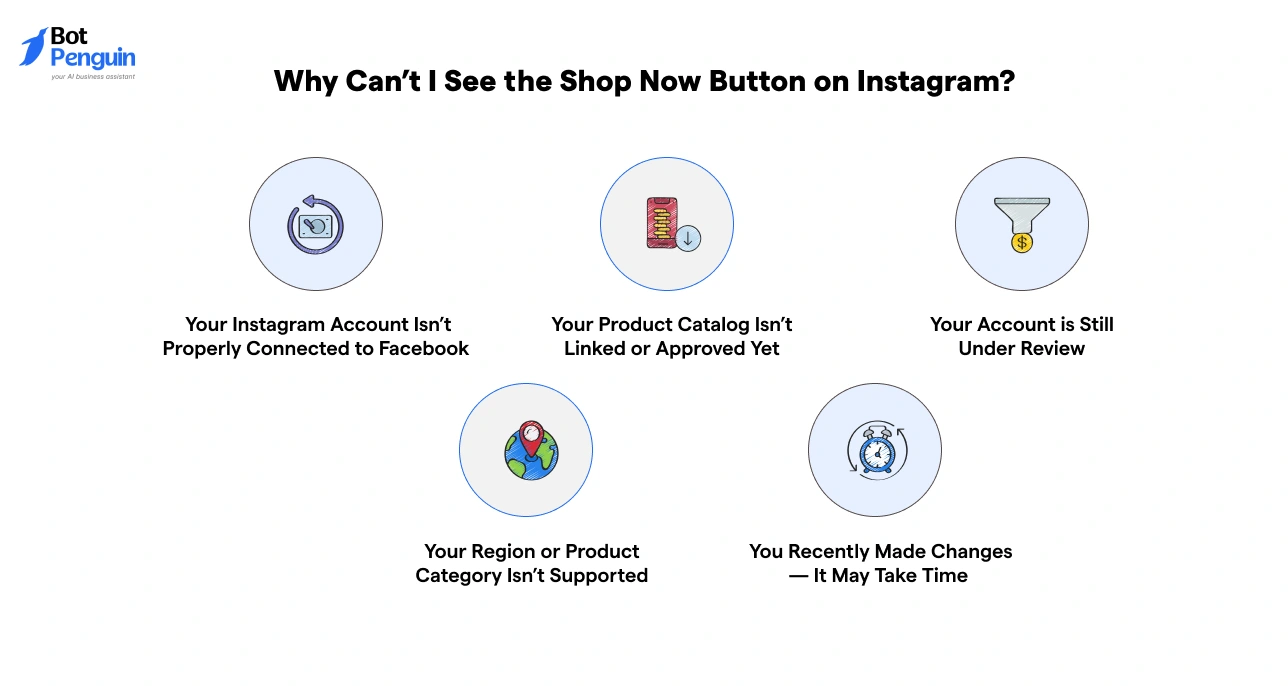
If you’ve completed the setup process but still don’t see the Shop or Shop Now button on your profile, don’t panic. It’s a common issue, and in most cases, the cause is small and fixable.
Here are the most frequent reasons the button isn’t showing — and what you can do about it.
1. Your Instagram Account Isn’t Properly Connected to Facebook
Even if you created a Facebook Page or started Commerce Manager setup, Instagram Shopping won't work unless the right connections are fully established.
What to check:
- Go to Settings > Account Center
- Confirm your Instagram is connected to the correct Facebook Page
- In Meta Commerce Manager, confirm the same Page is selected as your business identity
- If needed, disconnect and reconnect through Account Center to reset permissions
A mismatch here will block the entire shopping setup from displaying properly.
2. Your Product Catalog Isn’t Linked or Approved Yet
Your Instagram Shop depends on an active product catalog. If the catalog hasn’t been approved or isn’t linked to your Instagram profile, the Shop button won’t appear.
What to check:
- Open Commerce Manager
- Go to Catalog > Settings > Business Assets
- Confirm Instagram is listed under “Connected Assets”
- If not, go to Settings > Instagram Shopping in the IG app and reselect the correct catalog
Also make sure that at least one product is live, in stock, and approved — an empty or inactive catalog may prevent the button from displaying.
3. Your Account is Still Under Review
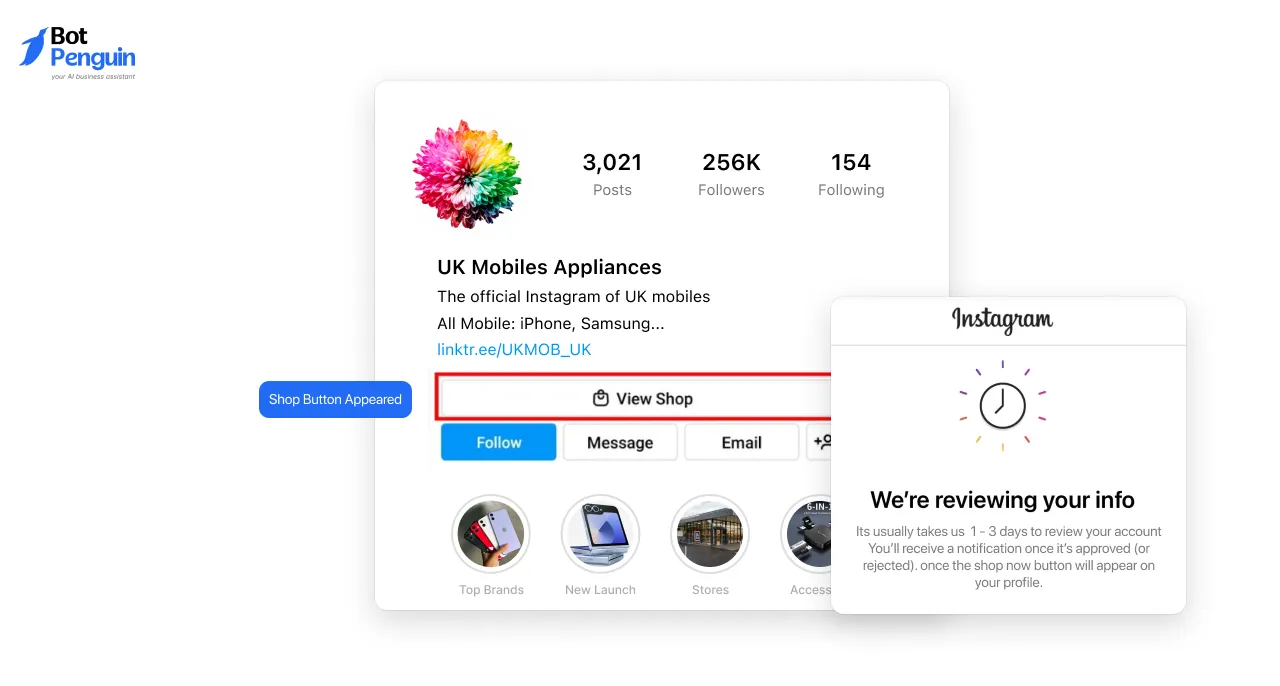
Even after submitting everything correctly, Instagram requires a manual review of your shop and catalog.
What to expect:
- Approval typically takes 1–3 business days
- Some accounts take longer if products need manual review or if Commerce policies are borderline
- You’ll receive a notification once it’s approved (or rejected)
Until you’re approved, the Shop Now button won’t appear — but you can still prepare content and complete catalog work in the background.
4. Your Region or Product Category Isn’t Supported
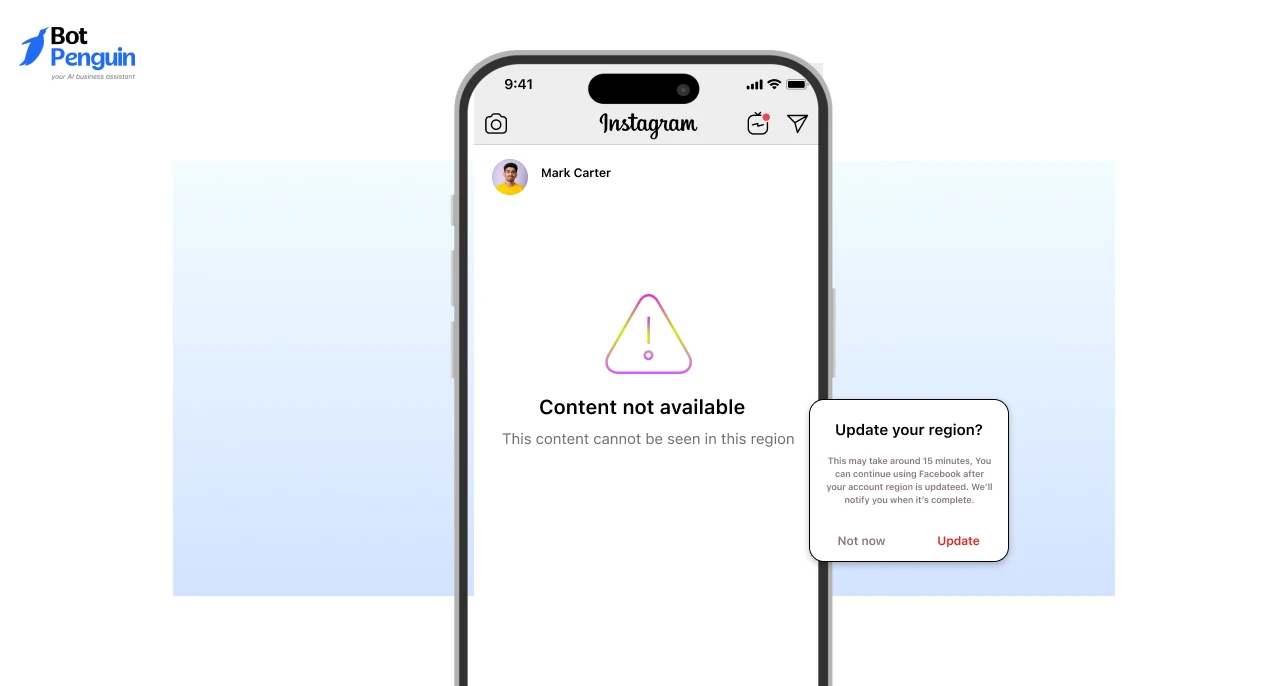
Instagram Shopping is available in many countries, but not all. Certain product types (like supplements, adult items, or services) may also be restricted.
What to check:
- View Meta’s Commerce Eligibility and Policy
- Confirm you’re operating in a supported region
- Make sure your product types are not on the restricted list
If you're in an unsupported country or category, the Shop button won’t be available — but alternative paths like link-in-bio tools or chatbots can still help drive conversions.
5. You Recently Made Changes — It May Take Time
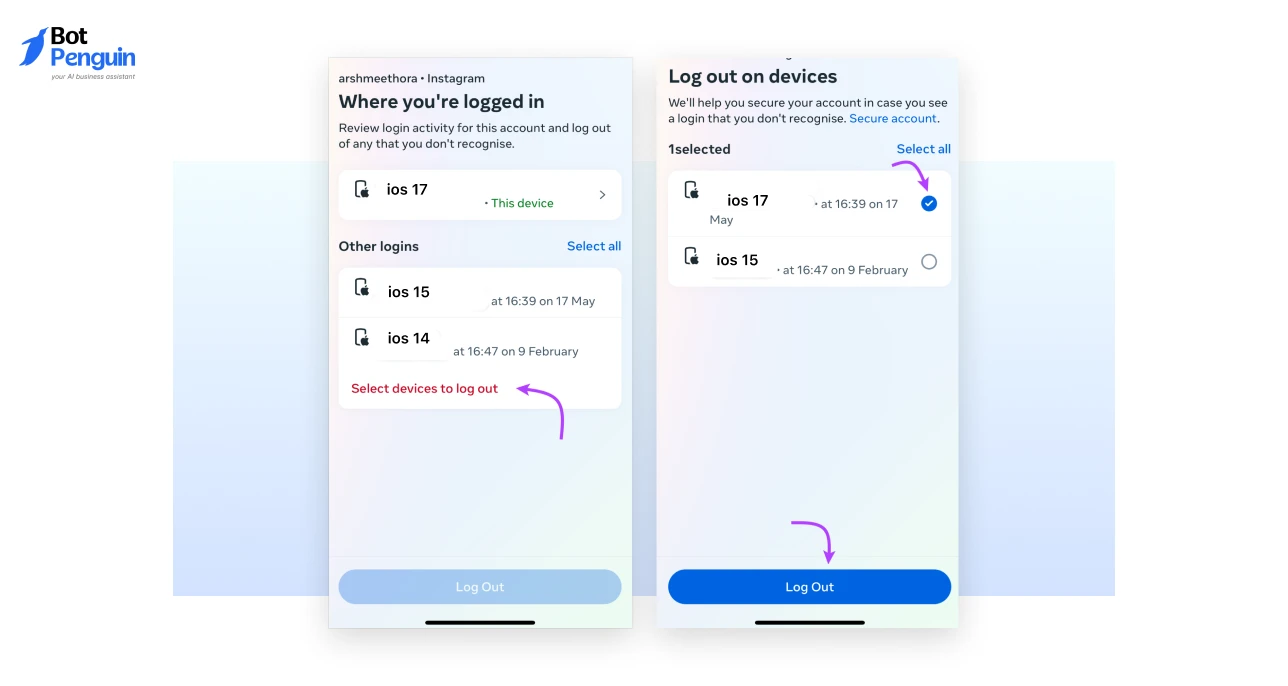
Sometimes even after connecting everything correctly, the Shop button doesn’t show up immediately.
What to do:
- Log out and log back into the Instagram app
- Update the app to the latest version
- Switch between mobile and desktop to see if the button appears in one
- Wait up to 24 hours — system changes often take time to sync across Meta's platforms
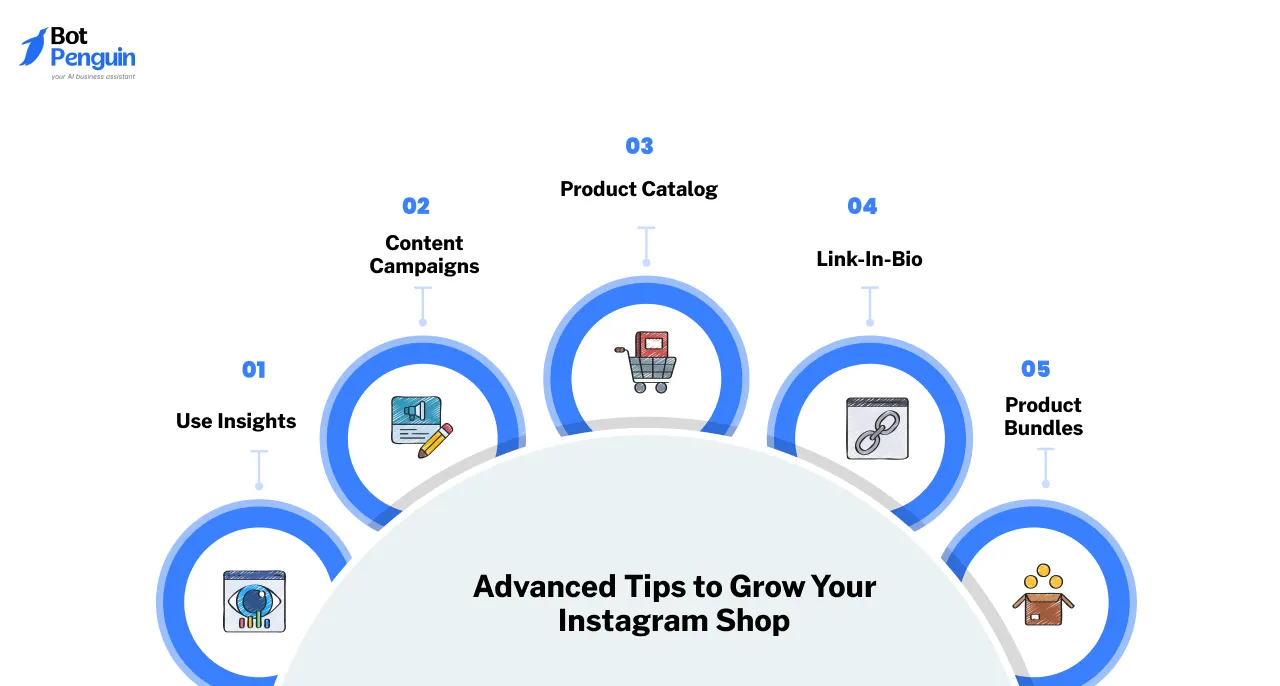
Advanced Tips to Grow Your Instagram Shop
Once your Instagram Shop is live and running, the next step is to focus on improving how it performs.
This means making decisions based on data, adapting your catalog to your audience’s behavior, and using Instagram’s features in a more intentional way.
Below are actionable ways to get more sales and engagement from the shop you’ve already built.
1. Use Insights to Track Product Performance
Instagram provides built-in analytics that show how your product tags and content are performing.
To access insights:
- In your Instagram app, go to your profile > Professional Dashboard
- Tap Insights > Content You Shared
- Look specifically at posts with product tags, then review reach, clicks, and engagement
Inside Meta Commerce Manager, you can dig deeper into product-level performance:
- See how often items are viewed or clicked
- Identify which products drive the most traffic
- Monitor what’s sitting in your catalog without any activity
This data shows you what to feature more often — and what to update or remove.
2. Plan Product-Based Content Campaigns
Random posts rarely drive consistent results. Instead, build your content around focused product themes or drops.
Examples:
- New release: highlight it in stories, feed, and reels for 7 days straight
- Bestsellers: re-introduce your most-purchased items with fresh content
- Collections: group items by season, use case, or customer type
Structure your posts so that each one links back to a tagged product, and make sure your catalog matches what you're promoting. Repeating products across different formats (posts, reels, and stories) also reinforces visibility.
3. Keep Your Product Catalog Updated
An outdated or cluttered catalog can make your Shop feel inactive. Regular maintenance keeps the experience relevant and clean.
Once a month:
- Remove sold-out or low-performing items
- Update titles or thumbnails based on what’s getting the most attention
- Prioritize current collections, seasonal items, or timely promotions
- Make sure all links and prices reflect real-time accuracy
This builds trust and makes your Shop feel active, even before someone clicks.
4. Improve Your Link-in-Bio Experience
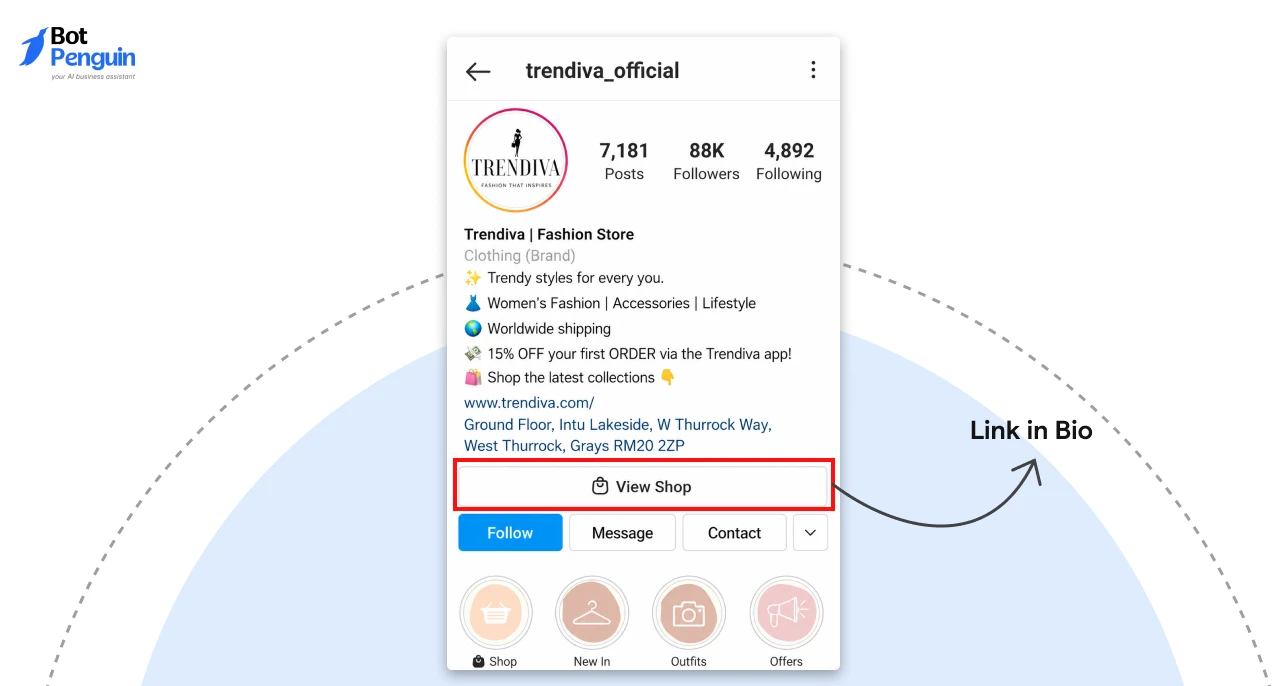
If you’re directing followers to an external site, landing page, or checkout tool, make sure the transition from Instagram is fast and clear.
Suggestions:
- Use tools like Linktree, Beacons, or direct product links
- Align the order of links with your most recent posts or tagged items
- Add a clear “Shop Now” button with minimal distractions
A strong bio experience supports your Shop without requiring followers to search or scroll.
5. Create Product Bundles or Sets
If one item is performing well, try pairing it with others to increase order value.
Examples:
- Skin care: Cleanser + Moisturizer set
- Apparel: Hoodie + Hat
- Digital: Course + Workbook
You can add bundles as new products in your catalog, tag them like any other item, and feature them in carousel posts or collection highlights. Bundles simplify decision-making and give customers more value in fewer steps.
Each of these tactics is designed to improve how your Instagram Shop works over time — not through more posts, but through more informed ones.
How to Use an Instagram Chatbot to Increase Sales for Your Shop
Once your Instagram Shop is live, the next challenge is responding to potential buyers efficiently. Instagram DMs are powerful — but they can also become unmanageable when messages pile up with questions like:
- “Is this product still available?”
- “How much is shipping?”
- “Do you offer bundles or discounts?”
When you're the only one managing your inbox, those delays cost sales.
A chatbot for Instagram bridges that gap by automating responses, assisting customers instantly, and even nudging them toward a purchase — all without requiring your manual input.
Why an Instagram Chatbot is Essential for Your Shop in 2025
Instagram has become more than a platform for visibility — it’s a conversion channel. When buyers ask questions, they’re often minutes away from making a decision. A delayed reply means lost interest. A chatbot ensures that it doesn’t happen.
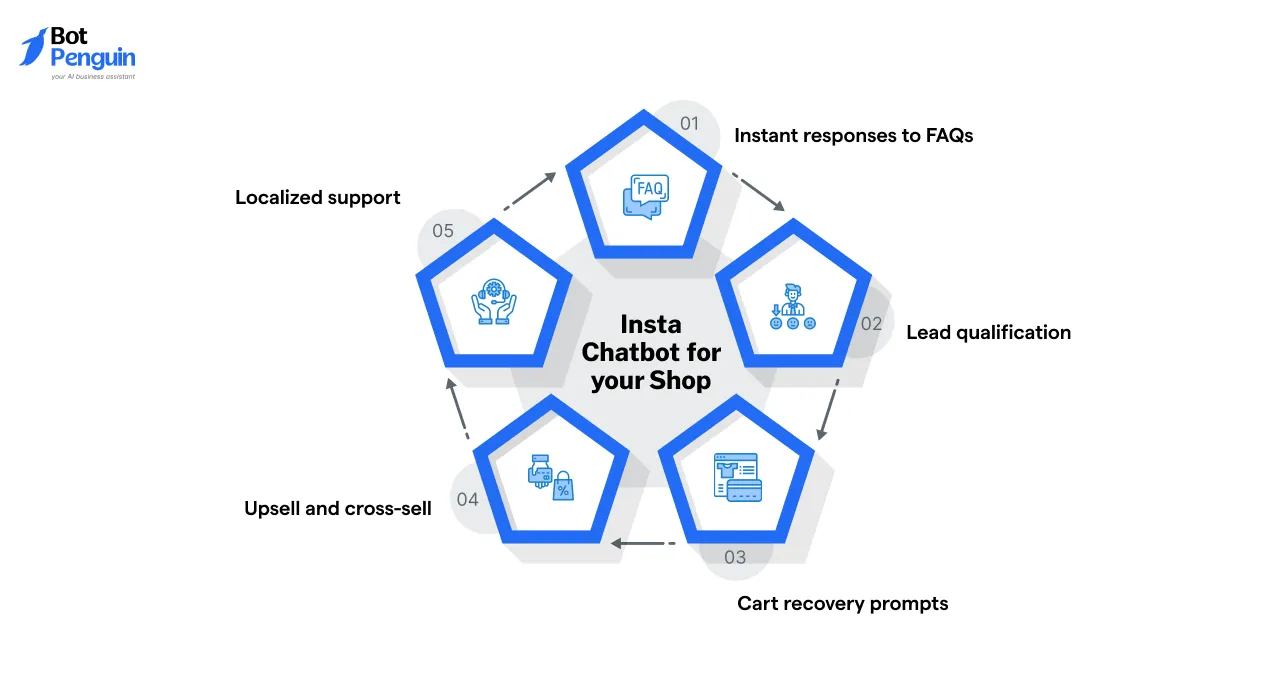
Here’s what a chatbot built for Instagram Shopping can help with:
- Instant responses to FAQs: Product availability, prices, materials, care instructions
- Lead qualification: Ask for preferences (e.g., scent, color, size) to recommend the right product
- Cart recovery prompts: If a customer stops mid-conversation, the bot can follow up
- Upsell and cross-sell: Offer related items based on what they ask about
- Localized support: Offer different flows based on region, language, or time zone
This improves the customer journey while freeing you from answering the same 12 questions every day.
How BotPenguin's Chatbot for Instagram Automates Sales & Support
BotPenguin is a no-code Instagram automation tool that turns your DMs into a guided shopping experience. It’s built to integrate with small business workflows while still supporting features seen in enterprise tools.
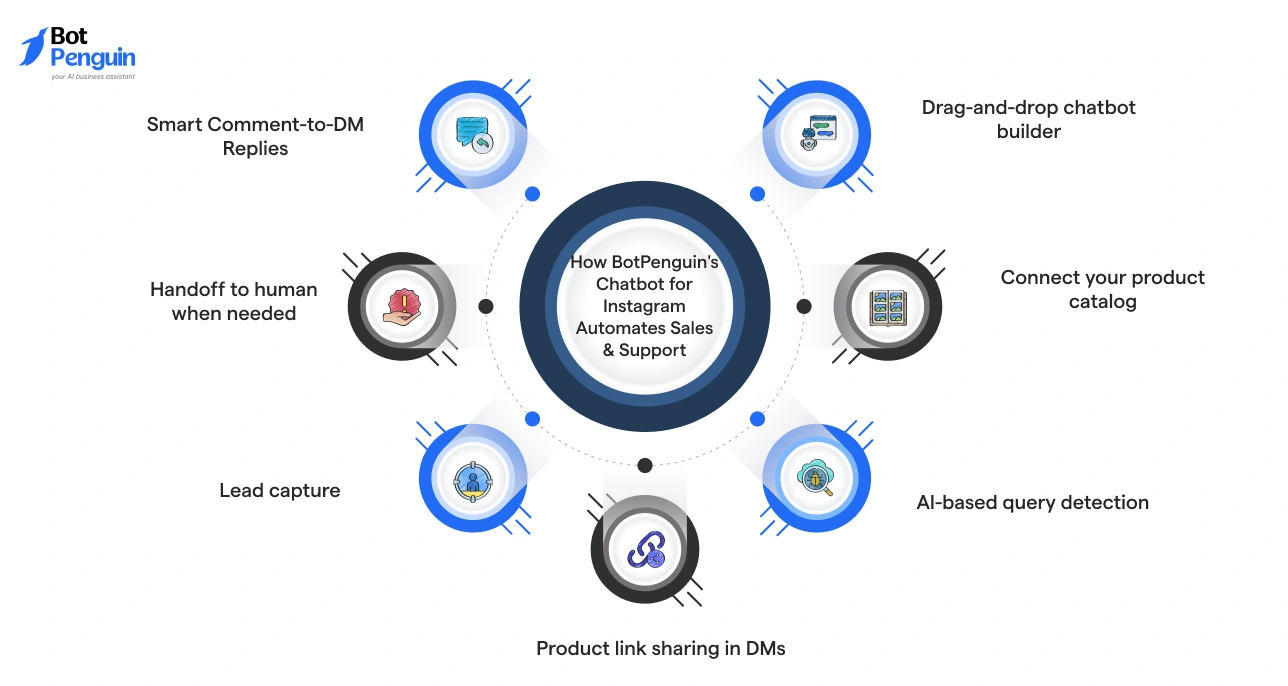
Here’s what you can do with BotPenguin:
- Drag-and-drop chatbot builder: No code needed — build reply flows with conditions like “If they ask about price, show catalog item + link”.
- Connect your product catalog: BotPenguin can fetch and present product details in real-time.
- AI-based query detection: Understands and categorizes common questions (price, delivery, stock).
- Product link sharing in DMs: Route users to checkout directly.
- Lead capture: Collect emails, phone numbers, or user preferences as they chat.
- Handoff to human when needed: Let the bot handle common questions but alert you when it’s time to jump in.
- Smart Comment-to-DM Replies: With BotPenguin, you can set up your chatbot to automatically send a direct message when someone comments with a specific keyword on your Instagram post.
For instance, if a user comments "pp" or "price," BotPenguin will instantly send them a personalized message with the pricing details.
This feature not only saves you time but also ensures that potential customers receive prompt and tailored information, enhancing their experience and increasing the likelihood of conversion.
BotPenguin is designed to be beginner-friendly but scalable. You can start small and expand features as your needs grow.
🚀 Try BotPenguin — The Best Instagram Chatbot for Shops
BotPenguin is ideal for creators, boutique stores, and growing e-commerce brands who sell primarily through Instagram.
Here’s what makes it stand out:
- ✅ Free plan available — test it without upfront commitment
- ✅ Visual editor — easily map out chatbot logic
- ✅ Instagram-native — no need to send users off-platform
- ✅ Analytics included — track conversations, responses, and user actions
You don’t need a large team to offer fast, reliable support. With BotPenguin, you can keep customers engaged, informed, and closer to checkout — even while you sleep.
🔗 Explore BotPenguin’s Instagram chatbot and make your Shop more responsive starting today.
Frequently Asked Questions (FAQs)
How to add shop button on Instagram without a website?
You can use Meta Commerce Manager with a manual product catalog and link to platforms like Linktree or Gumroad — no standalone website required.
How to add shop on Instagram using mobile only?
Yes, you can complete the entire Instagram Shop setup using just the mobile app and browser access to Facebook Commerce Manager — no desktop required.
How to add shop button to Instagram if I'm a service provider?
Instagram Shopping is designed for products, not services. However, you can showcase service packages as “products” if they include tangible deliverables and clear pricing.
How to add the Shop Now button on Instagram for a second account?
Each Instagram account must be connected to its own Facebook Page and catalog. You’ll need to repeat setup steps separately for the second profile.
How to add shop on Instagram if I only sell locally?
Local sellers can still use Instagram Shopping, but you must provide a valid domain or checkout link and comply with supported shipping regions.
How do I add a Shop Now button on Instagram with automated replies?
Use tools like BotPenguin to integrate smart chat automation. It helps guide visitors from product views to checkout without needing manual DMs.