Discord is a real-time messaging service. Discord has quickly expanded and is gaining popularity even among individuals who have little interest in video games because of its attractive design, simplicity of use, and wealth of functionality. It has also capture Music Industry by providing number of Discord Music Bots.
Its user base expanded from 56 million people to more than 150 million between 2018 and 2022.
One of Discord's most attractive features is the bots. Discord strongly supports programmable bots, which enhance the user experience by integrating Discord with the outside world.
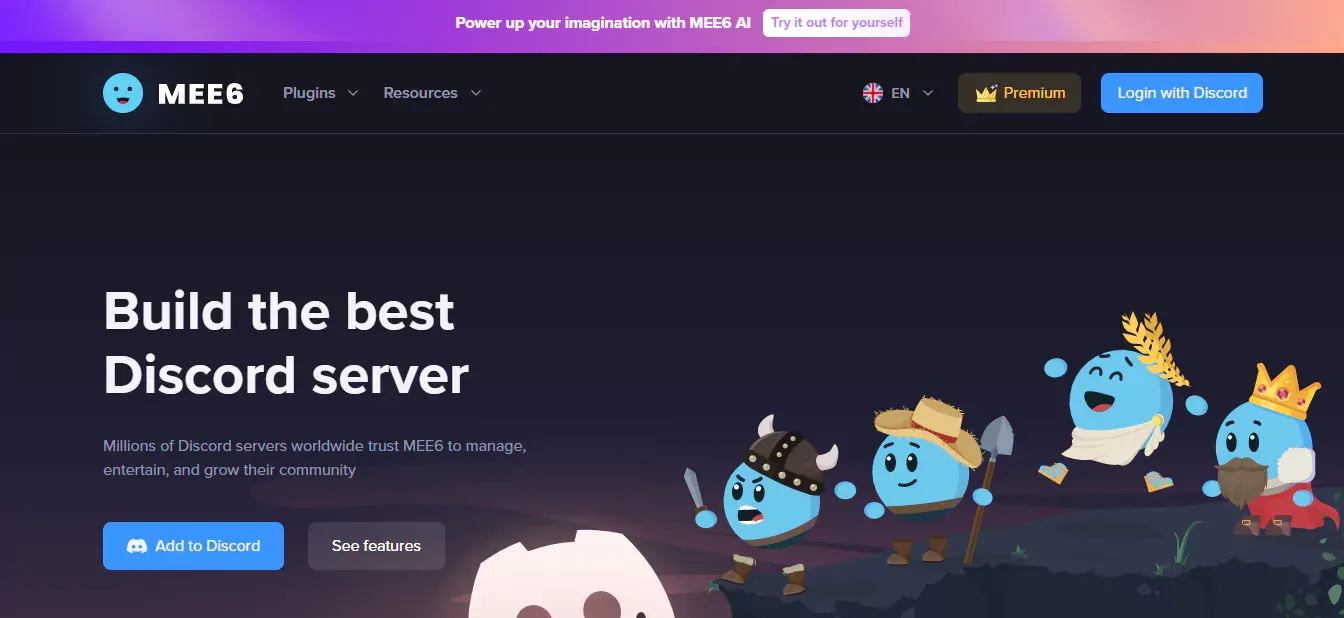
On Discord, bots are pervasive and enable various services, such as games, music bot like Rythm, internet searches, money processing, voice channels and more.
Also Read:
Steps to Make a Discord Bot: Overview and Tutorial
Steps to Make a Discord Bot
Step 1
Sign up for Discord
You must establish a Discord account with a server setup and an account. Create an account at Discord.com using your email address and birthdate.
Step 2
select “New Application”
Go to the developer portal and choose the Applications tab to get started.
Step 3
Give your software a name
Click the "Create" button after giving your application a name.
Step 4
Select "Bot"
Select your new application and go to the "Bot" tab.
BotPenguin offers chatbot creation for social platforms, websites, wordpress along many different features:
WordPress Chatbot
Create Your own Customized Chatbot with BotPenguin
Step 5
Select "Add Bot"
You may add a new Bot User by clicking "Add Bot" once in the bot tab. If you want public users to be able to invite your bot to their servers, make sure "Public Bot" under the "Authorization Flow" section is turned on.
It would help if you also ensure that the "Requires OAuth2 Code Grant" is switched off unless the service you are building calls for it.
Step 6
Take a token from the bot
The token for the bot will be shown as soon as the bot is created. Tokens may only be viewed once when they are first produced, so make sure you copy them. You will need to renew a new token if you forget it or lose access to your old one.
Step 7
Select the tab for the OAuth2 URL Generator
Select the URL Generator subtab by expanding the OAuth2 tab.
Step 8
Check the "bot"
Check the "bot" box next to “scopes.”
Step 9
Configure bot permissions and save the resulting URL
Toggle the permissions your bot needs to work by scrolling to the bottom. Depending on whatever licenses you choose, the invite URL will be automatically generated.
Return to the Authorization Flow section of the Bot tab and make sure that the "Requires OAuth2 Code Grant" is deactivated if the Bot URL is not automatically generated.
Step 10
In a browser, copy the bot's URL and invite it to your server
You'll then have the chance to confirm the permissions you have chosen in the past. Authorize if everything appears to be in order.
Congratulations, you've just finished creating and adding a bot user to your server.
Conclusion
Discord is a popular chat and voice application among gamers. The user interface of Discord is similar to a hybrid of Skype and Slack. Multiple interactive communication sessions between a user's browser and a server are possible using the WebSocket API(WebSockets API is a protocol for bi-directional, real-time communication between a client and a server).
The goal is to get the bot an authentication token to let Discord recognize and add your code to the bot's servers. Although it requires some work, it is not difficult. You must be familiar with JavaScript if you are new to coding. It will assist you in building a short bot that will welcome you to your server.
Suggested Reading:
Like Discord's AI capabilities? We want to introduce you to BotPenguin. An effective no-code chatbot builder that aids in quick chatbot setup. What is amazing about BotPenguin is that no money is required from you! Contact us to learn more about building Discord bots. We are here to help!
Create Your Own Chatbot with BotPenguin

