


Microsoft Teams Chatbot Development: The Complete Guide
Updated at Oct 13, 2026
12 min to read
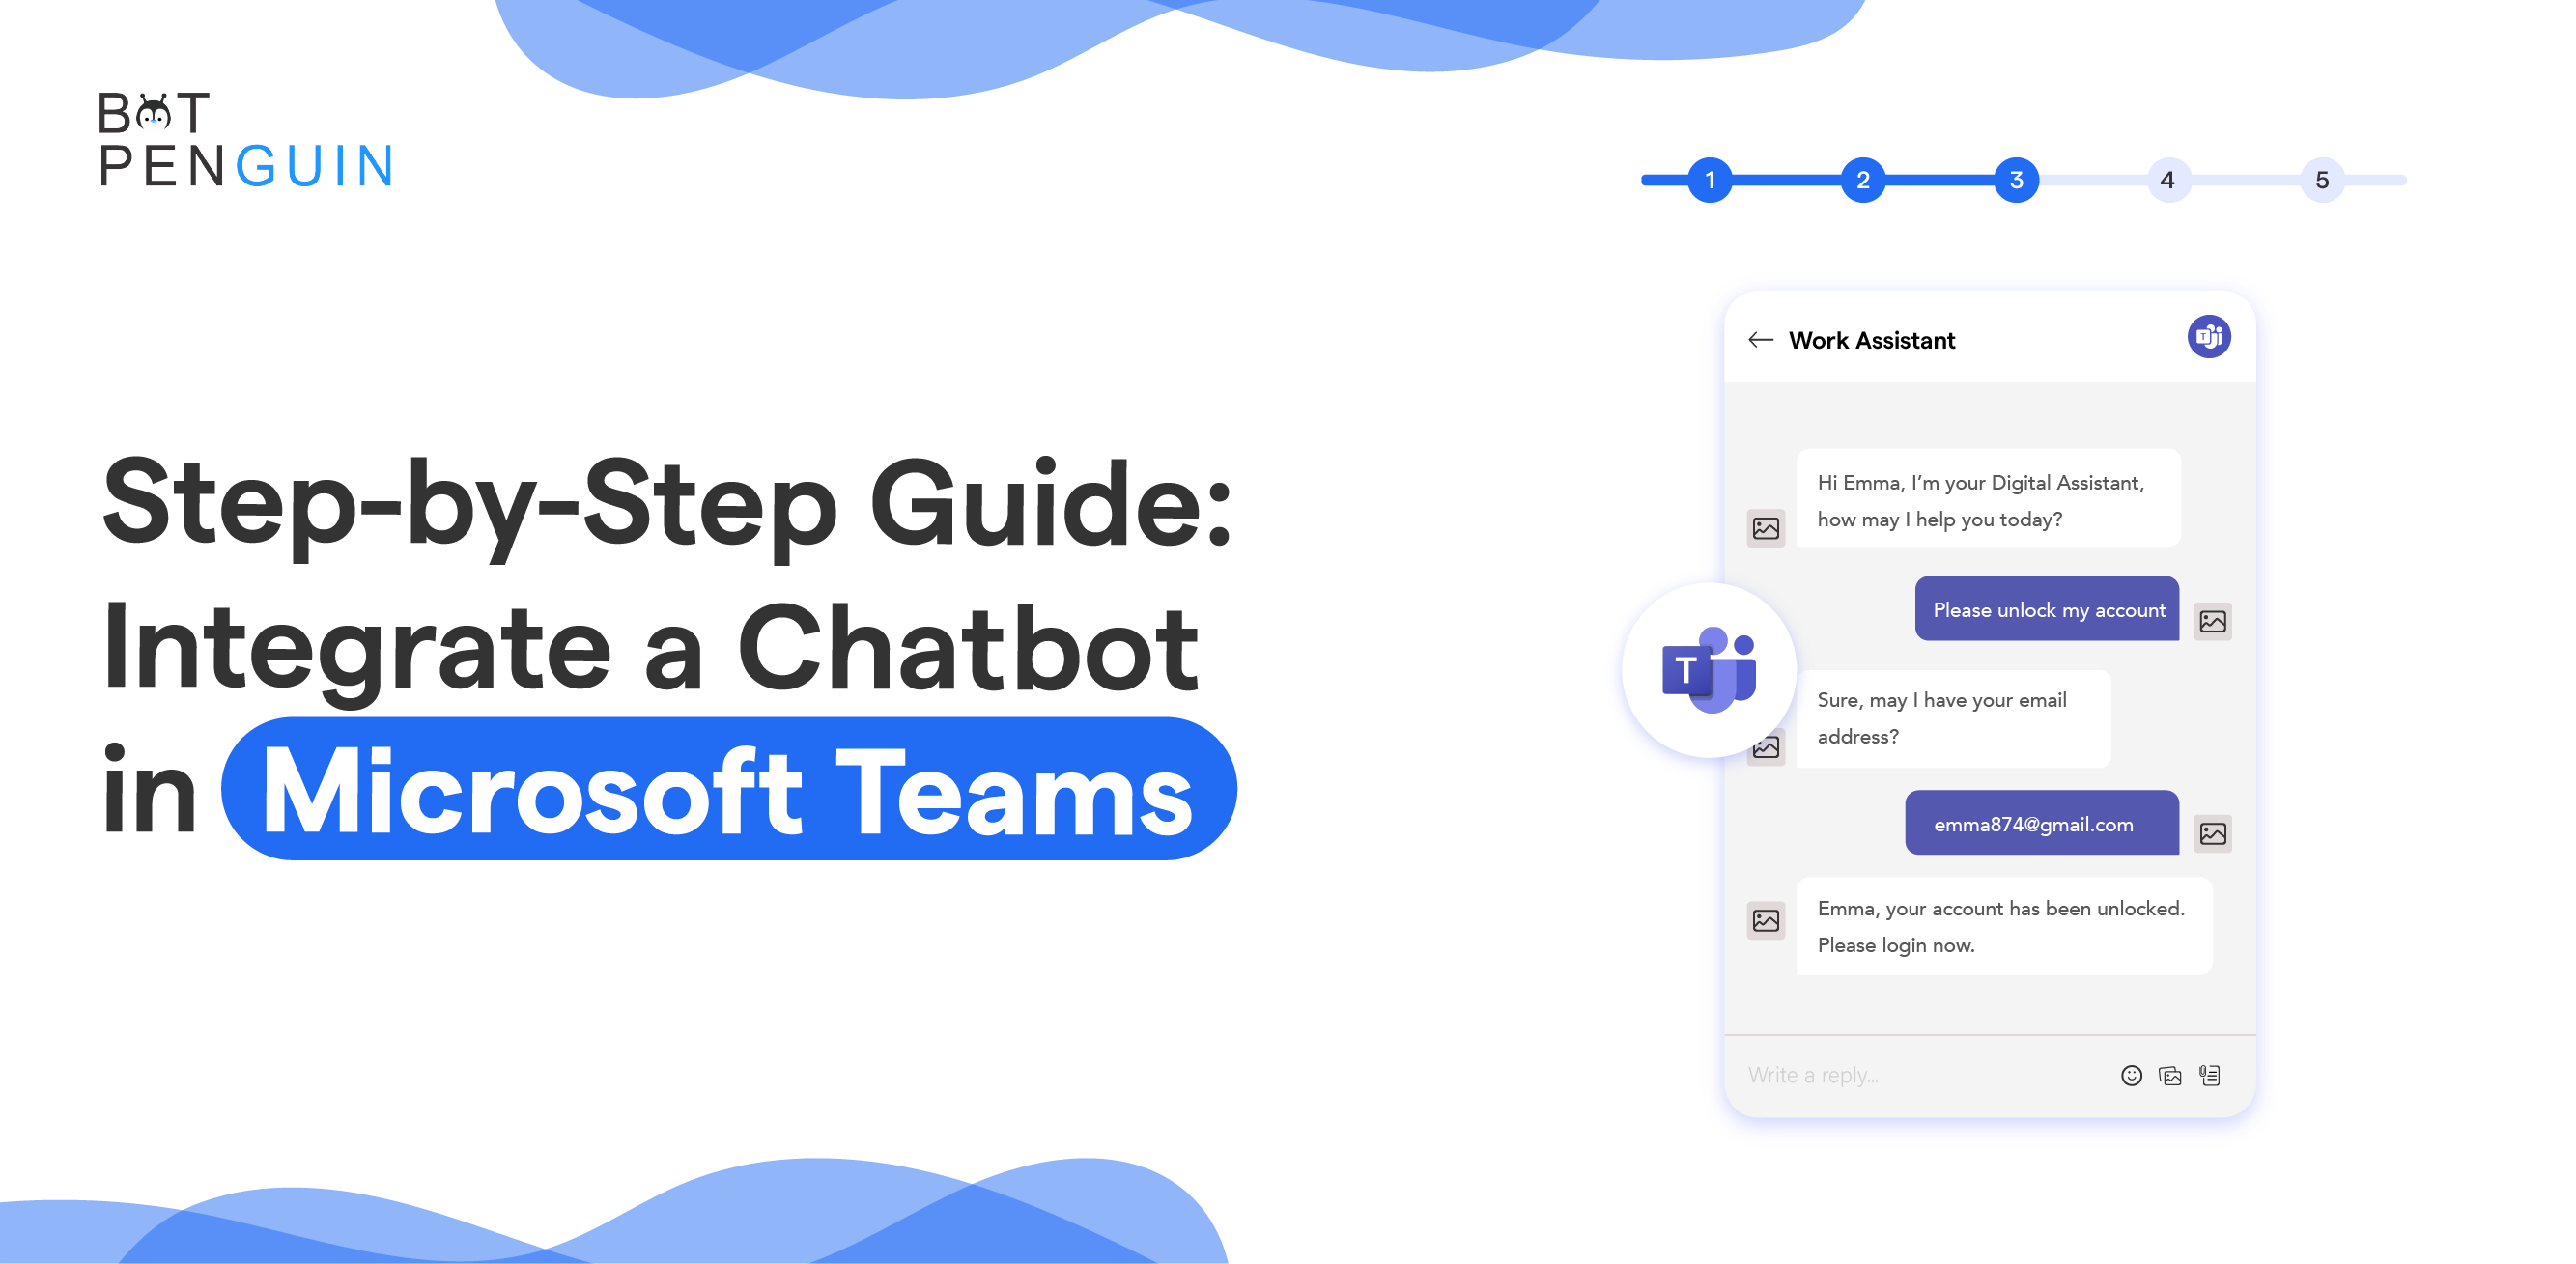
Setting up a chatbot in Microsoft Teams involves five core steps. Create the bot, configure Azure, connect it with Teams, complete admin approval, and test the deployment. This process helps ensure your chatbot works correctly before users start interacting with it.
A Microsoft Teams chatbot can fail before launch when setup steps are unclear.
Azure configuration, Teams permissions, admin approval, and testing must all work together.
This guide explains how to set up a chatbot in Microsoft Teams through a practical five-step process. You will learn how to configure the bot, connect it with Teams, handle approvals, and test the deployment correctly.
It also covers integration best practices and BotPenguin features that support ongoing use.
For broader context, you can refer to the dedicated guide on what a Microsoft Teams chatbot is.
Here, the focus stays on setup mechanics, so you can complete the integration without wasting time on broad background explanations or unrelated platform comparisons.
The steps below are Microsoft's developer route: you build and host the bot, then register it in Azure. With BotPenguin, you build the chatbot without code and skip Azure entirely. You only create the bot and app in the Teams Developer Portal, get admin approval, and paste in your Bot ID.
See how BotPenguin's Teams chatbot works.
A chatbot in Microsoft Teams brings routine support into the same workspace employees already use. It reduces delays caused by repeated questions and manual routing.
The main value is operational:
Answer recurring employee questions without waiting for manual support
Reduce time spent handling predictable internal requests
Route complex issues to the right person or team
Keep support activity inside Microsoft Teams
Give employees faster access to standard information and processes
This is especially useful for IT, HR, operations, and internal support teams. These departments often manage repetitive requests that follow predictable patterns.
A chatbot can handle that first layer of support consistently. Human teams can then focus on cases requiring judgment or deeper investigation.
For the broader business case, read our guide on why your business needs a Microsoft Teams chatbot. Now, let’s get to configuring the integration correctly.
A working chatbot in Microsoft Teams depends on five connected setup stages. The process covers Azure Bot setup, Teams channel configuration, app packaging, admin approval, and testing.
Complete them in order to avoid configuration issues later.
Start with a working bot that can receive messages through HTTPS. The bot must also be registered with Azure Bot Service.
If the bot is already hosted through Azure, locate its Azure Bot resource. Confirm that you are working in the correct Azure tenant and subscription.
Before continuing, check:
The bot endpoint is active
The Azure Bot resource is accessible
The Microsoft App ID is available
The correct tenant is connected
The bot responds correctly before Teams configuration
Microsoft notes that bots created outside Azure may still need Azure Bot registration. That registration provides the Microsoft App ID required for configuration.
Tip: Using a no-code builder like BotPenguin? It hosts the bot for you, so you can skip this step and Step 2.
Next, connect the Azure Bot resource to Microsoft Teams.
Microsoft’s current Azure Bot Service instructions use this path:
1. Open the Azure portal.
2. Open the Azure Bot resource.
3. Select Channels.
4. Select Microsoft Teams.
5. Review the terms.
6. Choose the required cloud environment.
7. Select Apply.
This step enables Azure Bot Service to communicate through the Microsoft Teams channel.
After applying the channel configuration, Microsoft also provides a Teams bot embed link. That link can support early testing before full app distribution.
For production use, Microsoft recommends adding the bot through a Teams app. A direct bot link should mainly support testing.
Keep the Azure Bot resource available. You will need its identifiers when configuring the Teams app.
Now configure the Teams app that represents your bot.
Microsoft currently supports Teams app management through the Developer Portal. The portal lets you manage app information, branding, capabilities, permissions, and app packages.
In the Developer Portal:
1. Open Apps.
2. Select or create the required app.
3. Open the Configure section.
4. Add Bot under App features.
5. Connect the correct bot registration.
6. Configure the required interaction scopes.
7. Review permissions and app information.
The app manifest contains the settings Teams uses to display and run the app. Developer Portal also provides an app package editor and validation checks.
Make sure the app uses the correct bot identifiers. Incorrect IDs can prevent Teams from reaching the intended bot.
Validate the app package before moving to deployment.
Once the app package is ready, upload it into Microsoft Teams.
For permitted accounts, Microsoft currently uses this Teams path:
1. Open Apps.
2. Select Manage your apps.
3. Select Upload an app.
4. Choose Upload a custom app.
5. Select the app package ZIP file.
6. Select Add.
Custom app uploading depends on your organization’s Teams settings and policies. Administrators control whether users can upload and use custom apps.
For organization-level management, admins can use: Teams apps > Manage apps
From there, administrators can review an app and change its status between allowed and blocked.
Before rollout, confirm:
Custom app uploading is permitted
The app is available to intended users
Required admin approval is complete
User access settings are correct
App permissions match the intended use
Microsoft now uses app-centric management for user-level app access in supported tenants. Older app permission policies are deprecated for that purpose.
Testing should happen before organization-wide distribution.
Microsoft recommends testing production bots as part of a Teams app. This confirms how the bot behaves inside the actual Teams environment.
Test the chatbot with realistic conversations. Check:
Welcome messages
Routine employee questions
Unsupported requests
Buttons and interactive cards
Links and attachments
Human escalation paths
Personal, chat, or team scopes
Error handling
You can also test locally during development. Microsoft supports Bot Framework Emulator and local debugging approaches for development workflows.
If the bot fails inside Teams, review the Azure channel first. Then check the app manifest, bot ID, endpoint, permissions, and app availability.
Once testing is complete, distribute the app using the method approved by your organization.
Microsoft allows Teams apps to be distributed privately within an organization. Public Teams Store publication is not required for internal use.
This completes the core setup process for a chatbot in Microsoft Teams.
BotPenguin lets you create a Microsoft Teams chatbot without coding or setting up an Azure Bot resource. You build and train the bot inside BotPenguin while completing the required Microsoft Teams configuration through the Teams Developer Portal.
Unlike the traditional Microsoft development route, BotPenguin handles bot hosting. However, you still need to configure the Teams bot and app, obtain administrator approval, and connect the required credentials.
Build Your Chatbot: Create and train your chatbot in BotPenguin.
Configure the Teams Bot: Open the Teams Developer Portal. Under Tools → Bot Management, create a bot and paste BotPenguin's webhook endpoint. Copy the Bot ID and client secret, which serves as the Bot Password.
Create the Teams App: Create an app with its App ID matching the Bot ID. Add the Bot feature with Personal, Teams, and Group Chat scopes. Choose Publish to Org.
Get Admin Approval: Ask your Teams administrator to publish the app through the Teams admin center.
Connect to BotPenguin: Enter the Bot ID and Bot Password in BotPenguin and click Connect.
For screenshots and detailed instructions, see the BotPenguin MS Teams setup guide.
Writing your own bot code instead? See how to build a Teams bot with the Teams SDK.
A good integration should remain useful after deployment. You can focus on three practices: conversational design, data security, and continuous improvement.
Keep conversations simple and easy to follow. Users should understand what the chatbot can handle from the first interaction.
Use these practices:
Write short and direct prompts
Provide clear response options
Keep instructions specific to each task
Use buttons or cards when they reduce typing
Give users a clear fallback when requests fail
Microsoft also recommends designing bots around clear tasks and natural Teams interactions.
Security should be planned before users start sharing information with the chatbot.
Request only the permissions required for the intended workflow. Microsoft Teams lets administrators review app permissions and their associated access risks.
Also consider:
What user information the bot can access
Where conversation data is stored
Which employees can use the app
How authentication protects restricted actions
Which regulatory requirements apply to stored data
Microsoft Teams also provides security, privacy, auditing, and compliance controls through Microsoft 365.
Deployment should begin an improvement cycle, not end the project.
Review conversation patterns, failed queries, user feedback, and task completion. Update confusing prompts or weak conversational paths when recurring problems appear.
Microsoft recommends planning app-specific analytics before production use. Teams-specific instrumentation can help measure user interactions and app behavior.
These practices keep the integration useful as employee needs and workflows change.
BotPenguin supports Microsoft Teams workflows through automation, AI responses, task handling, and structured interactions. Its current Microsoft Teams page highlights several features built specifically for internal team use.
Key features include:
Auto Reply to Messages: The chatbot can handle routine messages automatically. This helps teams keep recurring conversations organized.
Organize Group Meetings: The MS Teams chatbot can schedule group meetings and send invites. This supports recurring coordination without relying on manual follow-ups.
Permission-Based Actions: BotPenguin can control access to tasks based on user permissions. This supports safer handling of internal workflows and restricted information.
Answers Common Questions: BotPenguin can respond to recurring employee queries. This reduces unnecessary internal communication around predictable questions.
Adaptive Cards: Teams conversations can include interactive Adaptive Cards. These can present structured content and actionable options within the chat.
BotPenguin's Microsoft Teams chatbot supports AI agent mode, allowing businesses to configure custom instructions, communication style, and AI model preferences. It can capture details from conversations, detect a user's language, and reply in that language. Generative AI can use BotPenguin AI credits or your own OpenAI API key.
However, you should match these capabilities to the workflows your team actually needs.
When comparing alternatives, you can also compare Microsoft Teams chatbot tools.
Use the Bot Framework Emulator to test locally before deployment. Check responses, errors, and fallback handling during development. After connecting the chatbot to Teams, test it directly inside the app. This confirms that real user interactions behave as expected.
Package the bot configuration and app manifest through Teams Developer Portal or the current Teams app development workflow. Then submit the app through your organization’s admin approval process. Once approved, the chatbot becomes available to permitted users inside Microsoft Teams.
Create the app package and submit it for validation through the Microsoft Teams app publishing process. After approval, the chatbot can appear in the Teams app store or your organization’s approved app catalog. Users can then find and install it.
Use available analytics dashboards to review user interactions, response times, and usage patterns. Check this data regularly to identify performance issues or changing user behavior. Monitoring helps you spot weak responses, recurring failures, and areas that need refinement.
Use a clear versioning system so updates roll out predictably. Review user feedback and interaction logs on a regular schedule. Refine conversational flows, responses, and task handling as new usage patterns appear. Test important changes before releasing them to users.
Yes. Microsoft's developer route uses an Azure Bot resource, but a no-code builder like BotPenguin hosts the bot for you. You create a bot and an app in the Teams Developer Portal, get your Teams admin to approve it, and connect it to BotPenguin using your Bot ID and secret.
Setting up a chatbot in Microsoft Teams should not become a long technical project. With a no-code builder, you skip the Azure and hosting steps entirely.
The key is following each setup stage carefully.
If you're following Microsoft's developer route, configure Azure before connecting the bot to Teams. With BotPenguin, you can skip Azure setup while completing the required Developer Portal configuration, admin approval, and testing.
BotPenguin helps simplify this process with Microsoft Teams-specific chatbot features, AI support, and workflow automation.
Ready to create a chatbot without configuring Azure? Explore BotPenguin's Microsoft Teams chatbot and start your 7-day free trial without a credit card.
Subscribe to Our Newsletter
Get the latest business insights straight into your inbox.
Checkout our related blogs you will love.
Updated at Oct 13, 2026
12 min to read
Updated at Oct 12, 2026
12 min to read
Updated at Oct 1, 2026
15 min to read
Updated at Sep 11, 2026
6 min to read
Updated at Sep 10, 2026
9 min to read
Updated at Sep 10, 2026
8 min to read
Table of Contents