Introduction
Are you looking to build smart chatbots? Look no further than PyTorch, the cutting-edge deep learning library that will revolutionize your approach to building intelligent conversational agents.
In this comprehensive guide, we'll explore PyTorch's versatile features, from dynamic computational graphs to efficient GPU acceleration.
You'll learn how to harness its capabilities to develop chatbots that can process natural language, understand context, and generate human-like responses.
We'll walk you through the entire process, starting with setting up your development environment and preprocessing your training data.
Then, you'll learn to design and implement neural network architectures tailored for chatbot models, leveraging PyTorch's powerful modules and functions.
But that's not all – we'll explore advanced techniques for training your chatbot model, optimizing its performance, and evaluating its effectiveness using industry-standard metrics.
You'll also discover strategies for integrating your chatbot seamlessly into web and mobile applications, enhancing user experiences like never before.
Buckle up and get ready to unleash PyTorch's full potential in chatbot development.
This guide will equip you with the knowledge and skills to create intelligent, engaging, and responsive chatbots that redefine user interaction with technology.
Getting Started with PyTorch
PyTorch is a powerful deep-learning library that provides a flexible platform for building smart chatbots.
In this section, we will get you started with PyTorch, covering its features, installation guide, and setting up a chatbot development environment.

PyTorch and Its Features
PyTorch is an open-source machine learning library developed by Facebook's AI research lab. It is highly regarded for its simplicity, dynamic computational graph, and efficient GPU utilization.
PyTorch is ideal for chatbot development because it makes it easy to build and train deep learning models.
Some key features of PyTorch include:
- Dynamic computational graph: Unlike other libraries, PyTorch offers a dynamic computational graph, meaning you can modify your model on the fly. This flexibility allows for easy experimentation and debugging.
- Efficient GPU support: PyTorch provides efficient GPU acceleration, enabling faster training and inference of deep learning models.
- Rich ecosystem: PyTorch has a vibrant and growing community, offering a wide range of pre-trained models, libraries, and tools to enhance your chatbot development process.
Installation Guide for PyTorch
To install PyTorch, follow these simple steps:
Step 1
Choose the appropriate installation method based on your system configuration. PyTorch supports Windows, macOS, and Linux operating systems.
Step 2
Visit the PyTorch website and select the installation command that matches your system and preferred package manager (such as conda or pip).
Step 3
Open a terminal or command prompt and execute the installation command.
Step 4
Wait for the installation process to complete. PyTorch and its dependencies will be downloaded and installed automatically.
Step 5
Once installed, you can verify the installation by importing PyTorch in a Python script and checking for errors.
Setting Up a Development Environment for Chatbot Development
To begin developing chatbots with PyTorch, setting up a suitable development environment is essential. Here are the steps involved:
Step 1
Choose a code editor or integrated development environment (IDE) for writing your chatbot code.
Some popular options include Visual Studio Code, PyCharm, and Jupyter Notebook. Pick the one you are most comfortable with.
Step 2
Create a virtual environment for isolating your chatbot project dependencies.
This step ensures that the libraries and versions used in your chatbot development do not conflict with other projects on your system.
You can use virtualenv or conda to create and manage virtual environments.
Step 3
Activate the virtual environment and install the required Python packages.
In addition to PyTorch, you may need additional packages such as NumPy, NLTK (Natural Language Toolkit), and torchtext. Use the package manager (pip or conda) to install these dependencies.
Once you have set up your development environment, you can move on to the next section and start preparing your training data for chatbot development.
Data Preprocessing for Chatbot Training
Data preprocessing plays a crucial role in chatbot training.
By cleaning, organizing, and transforming the training data, you can improve the performance and accuracy of your chatbot model.
This section will discuss the importance of data preprocessing and cover various techniques for cleaning and preparing the training data.
Importance of Data Preprocessing in Chatbot Training
Data preprocessing is essential in chatbot training for several reasons.
Firstly, raw data generally contains noise, inconsistencies, and irrelevant information that can negatively impact the chatbot's performance. Preprocessing helps remove these anomalies and create a cleaner dataset.
Secondly, data preprocessing helps standardize the format and structure of the training data. Chatbot models often require a specific input format, such as tokenized text or numerical vectors.
By preprocessing the data, you can ensure that it aligns with the required format, making it easier for the model to process and understand.
Furthermore, data preprocessing reduces the dimensionality of the input data. This step becomes crucial when dealing with large datasets to optimize memory usage and computational efficiency.
Cleaning and Preparing the Training Data
Cleaning the training data involves removing unnecessary symbols, punctuation, and special characters.
You can achieve this using regular expressions or built-in Python string manipulation functions. Additionally, it is crucial to handle capitalization, stemming, and stop words to enhance the quality of the training data.
After cleaning the data, you must split it into appropriate training and testing sets. The general practice is to reserve a portion of the data for evaluation. This helps you assess the chatbot model's performance against unseen data.
Tokenization and Vectorization Techniques for Text Data
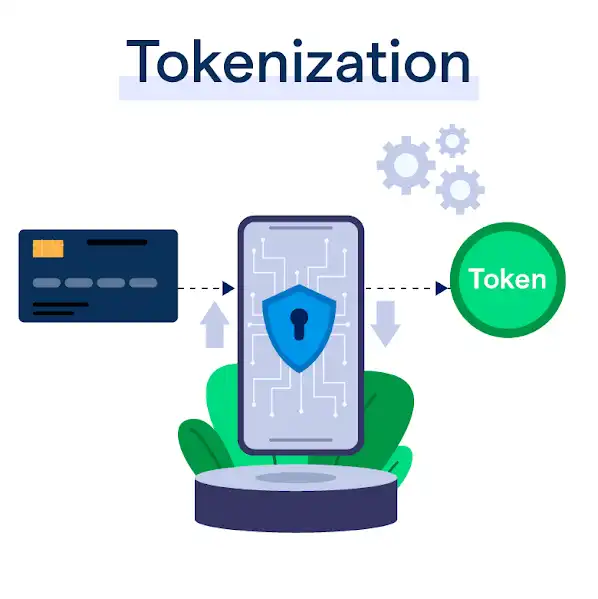
Tokenization is the process of splitting text into individual words or tokens. These tokens serve as the basic building blocks for training a chatbot model.
PyTorch provides tokenization techniques, such as splitting text based on whitespace punctuation or using advanced natural language processing (NLP) libraries like NLTK or Spacy.
Once you have tokenized the text, the next step is to convert these tokens into numerical vectors that the chatbot model can understand.
This process is known as vectorization. Techniques such as one-hot encoding, Word2Vec, or GloVe embeddings can be used to represent the tokens as numerical vectors.
Applying these preprocessing techniques ensures that your chatbot model receives clean, well-structured data ready for training and can generate accurate responses.
The next section will delve into building the actual chatbot model using PyTorch.
Next, we will see how to build a chatbot model using PyTorch.
Building the Chatbot Model with PyTorch
Building a chatbot model involves designing and implementing a neural network architecture using PyTorch.
In this section, we will introduce neural networks and their role in chatbot development, discuss the steps involved in designing the chatbot model architecture, and demonstrate how to implement the model using PyTorch's modules and functions.
Neural Networks and their Role in Chatbot Development
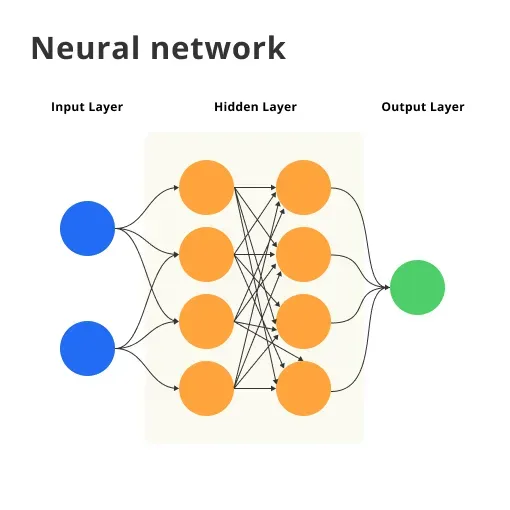
Neural networks are a fundamental component of chatbot development. They are designed to mimic the human brain's structure and function, enabling chatbots to learn from data and make intelligent decisions.
Neural networks consist of interconnected layers of artificial neurons known as perceptrons. Each neuron performs a simple computation on the input data and passes the result to the next layer.
In chatbot development, neural networks play a crucial role in two main aspects:
- Input Processing: Neural networks process the user's input, which is usually in the form of text.
Through various layers of neurons, the network transforms this textual input into numerical representations that it can understand and analyze.
- Output Generation: Once the input has been processed, neural networks generate the chatbot's response.
By passing the processed input through additional layers of neurons, the network produces a text-based output that is coherent and relevant to the user's query.
Designing the Architecture of the Chatbot Model using PyTorch

Designing the architecture of the chatbot model involves determining the number and layout of the neural network layers.
Each layer performs a specific computational task and contributes to the overall functionality of the model.
The architecture is typically designed based on the chatbot's specific requirements, such as the complexity of the conversational patterns it needs to understand and generate.
PyTorch provides a flexible framework for designing the chatbot model architecture. Some commonly used layers for chatbot models include:
- Embedding layer: Converts the numerical representations of words into dense vectors that capture semantic relationships.
This layer learns meaningful representations of words from the training data, contributing to the model's understanding of language.
- Recurrent neural network (RNN) layer: This layer processes sequential input data, such as sentences or dialogue history, by maintaining an internal memory state.
RNNs enable the model to capture contextual information and generate contextually coherent responses.
- Linear layer: This layer performs a linear transformation on the input data, followed by an activation function.
Linear layers contribute to modeling non-linear relationships and can be used for tasks such as sentiment analysis or intent classification.
Implementing the Model using PyTorch's Modules and Functions
Once the architecture of the chatbot model has been designed, it can be implemented using PyTorch's modules and functions.
PyTorch provides various pre-defined classes and functions that simplify the implementation process. Here are the critical steps involved in implementing the chatbot model:
Step 1
Define the model class
In PyTorch, models are defined as the torch.nn subclasses.Module class. You can use PyTorch's extensive library of modules and functions to build your chatbot model by inheriting from this class.
Step 2
Initialize the model
Within the model class, you need to define the initialization method, which initializes the different layers and parameters of the model.
This method defines the specific layers that make up your chatbot model architecture.
Step 3
Implement the forward pass
The forward pass defines how the input data is processed through the model's different layers.
In this method, you specify the data flow through the layers, applying transformations and activations as necessary.
Suggested Reading:
Chainer vs PyTorch: Comparing Deep Learning Frameworks
Step 4
Configure the model's behavior
Depending on your chatbot's requirements, you might need to configure additional model behaviors, such as attention mechanisms or beam search for response generation.
These can be implemented as additional methods within the model class.
Step 5
Instantiate and load the model
After defining the model class, you can instantiate an instance of the model and load any pre-trained weights, if available. This allows you to use the model for training or inference tasks.
Following these steps, you can implement the chatbot model architecture using PyTorch's modules and functions, creating a robust neural network to process input data and generate relevant responses.
Next, we will see how to train your PyTorch chatbot model.
Training the Chatbot Model
Training the chatbot model involves feeding it with the training data and optimizing its parameters to minimize the difference between predicted and actual responses.
This section will discuss the steps involved in training the chatbot model, including data splitting, the training loop in PyTorch, and monitoring the training process for optimal performance.
Splitting the Data into Training and Validation Sets
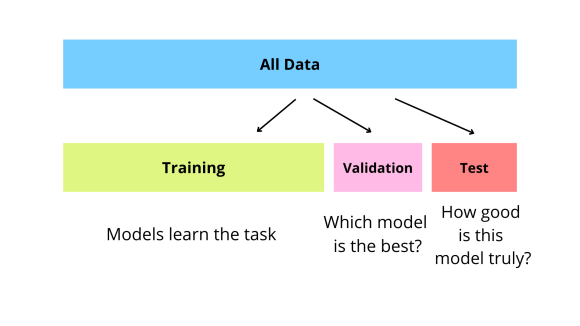
Before training the chatbot model, splitting the training data into separate training and validation sets is crucial. The training set updates the model's parameters during the training process.
In contrast, the validation set evaluates the model's performance on unseen data and prevents overfitting.
PyTorch provides convenient data split functions, such as train_test_split from sklearn.model_selection or custom data splitting based on shuffled indices.
Training the Chatbot Model using PyTorch's Training Loop
PyTorch provides a training loop framework that simplifies training a chatbot model. The key steps involved in the training loop are as follows:
Step 1
Define the loss function
Choose an appropriate function for the chatbot model. Common choices include cross-entropy loss for classification tasks or mean squared error for regression tasks.
Step 2
Configure the optimizer
Choose an optimizer algorithm, such as Adam or SGD, to update the model's parameters during training.
Configure the optimizer by setting the learning rate, weight decay, and other hyperparameters.
Step 3
Iterate over the training data
Iterate over the training data in batches using PyTorch's DataLoader class. For each batch, perform the following steps:
- Zero the gradients: Clear the accumulated gradients from the previous batch to avoid interference during the current batch's update phase.
- Forward pass: Pass the input data through the chatbot model, generating predicted responses.
- Compute the loss: Compare the predicted responses with the actual responses from the training data and calculate the loss using the chosen loss function.
- Backward pass: Propagate the loss through the network using PyTorch's automatic differentiation capabilities. This step computes the gradients of the model's parameters with respect to the loss.
- Update the parameters: Use the optimizer to update the model's parameters based on the computed gradients. This step adjusts the model's parameters to minimize the loss.
Step 4
Validate the model
After each training epoch, evaluate the model's performance on the validation set.
Compute relevant metrics, such as accuracy or perplexity, to assess the model's generalization ability.
Monitoring the Training Process and Optimizing Model Performance

During training, tracking the model's performance and making adjustments to improve its effectiveness is essential.
Here are some techniques to maximize model performance:
- Learning rate schedule: Adjust the learning rate during training to fine-tune the model. Techniques such as learning rate decay or cyclic learning rates can improve the model's convergence speed and final performance.
- Early stopping: Monitor the validation loss or other metrics and stop training when the model's performance on the validation set starts to degrade.
This technique prevents overfitting and saves computation time.
- Regularization: Apply regularization techniques such as L1 or L2 regularization to prevent the model from becoming too complex and overfitting the training data.
- Hyperparameter tuning: Experiment with different hyperparameter settings, such as batch size or number of layers, to find the optimal configuration for your chatbot model.
Monitoring the training process and optimizing model performance ensures your chatbot model learns effectively and generates accurate responses.
In the next section, we will cover the evaluation and deployment of the trained chatbot model.
Evaluating and Fine-tuning the Chatbot Model
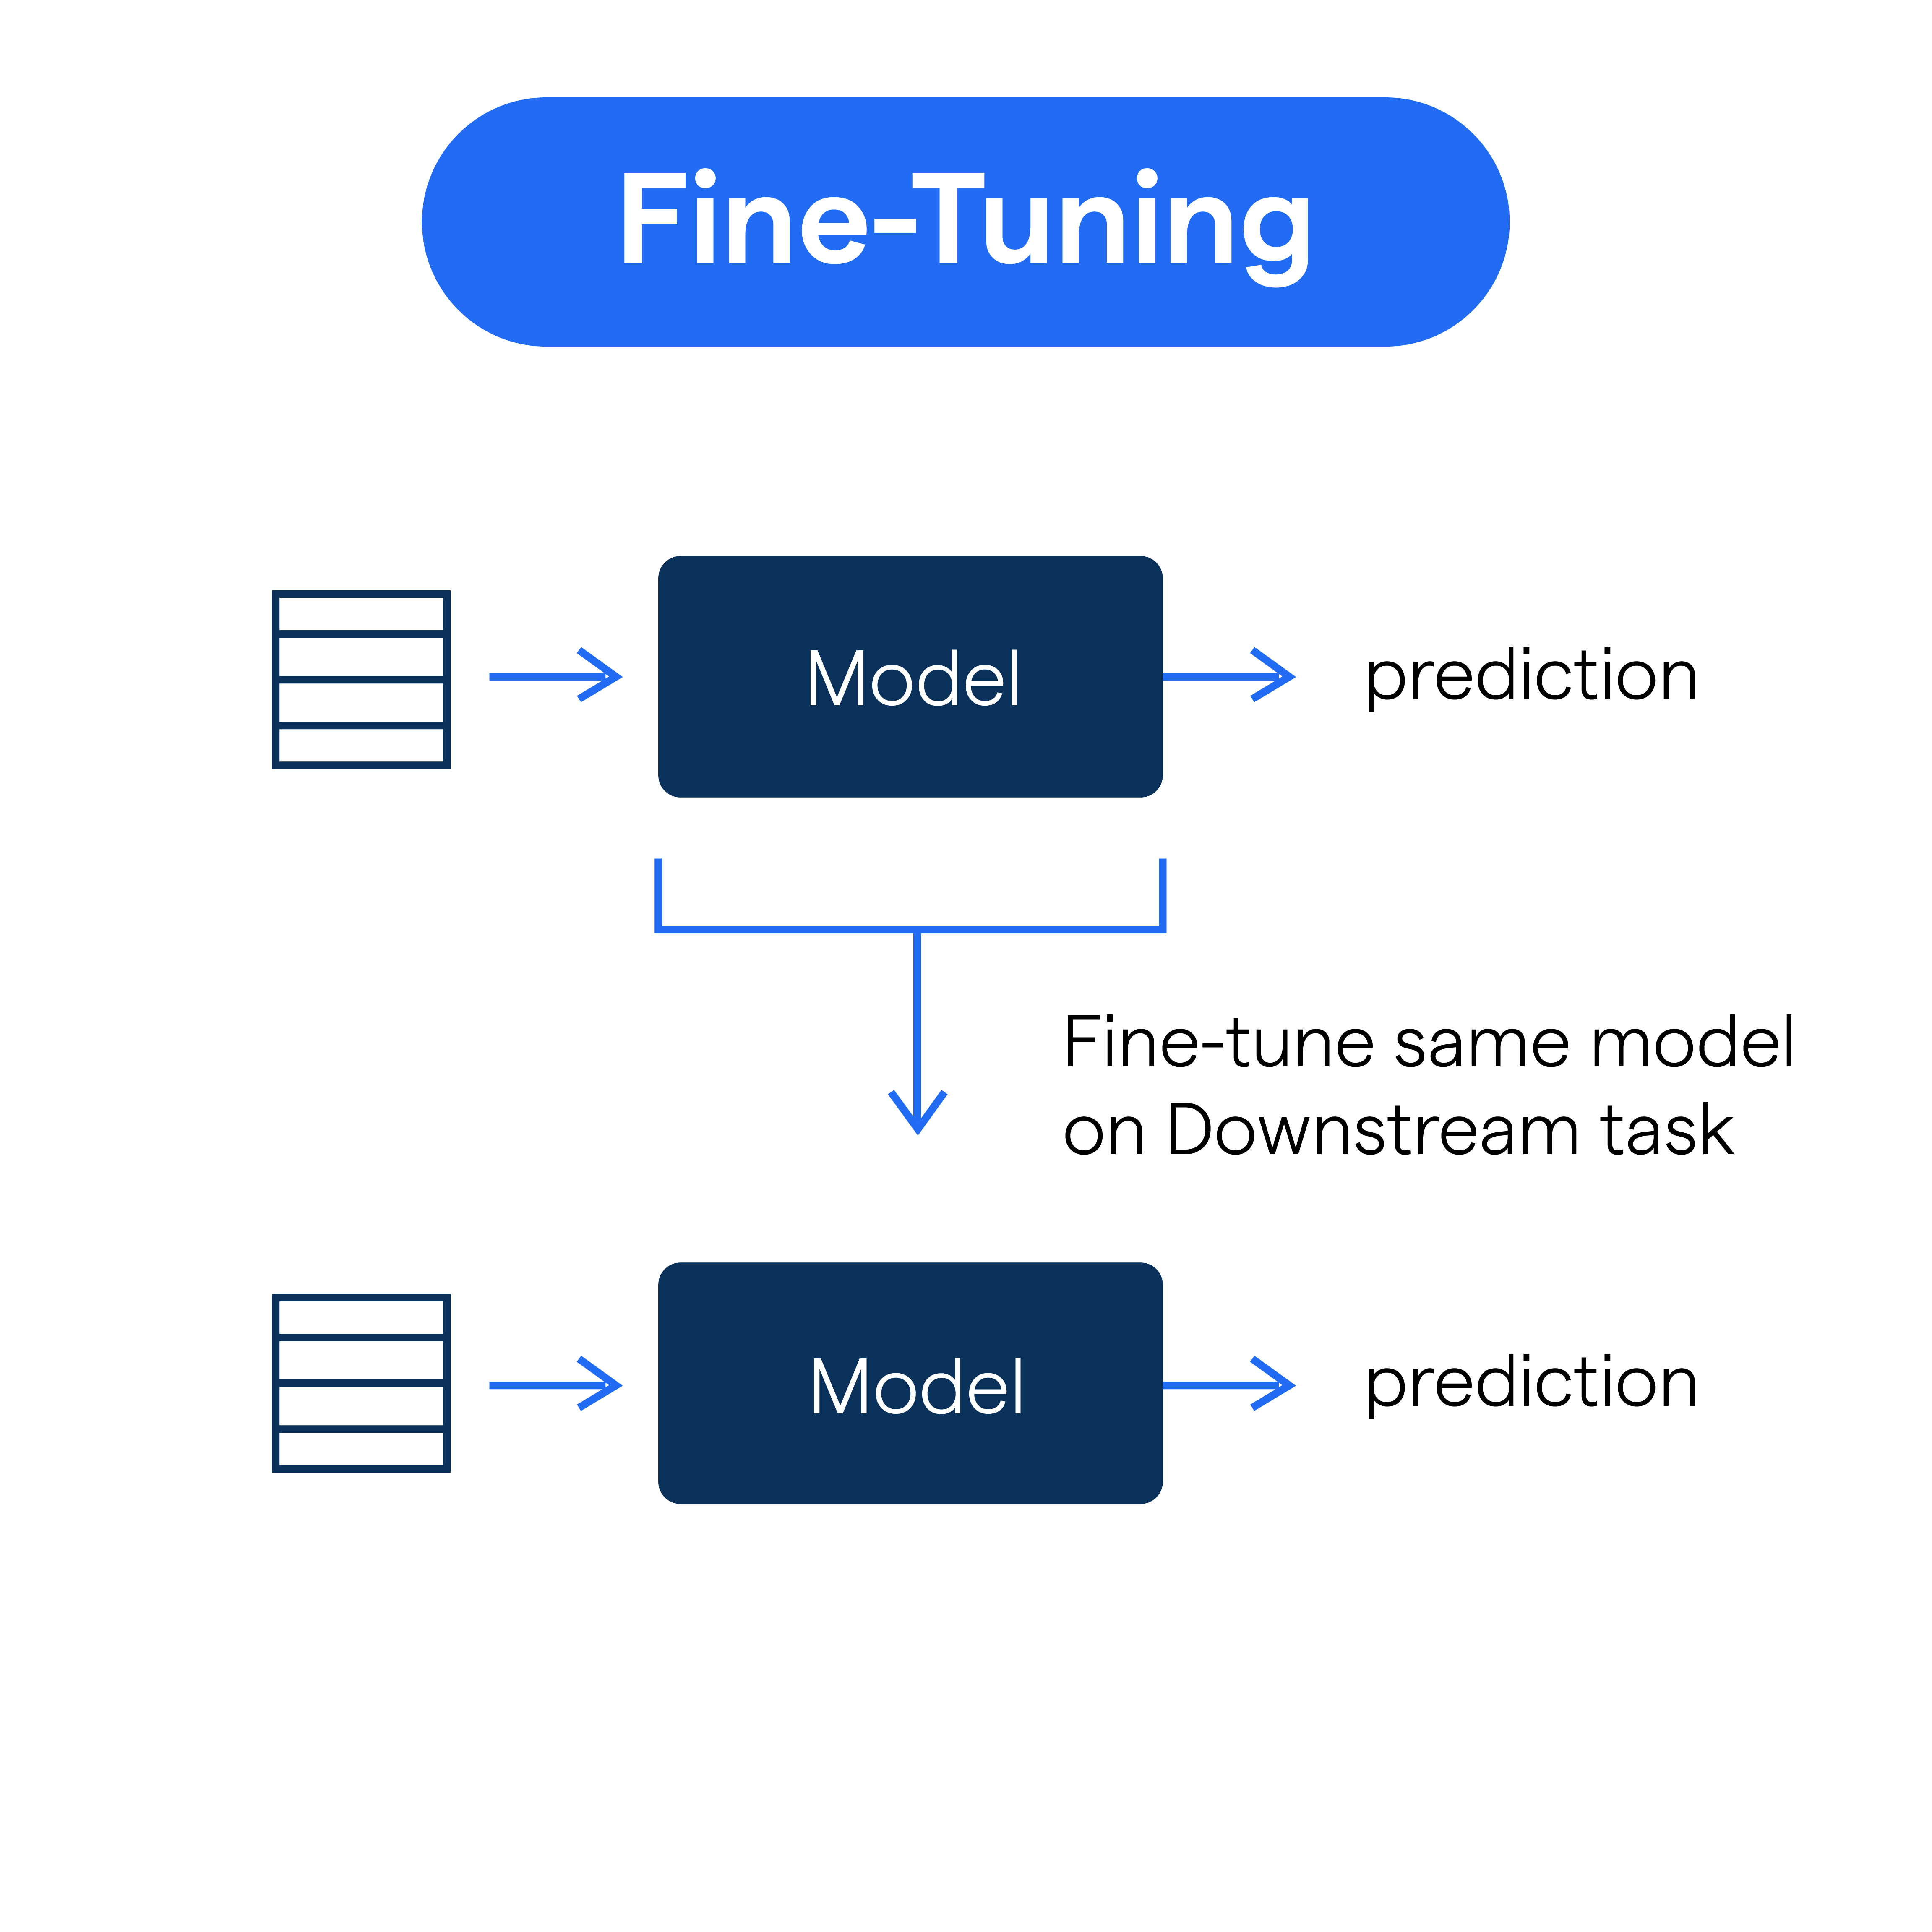
Building an intelligent chatbot with PyTorch is just the beginning. Once the model is trained, it’s crucial to evaluate its performance and refine its capabilities.
Let’s delve into evaluating and fine-tuning the chatbot model using simple and effective methods.
Evaluating the Trained Chatbot Model using Appropriate Metrics
The first step in this process is to assess the chatbot’s performance using relevant metrics such as accuracy, precision, recall, and F1 score.
These metrics provide insights into how well the chatbot understands and responds to user queries.
By analyzing these metrics, you can identify areas where the chatbot excels and may need improvement.
Identifying Areas of Improvement and Fine-Tuning the Model
After evaluating the chatbot’s performance, it’s time to pinpoint areas that require fine-tuning.
This could involve refining the chatbot’s natural language processing (NLP) capabilities, addressing common user query patterns, or enhancing its conversational abilities.
By iteratively refining the model based on these observations, you can elevate the chatbot’s overall effectiveness.
Suggested Reading:
PyTorch Vs No Code Chatbot: Pros and Cons of Each Solution
Strategies for Handling Common Challenges in Chatbot Development
Chatbot development often presents challenges such as handling ambiguous user input, context retention in conversations, and maintaining an engaging conversational flow.
Strategies like incorporating contextual memory, utilizing fallback responses, and implementing multi-turn dialogue management can help overcome these hurdles and improve the chatbot’s interaction with users.
Next, we will see how to Integrate PyTorch chatbot with applications.
Integrating Chatbot with Applications
Integrating chatbots with web and mobile applications can enhance user experience and provide seamless interaction.
Here are some techniques for integrating chatbots into applications:
- In-app chat widget: Embedding a chat widget into a web or mobile application allows users to interact with the chatbot without leaving the application.
The chat widget can be a simple text input box or a conversational interface that enables users to ask questions or get assistance within the application.
- API-based integration: Developers can connect the application with the chatbot backend using APIs. The application's front end sends user queries to the chatbot API, which returns the chatbot's response, which can be displayed within the application.
- Webhooks and callbacks: Webhooks and callbacks facilitate real-time communication between the application and the chatbot backend.
Developers can configure the application to receive updates or notifications from the chatbot, enabling dynamic interaction and displaying relevant information to the user.
Using APIs and Frameworks to Connect the Chatbot with Other Systems
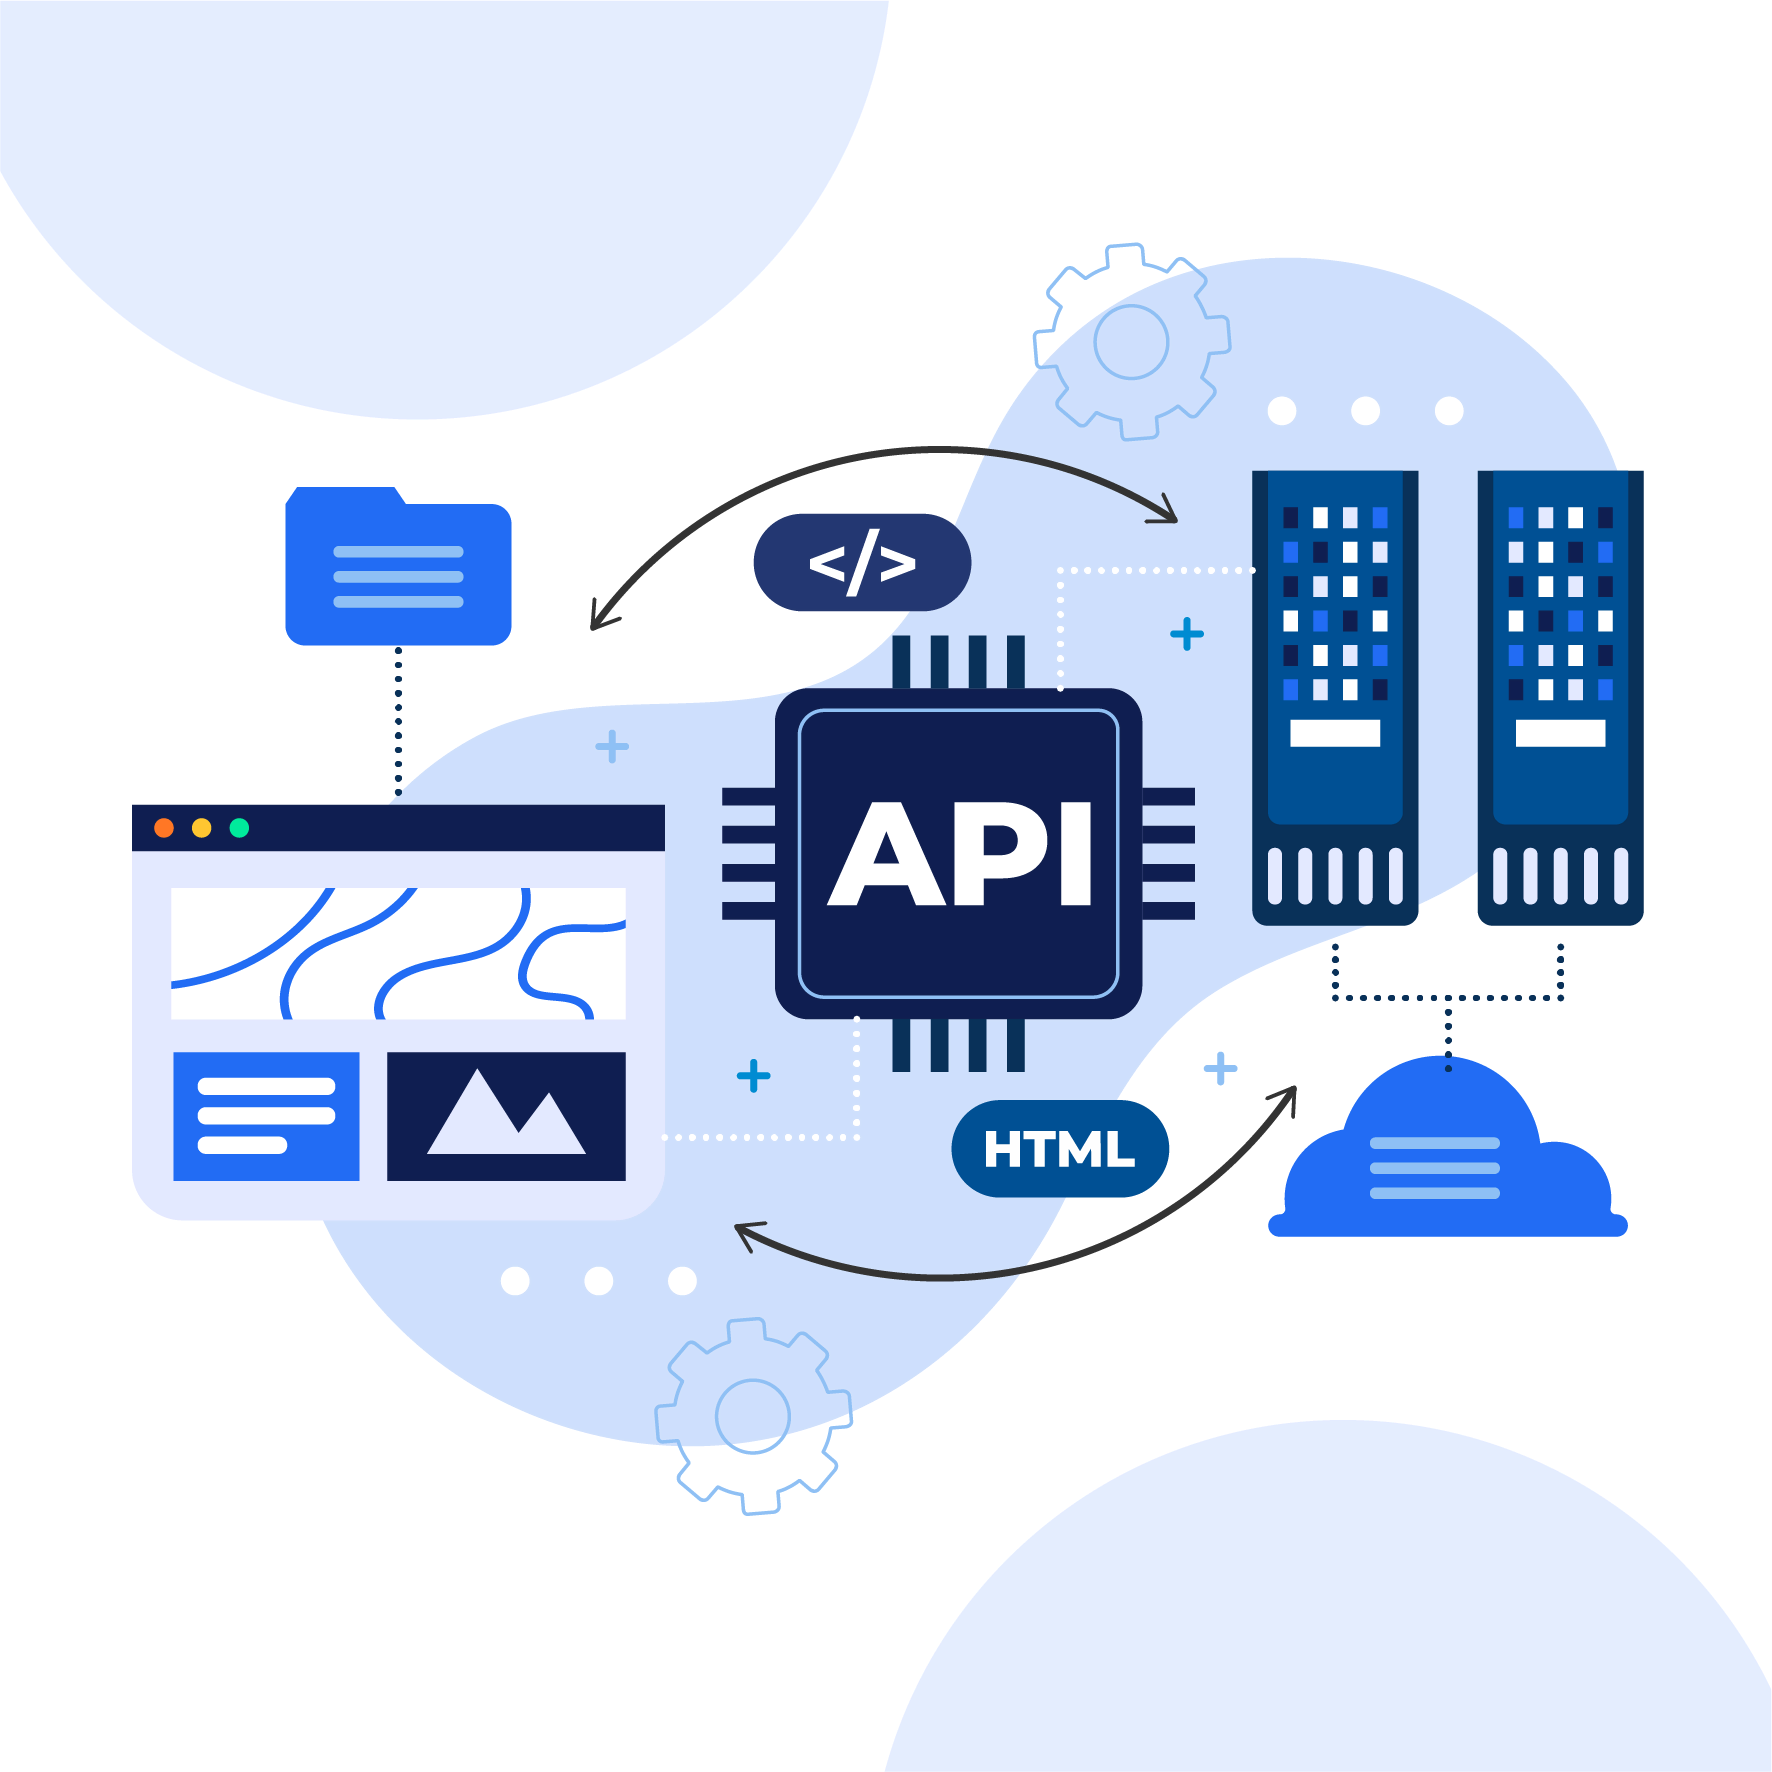
APIs and frameworks are crucial in connecting a chatbot with other systems. Here are some ways to leverage APIs and frameworks for chatbot integration:
- External service APIs: Chatbots can utilize various external service APIs to enhance their functionality.
For example, integrating with a weather service API enables the chatbot to provide weather information to users, or integrating with a third-party authentication API allows the chatbot to authenticate users.
- Natural Language Processing (NLP) APIs: NLP APIs such as Google's Natural Language Processing API or IBM Watson's NLU API can be leveraged to enhance the chatbot's language understanding capabilities.
These APIs provide pre-trained models and functionalities for sentiment analysis, entity extraction, and intent classification.
- Chatbot development frameworks: Chatbot development frameworks like Rasa, Dialogflow, or Microsoft Bot Framework offer comprehensive tools and integrations to build and deploy chatbots across various platforms.
These frameworks provide APIs and SDKs that simplify connecting the chatbot with applications and systems.
Suggested Reading:
Choosing between PyTorch and TensorFlow for deep learning
Ensuring Smooth Communication between the Chatbot and the Application
Seamless communication between the chatbot and the application is essential for a smooth user experience. Here are some strategies to ensure smooth communication:
- Consistent user experience: The chatbot's interface should align with the application's overall design and follow the same user experience guidelines.
Consistency in design, branding, and interaction patterns creates a seamless transition between the application and the chatbot.
- Context sharing: To maintain context between the application and the chatbot, developers can pass relevant information, such as user preferences or previous user interactions, from the application to the chatbot's backend.
This ensures that the chatbot can access relevant information and provide personalized responses.
- Error handling: Proper error handling is crucial to ensure smooth communication. The application should handle errors gracefully, displaying appropriate error messages to users when the chatbot fails to respond or encounters an unexpected error.
- System integration testing: Testing the chatbot and application integration is essential to identify and fix any communication issues.
System integration testing ensures that the chatbot behaves as expected within the application environment in terms of functionality and user interaction.
By implementing these strategies, developers can effectively integrate chatbots with web and mobile applications, providing users with a seamless and user-friendly experience.
Conclusion
Building an intelligent chatbot is a rewarding journey, and PyTorch provides the tools to make it happen.
With its powerful features and flexibility, you can create chatbots that understand natural language, remember context, and engage users in seamless conversations.
By following the steps outlined in this guide, you'll be well-equipped to tackle chatbot development challenges and integrate your creation into various applications.
If you're looking for a comprehensive chatbot solution, consider BotPenguin. Our platform simplifies the development process, offering pre-trained models, easy integration and advanced NLP capabilities.
With BotPenguin, you can focus on crafting engaging conversational experiences while we handle the heavy lifting. Unleash the power of AI-driven chatbots and elevate your user interactions today.
Frequently Asked Questions (FAQs)
What kind of data is needed to train a PyTorch chatbot?
Chatbot training requires a dataset of conversations. This data can include dialogues, Q&A pairs, or chat logs, where each entry should ideally have user input and corresponding responses.
Are there any pre-built libraries for chatbots in PyTorch?
While PyTorch doesn't have built-in chatbot libraries, frameworks like Rasa and AllenNLP can be integrated with PyTorch for easier chatbot development.
What are the limitations of building chatbots with PyTorch?
Building complex chatbots requires expertise in NLP and deep learning. Large datasets and significant computational resources might also be needed for effective training.
How can I get started with building a PyTorch chatbot?
Several online tutorials and courses guide you about building a PyTorch chatbot through the process. It is recommended that you start with more straightforward examples and gradually progress towards more complex models.
What are some real-world applications of PyTorch chatbots?
PyTorch chatbot can be used for customer service, information retrieval, educational purposes, and even building intelligent virtual assistants.
How can I evaluate the performance of a PyTorch chatbot?
Metrics like BLEU score (measures similarity between generated and reference responses) and user satisfaction surveys can be used to assess the PyTorch chatbot effectiveness.

