
Apart from quality products or services, business houses need to maintain healthy relations with their customers to reach new heights.
Many big companies are now giving proper attention to this concept. It is crucial to earn the trust and respect of your customers to build good bonds with them.
For this purpose, CRM (Customer Relationship Management) came into existence. It is an approach that helps to improve existing customer relationships and earn new customers.
Investing in a good CRM tool is essential, and Zoho is one of the best choices. It comes with a total package of benefits that one needs to build good relationships with customers.
In this blog, we will learn about Zoho CRM and how to use it to maximize your business and attract customers like a magnet.
Why is Zoho CRM the best choice for your business?
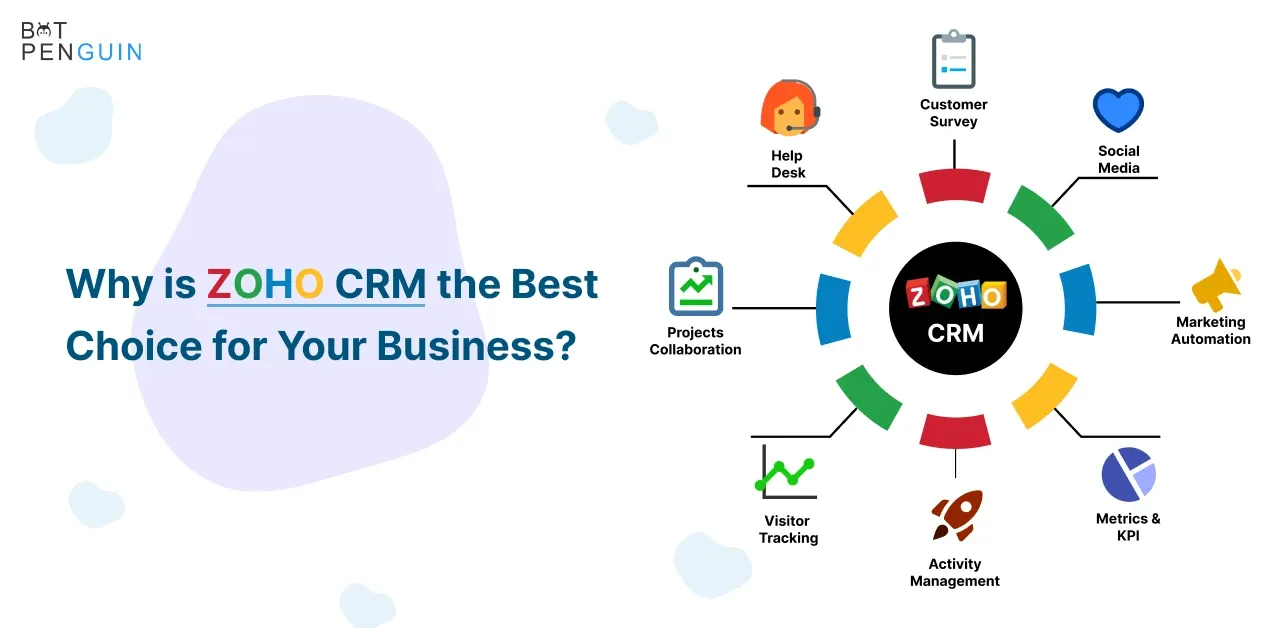
Zoho CRM is an excellent pick for startups and small businesses needing client and contact management, sales forecasting, and marketing automation features. It is because of its user-friendly interface.
Zoho CRM is beneficial to all scales of businesses with five different plans. Zoho CRM can fulfill your needs with its top premium plans when your business expands, and your teams require more sophisticated features.
How to use Zoho CRM in 9 simple steps
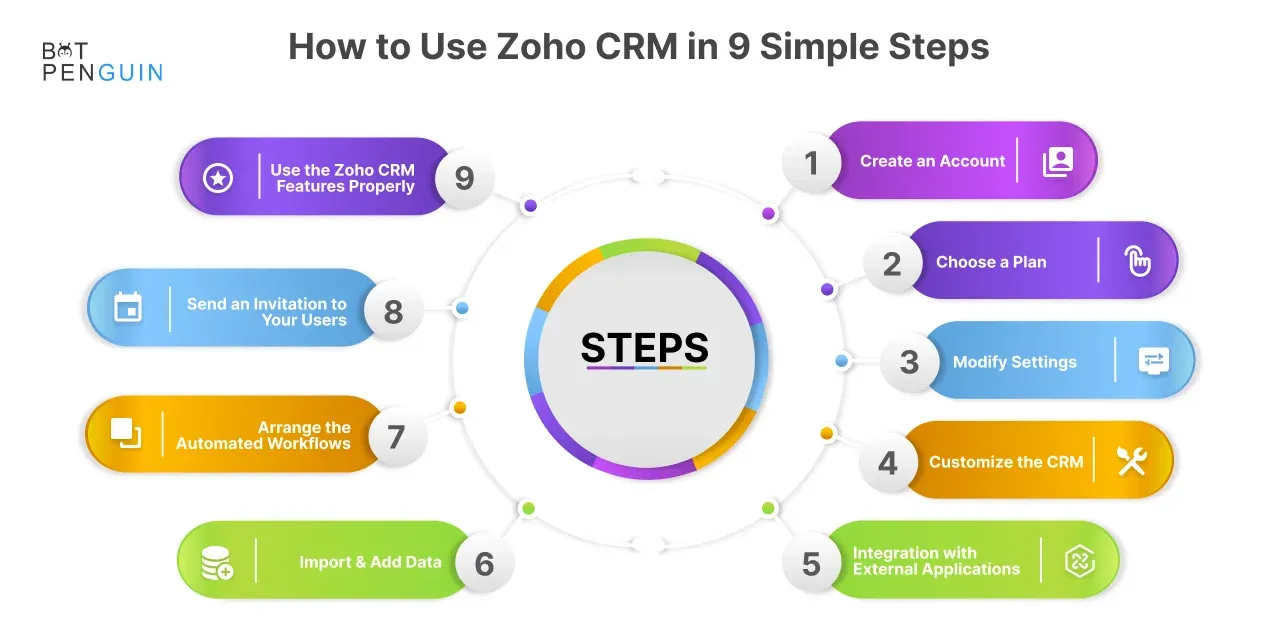
Zoho can be a great start to using CRM software for beginners. The following steps will give you a clear idea of using Zoho CRM in 2022.
Step 1: Create an account
To start learning Zoho CRM, you should create a Zoho CRM account. Go to the "Get Started" page on Zoho's website and give your credential information, such as your name, email address, and password. Zoho also allows you to create an account through Google or LinkedIn accounts.
Step 2: Choose a plan
After your account is created and verified through a confirmation email, you'll be taken to the welcome screen. You can go for a free trial of the Enterprise plan that lasts 15 days to get an idea about the platform's features or directly select a paid plan. After you end your trial period, you need to upgrade to a regular paid plan or the free-forever edition, and there you've to select the number of users, check out, and make the payment if necessary.
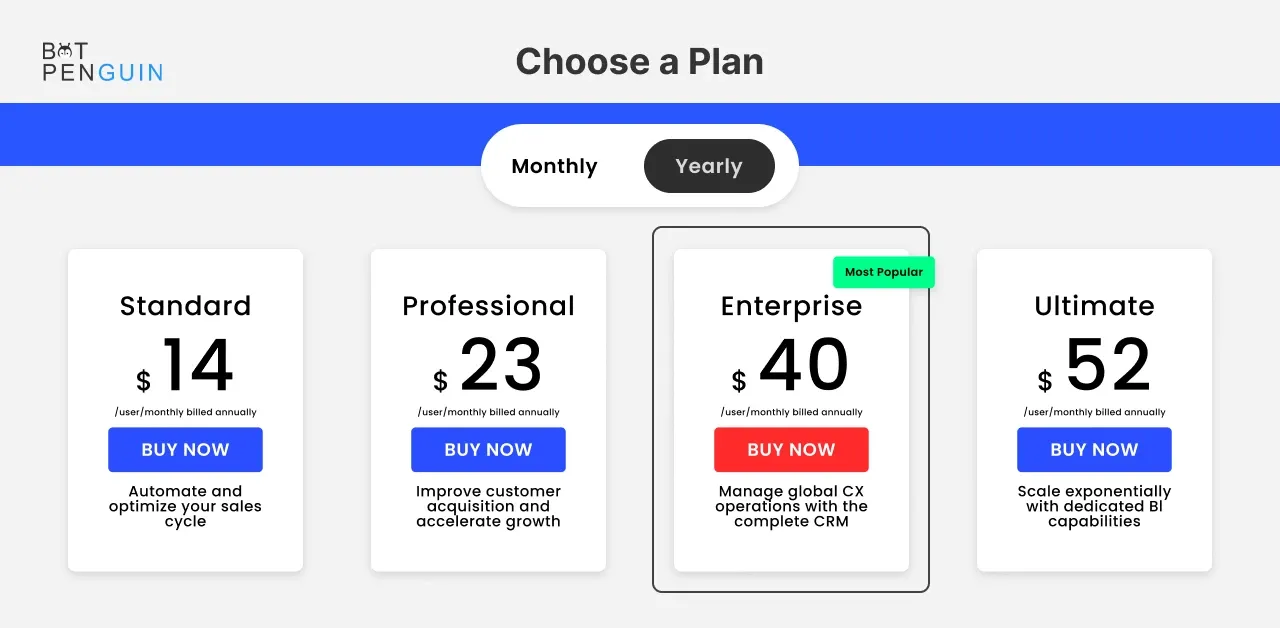
Zoho CRM has five subscription plans that vary in features, data storage, customization options, and the number of users.
Plan 1 - The Free plan can be used for up to three users
Plan 2 - The Standard plan costs $14 per user per month (billed annually) or $20 per user per month(billed monthly).
Plan 3 - The Professional plan costs $23 per user per month (billed annually) or $35 per user per month (billed monthly).
Plan 4 - The Enterprise plan costs $40 per user per month (billed annually) or $50 per user per month (billed monthly).
Plan 5 - The Ultimate plan costs $52 per user per month (billed annually) or $65 per user per month (billed monthly).
Step 3: Modify settings according to your need
You are considered the system Administrator or Admin because you are the initial creator and user of the CRM. Thus, you are the settings manager of all other users with the ability to add and remove them and set their permission status.
As the Admin, you are responsible for designing settings perfect for fulfilling your requirements.
To set up the General settings,
Go to General -> Click Personal Settings -> Choose the correct language and time zone for your team.
Create your actual company profile after your settings are set up correctly.
Go to the Settings menu and look in the General column for the Company Details.
Start inputting information about your organization, fiscal year, business hours, and standard currency from available data.
Step 4: Customize the CRM System
In Zoho, you can customize your CRM system. This customization refers to creating all the modules, fields, templates, pipelines, and views you'll use in Zoho. It is one of the essential steps in using Zoho CRM.
Create your modules and customize their components according to your business operations and preferences. The features and associated data of Zoho CRM are sorted into "modules." Modules are spaces where users can collaborate and keep each other updated on activities and progress made on sales opportunities, marketing campaigns, and customer support initiatives.
Suggested Reading:
Zoho CRM VS LionDesk
Step 5: Integration with External Applications
Zoho users can integrate Zoho CRM with third-party applications according to their choice and other native software, along with built-in features and custom modules available. Doing so gives them additional functionality for the CRM and allows them to sync data between applications, thus saving them time.
You can add applications to the CRM by going to Setup, Marketplace, and Zoho. From there, choose the specific software you want to add, click on Get Started, and follow the instructions on the screen.
Zoho has a variety of CRM applications available for its customers. Some of the most popular ones include Zoho Projects, Zoho Desk, Zoho Campaigns, Zoho Survey, Zoho Mail, and Zoho Finance Suite.
When you integrate with third-party software, it gives you the functionality and data synchronization with applications that Zoho does not create.
Users can integrate with Google and Microsoft productivity products, websites, social media platforms, and even other CRMs like HubSpot and Salesforce while using Zoho. There is a variation in application in terms of the integration process.
Step 6: Import & Add Data
Once you're done designing the Zoho CRM system and fully integrated with all the add-ons, extensions, and applications you'd like to add, you can start making your CRM more useful. You must import or add data you've collected and store it in a separate data system.
For data migration, go to Setup, then Data Administration, and click on Import. From there, select the file or other CRM you want to migrate from and follow the instructions on the screen.
After you complete the process, all your leads, contacts, deals, and activities from other systems will be added to your Zoho account.
Suggested Reading:
Step 7: Arrange the automated workflows
You can receive notifications, create tasks, and update data fields by automating your workflow. For instance, if a new leader wants to receive a quote, you can set an automation rule that creates a new task for a user of "create and send invoice" if that lead reaches a particular stage in the deal pipeline.
The workflow rules can be changed by clicking on Setup, Automation, and Workflow Rules. Then select "Create Rule." After that, select the module from the drop-down list to which the workflow will apply. Then enter a name and description.
The next thing you have to do is set your automation triggers. The steps to do so will be shown on the screen and when you're done, save the workflow. Zoho CRM allows for three types of rule triggers for automation action to take place. They are as follows:
Record Action: This records actions like a record being added, edited, deleted, or a specific data field being updated.
Date Field Value: When a date takes place as per the data field of a record shown.
Score Value: Commonly used for lead scoring to qualify leads, it shows the score of a record if it is increased, decreased, or updated, and accordingly, Zoho CRM sets automation rule triggers.
You can set workflow conditions within automation to address scenarios where you would or would not activate the automation.
Step 8: Send an invitation to your users
Once you have finished designing, integrating, and configuring your CRM platform according to your needs, start inviting your users. To do so, go to "Setup" then "Users & Control" and click on "Users page." Then enter the identifiable information, such as their name and email address. Select their role at your organization and the profile that they will have at your organization.
The profile that they get determines their access rights. You can either assign them Administrator or Standard-level profiles. While the Administrator rights give users access to all data and modules, the Standard has limited access based on role and security parameters set by the Admins.
After you add the user, they will get an email to complete their registration and get access to the CRM. They can customize their system experience, like layouts and home page views. They can also start using the features and collaborating on tasks and deals.
Step 9: Use the Zoho CRM Features properly
The final step for learning Zoho CRM is utilizing the most available features:
Become familiar with essential features like lead management and contact organization before jumping into advanced automation and artificial intelligence (AI) tools.
You should know more about layouts until you are comfortable with your interface.
Read about Zoho tutorials and follow how-to guides to increase your expertise using the CRM.
A CRM is valuable only when you use the features correctly and adapt the system to your growing small business operations.
Conclusion
It would help if you understood the importance of investing in a good CRM to grow your business. There is plenty of CRM software available in the market, but you should be careful before investing. You need to research if your company will get any benefit from the features given by CRM.
Zoho CRM is one of the most trusted CRM software and has excellent features to help your business reach new heights.
Its user-friendly interface and unique tools will make your life easier and help you build great relationships with your customers. The incredible feature of Zoho is its variety of plans that have something for every business house- whether big or small.
In this blog, we have discussed why you should invest in CRM software like Zoho and given a detailed setup guideline in 9 simple steps.
If you have any further queries regarding Zoho or its setup guideline, feel free to comment below.
Also, if you are looking for excellent and reliable customer service, check out the amazing features offered by BotPenguin!