


20 Best Zapier Integrations in 2026 (By Category)
Updated at Oct 12, 2026
12 min to read
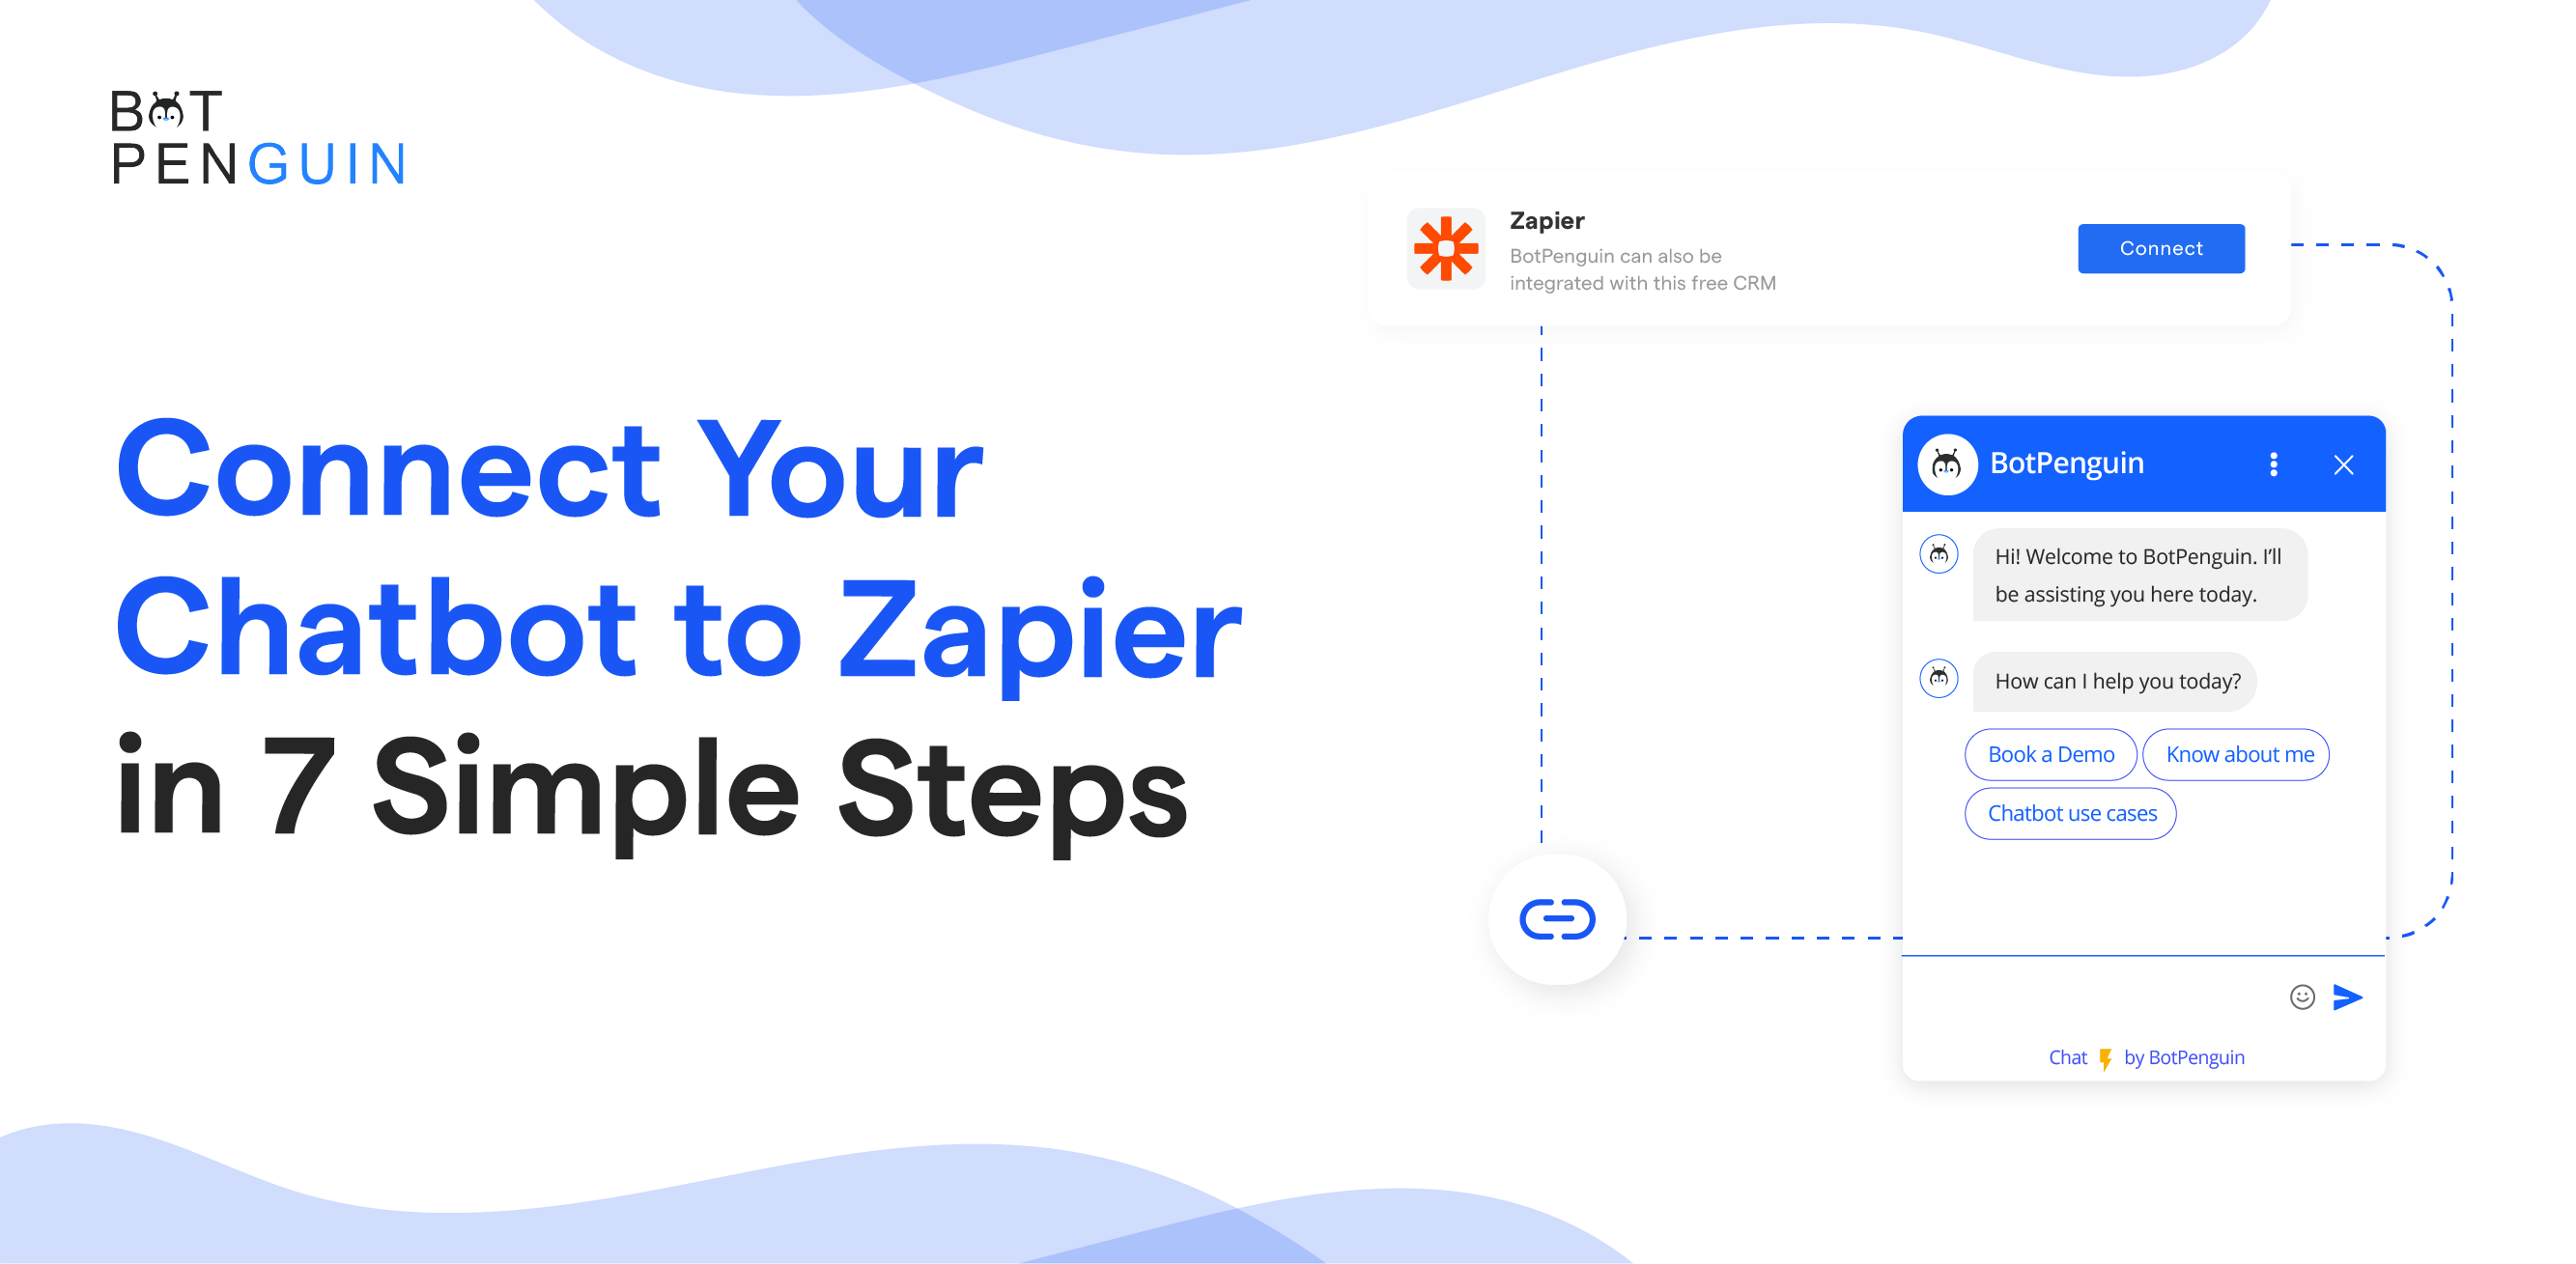
To connect a chatbot to Zapier, add your chatbot's app in Zapier, pick a trigger such as a new lead or a new message, and sign in with your chatbot's API key. Then choose an action app like Google Sheets or HubSpot and map the fields. With BotPenguin, the whole setup takes about 10 minutes and needs no code.
Your chatbot collects names, emails, phone numbers and questions all day. If those details stay inside the chatbot, someone still has to copy them into your CRM, your spreadsheet or your team chat. Zapier removes that step. It connects your chatbot to more than 9,000 apps, so every new lead or message can start a workflow on its own.
This guide shows you how to connect a chatbot to Zapier using BotPenguin as the worked example. You will set up your first Zap, see which chatbot events you can use, and learn the five Zaps most teams build first. If you are still deciding whether BotPenguin fits your stack, start with our Zapier chatbot integration page. If you are new to Zapier itself, read what Zapier is and how Zaps work first.
You need four things before you start:
These steps use BotPenguin's official Zapier app. You will copy two values from BotPenguin, then build the Zap inside Zapier.
Log in to BotPenguin and select the bot you want to connect. Go to Third-Party App Integrations, search for Zapier, and click it to open the Zapier integration page.
Zapier needs two values to find your bot. Copy your API Key from the Developers section, under Access Token. Then copy your Bot ID by clicking Edit on the Zapier integration page. Keep both values handy for Step 4.
In Zapier, click + Create and select New Zap. Click Trigger, search for BotPenguin, and pick a trigger event:
For your first Zap, choose New Contact Created. It is the easiest to test.
Click Sign In. In the pop-up, select the channel your bot runs on, paste your API Key and Bot ID, and click Yes, Continue with BotPenguin. Zapier now has access to that bot's events.
Before you move on, create a test lead: open your bot and submit a name and email. Then click Test trigger in Zapier. You should see the test contact appear.
Click Action and choose the app that should receive the data. For a simple lead log, pick Google Sheets and the action Create Spreadsheet Row. Select your drive, spreadsheet and worksheet.
Now map the fields. Match each column in your sheet to a chatbot field: name to name, email to email, phone to phone, and any custom question to its answer. Only the fields you map are sent.
Click Test step and check that a new row appears in your sheet with the test lead's details. If it looks right, click Publish. From now on, every new chatbot contact lands in your sheet within minutes.
Watch the full setup in under 2 minutes.
Prefer written steps with screenshots of every screen? Follow the BotPenguin help guide.
If you have wondered how to connect a chatbot to your other apps without code, this is the part that matters. BotPenguin's Zapier app works in both directions: chatbot events can start a Zap, and Zapier can send data back into BotPenguin (BotPenguin on Zapier).
Start with the Zap that removes the most copy-paste work for your team. These five cover most use cases:
Use a webhook when you need an event the Zapier app does not offer, or when your developer wants full control of the data sent. Webhooks push data from one app to another the moment an event happens.
Webhooks by Zapier is a premium Zapier app, so this method needs a paid Zapier plan. For most teams, the BotPenguin Zapier app in the six steps above is faster to set up.
Zapier also sells its own product called Zapier Chatbots. It lets you build an AI chatbot inside Zapier and embed it on a web page. It suits simple website Q&A bots that live next to your existing Zaps.
Connecting a dedicated chatbot platform to Zapier suits a different need. BotPenguin runs the same bot on your website, WhatsApp, Instagram, Facebook Messenger and Telegram, with live chat handover, WhatsApp broadcasts and lead qualification built in. Zapier then carries each captured lead or message into the rest of your tools. If your customers message you on WhatsApp or social channels, connect a chatbot platform to Zapier rather than building the bot inside Zapier.
Most Zap problems come from four causes. Check them in this order:
The Zapier integration is included in BotPenguin's King plan, in both the omnichannel version and the WhatsApp-only version. It is not part of the free plan or the Little plan. You can try it before paying: start a free trial, connect your bot to Zapier, and run a few test leads through your Zap. You also need your own Zapier account; the Zapier Free plan is enough for a basic two-step Zap. See the King plan details on our pricing page.
No. The BotPenguin Zapier app is fully no-code. You copy your API key and Bot ID from BotPenguin, paste them into Zapier, pick a trigger and an action, and map fields with drop-down menus. You only need a developer if you want a custom webhook payload or an event the Zapier app does not cover, and even then Zapier's Catch Hook trigger does most of the work.
Yes. BotPenguin's Zapier app includes two message actions. Send Session Message replies to a user inside an open conversation. Send Template Message sends an approved WhatsApp template, which you can use for order confirmations, appointment reminders or payment links triggered by another app. Zapier can also add contacts to BotPenguin and update their custom attributes, so data flows both ways between your chatbot and your other tools.
Yes, in two ways. BotPenguin chatbots can already answer with AI models from OpenAI and other providers, so your chatbot's AI replies and captured leads can flow into Zapier through the triggers in this guide. You can also add Zapier's own ChatGPT (OpenAI) app as a later step in the same Zap, for example to summarise a lead's messages before they reach your CRM. That extra step needs a multi-step Zap on a paid Zapier plan.
Yes, for simple workflows. Zapier's Free plan includes 100 tasks a month and two-step Zaps, meaning one trigger and one action. That is enough to send every new chatbot lead to Google Sheets or your CRM if your lead volume is modest. You need a paid Zapier plan for multi-step Zaps, filters that route leads to different apps, or Webhooks by Zapier.
There are two costs. On the BotPenguin side, Zapier is included in the King plan with no extra integration fee. On the Zapier side, you can start on the Free plan, and paid plans begin at $19.99 a month when billed monthly, with a discount for annual billing. Your Zapier bill grows with the number of tasks your Zaps run, so estimate your monthly lead and message volume before choosing a plan.
Once you connect a chatbot to Zapier, every lead and message your bot captures can update your spreadsheet, your CRM and your team chat without anyone copying data by hand. Start with one Zap, usually new leads to Google Sheets or your CRM, test it with a real conversation, then add more as your team asks for them.
Ready to try it? Start a free BotPenguin trial, publish your bot, and follow the six steps above. For everything the integration can do across WhatsApp, Instagram, your website and more, visit the BotPenguin Zapier page.
Subscribe to Our Newsletter
Get the latest business insights straight into your inbox.
Checkout our related blogs you will love.
Updated at Oct 12, 2026
12 min to read
Updated at Sep 28, 2026
5 min to read
Updated at Apr 29, 2026
10 min to read
Updated at Feb 18, 2023
6 min to read
Updated at Oct 13, 2026
13 min to read
Updated at Oct 7, 2026
10 min to read
Table of Contents