


Squarespace Live Chat: How to Add It to Your Website
Updated at Oct 14, 2026
10 min to read
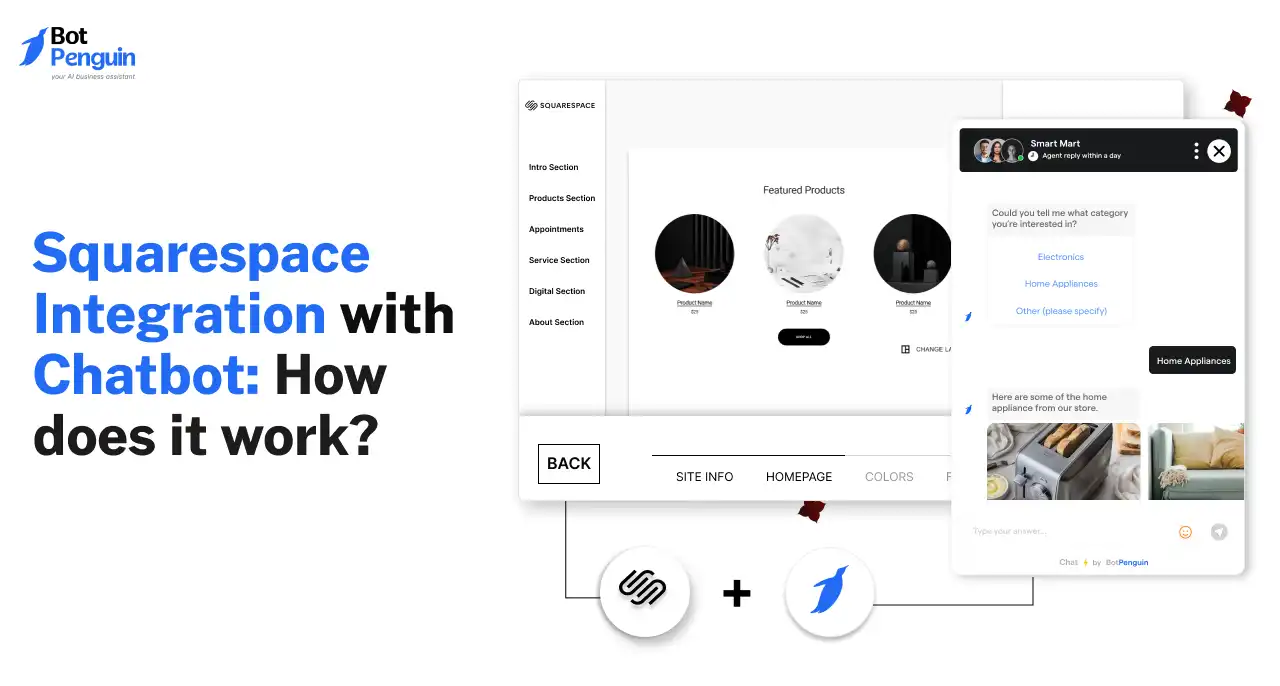
Squarespace chatbot integration involves creating or configuring your chatbot, copying its embed code, and adding it to Squarespace. After saving the changes, publish your website and open the live pages. Test the widget across desktop and mobile to confirm it loads, responds correctly, and appears in the intended position.
Squarespace chatbot integration can fail when embed code, plan access, or publishing steps are handled incorrectly. Even a single setup error can prevent the widget from appearing or working as expected.
This guide explains how the integration works from initial configuration to live testing. You will learn what access is required, where the embed code belongs, and how to verify the widget after publishing.
It also covers AI setup, mobile display checks, common integration fixes, and deployment requirements. This gives you a clear path before making any changes to the site.
For broader CMS context, review our complete guide on what Squarespace is.
Before installation, confirm that your Squarespace plan supports the required code method.
Code Injection is available on Squarespace Core, Plus, Advanced, and some legacy billing plans. Basic does not include access to Code Injection.
You also need administrator or website-manager permissions. The correct access lets you open settings, add custom code, save changes, and publish the site.
Prepare these items before installation:
BotPenguin’s Squarespace chatbot setup involves designing the chat window, creating the chatflow, copying the script, and pasting it into Squarespace. Code Injection suits a sitewide widget.
An Embed block can display supported third-party content on individual pages. More advanced scripts may require Code Injection or a Code block.
Once these requirements are ready, you can place the chatbot code correctly and test the live integration with confidence.
Adding the chatbot requires more than pasting a script into Squarespace. The setup must connect the correct code, publish properly, and work across live pages.
The steps below cover configuration, code placement, publishing, and final testing.
Sign in to BotPenguin and create your website chatbot.
Configure its greeting, conversation flow, fallback reply, branding, and human handover. Test each path inside BotPenguin before installation.
Fix broken branches, missing replies, or incorrect button actions first.
Open the chatbot’s installation or deployment settings.
Copy the complete script provided for your website. Do not remove tags or edit the script manually.
An incomplete snippet can prevent the widget from loading.
Sign in to Squarespace and open the website settings.
Navigate to the Code Injection area under the available developer tools. Squarespace supports third-party custom code through Code Injection or code blocks.
Code Injection is better suited to sitewide scripts.
Paste the BotPenguin script into the Header Code Injection field, using the copy-and-paste installation method.
Use a code block only when the widget should appear within a specific page area. Embed blocks mainly support basic external content, rather than advanced scripts.
Save the code changes, then publish or exit the editor.
Open the public website rather than relying only on editor preview. The widget should appear after the live page loads.
Refresh the page if an older cached version remains visible.
Test the chatbot on desktop and mobile devices.
Check its position, opening behavior, text spacing, and screen coverage. Send several messages and select every important button. Confirm that replies follow the configured conversation paths.
Finally, trigger the human handover process. Verify that the conversation reaches the intended team or inbox while preserving its context.
Repeat testing across the homepage, contact page, product pages, and any high-traffic landing pages before final approval.
Once the live widget works correctly, the next step is preparing its AI knowledge and response behavior.
For a related setup focused specifically on live support, review how to add live chat to Squarespace.
A scripted chatbot and an AI chatbot may use the same installation process, but they differ significantly after deployment. While both use an embed code to appear on your Squarespace website, an AI chatbot requires knowledge sources, response instructions, and thorough testing before it can answer visitors accurately.
The comparison below highlights the key differences in setup, content preparation, response behavior, and testing.
A reliable AI setup depends on accurate source content and controlled responses. Test answers against current Squarespace pages before publishing.
Once the knowledge base is ready, the next step is resolving code, loading, and display issues.
Most problems come from code placement, account access, publishing, or incomplete chatbot setup. Check each issue systematically before changing the entire integration.
Use the fixes below to isolate the cause quickly:
When testing a Squarespace bot, always use the live website. Check key pages, mobile layouts, widget placement, and AI answers against current site content.
If problems remain, review the setup in a controlled order.
Our guide on how to quickly build a chatbot for Squarespace can help confirm whether the chatbot itself needs rebuilding before reintegration.
Once the widget loads correctly and answers reliably, the remaining questions usually concern plans, performance, customization, and developer support.
Code Injection is available on Squarespace Core, Plus, Advanced, and some legacy billing plans. Basic does not include this feature. If your chatbot uses Code Injection, your plan must support it. Page-specific embed options may follow different requirements.
A properly configured chatbot usually loads separately from the main page content. This helps limit its effect on initial loading. Performance can still suffer from oversized assets, conflicting scripts, or poor code. Test important pages after installation using the live website.
Existing Squarespace pages can serve as knowledge sources for an AI chatbot. Connect relevant URLs, FAQs, documents, and help content. Keep those sources accurate and current. Then test common visitor questions to confirm the chatbot's answers align with the intended information.
Most standard installations use a copy-and-paste embed script and require no custom development. Technical help becomes useful for advanced styling, script conflicts, unusual page placement, or custom integrations. Test the standard installation first before adding unnecessary development work.
Chatbot appearance can usually be adjusted to match your Squarespace design. Common settings include colors, greeting text, avatar, launcher icon, widget position, and conversation styling. After customization, check both desktop and mobile layouts before publishing the final version.
A successful Squarespace chatbot integration depends on three things: correct account access, the right embed method, and careful live testing.
Start by preparing the chatbot, copying its embed code, and placing it in the appropriate Squarespace area. Then publish the site and test the widget across key pages, desktop screens, and mobile layouts.
Check every message, button, fallback reply, and human handover before launch. AI responses should also match current website content.
For a guided setup, start with BotPenguin’s chatbot for Squarespace and launch a tested chatbot. Support visitors reliably across your live website from the first conversation today.
Simplify Squarespace Chatbot Integration
Add chatbot to Squarespace, automate visitor conversations, capture leads, and support customers without complicated setup with BotPenguin.
Add Chatbot TodayCheckout our related blogs you will love.
Updated at Oct 14, 2026
10 min to read
Updated at Oct 12, 2026
10 min to read
Updated at Oct 7, 2026
6 min to read
Updated at Sep 10, 2026
8 min to read
Updated at Aug 8, 2026
3 min to read
Updated at Aug 7, 2026
8 min to read
Table of Contents