
Why Your Business Needs GitHub Integration Today
Updated at Jul 17, 2026
8 min to read
Everybody loves a chatbot. It solves queries instantly reducing your wait time, helps find information about products or services, and even book appointments or track orders. But, what if it could offer more?
Imagine if your AI chatbot could actually engage people, adapt to their needs, and feel almost human rather than just following pre-defined rules. Doesn't it sound amazing?
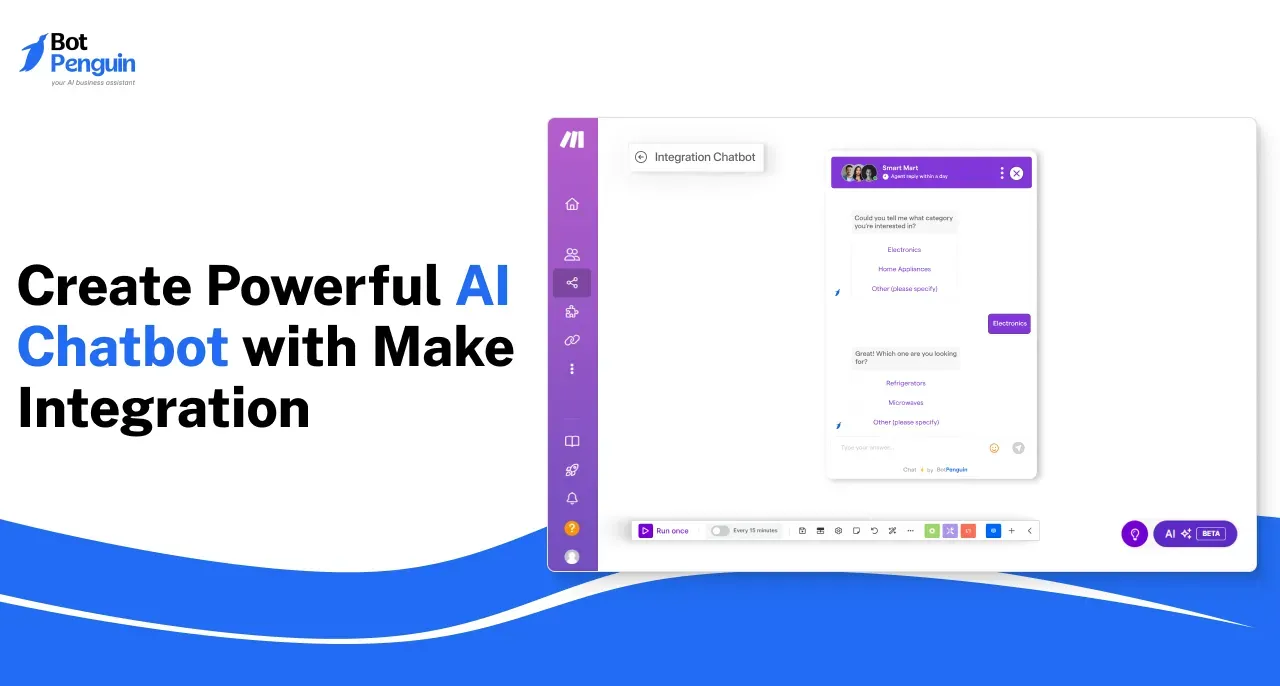
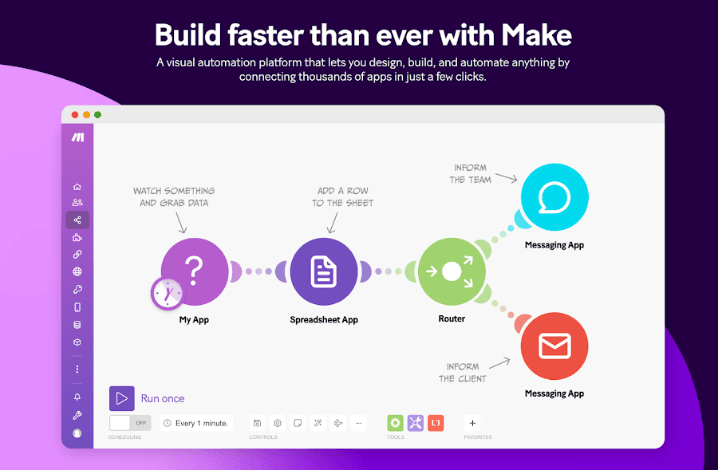
This is where Make comes into the picture. It is a powerful automation platform that connects your chatbot to the tools and systems it needs, to deliver dynamic, personalized, and instant interactions. So, without further delay, let us find out more about Make and how to create a powerful AI chatbot with Make integration.
Make is a low-code automation platform enabling users to connect apps, services, and systems. It allows you to automate repetitive tasks, freeing up time and ensuring consistency in workflows. It has several key features that are listed below:
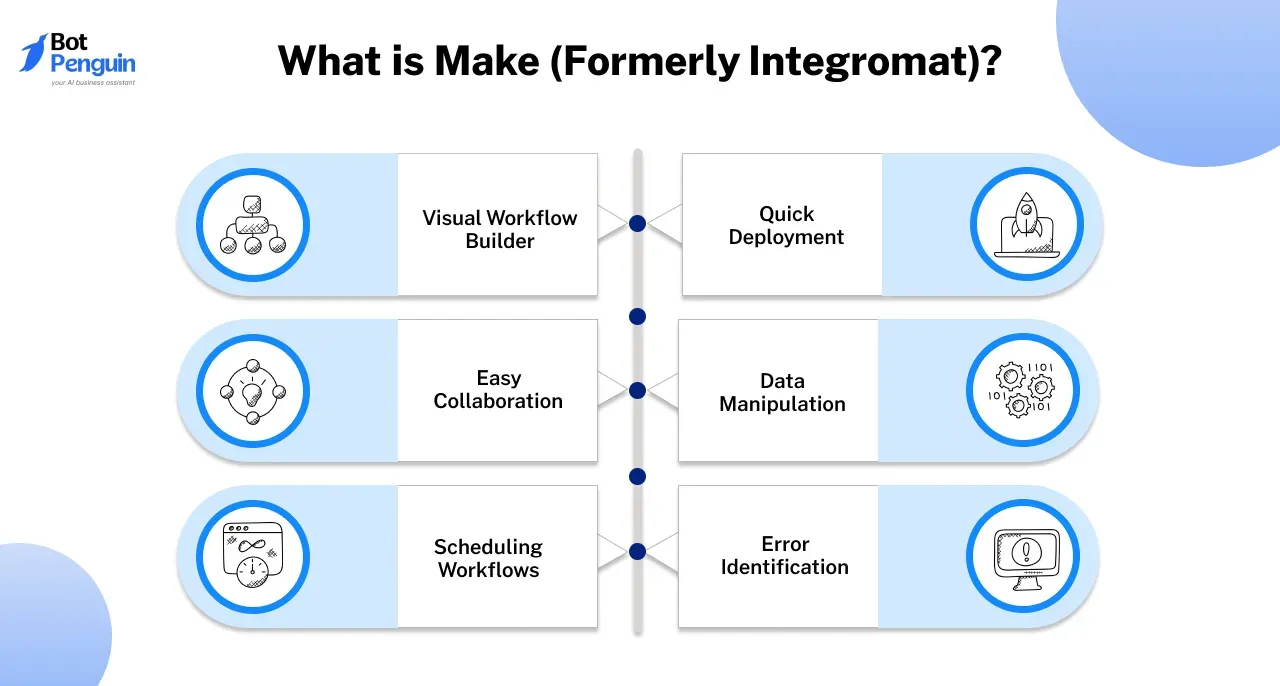
With its powerful features and intuitive design, Make enables businesses to simplify processes, save time, and focus on what truly matters.
AI chatbots excel at understanding user needs, while Make brings unparalleled automation capabilities. Together, they create workflows that save time and reduce errors.
By using a chatbot with Make integration, businesses can go beyond basic interactions and achieve seamless task automation. Let us explore this in detail below.
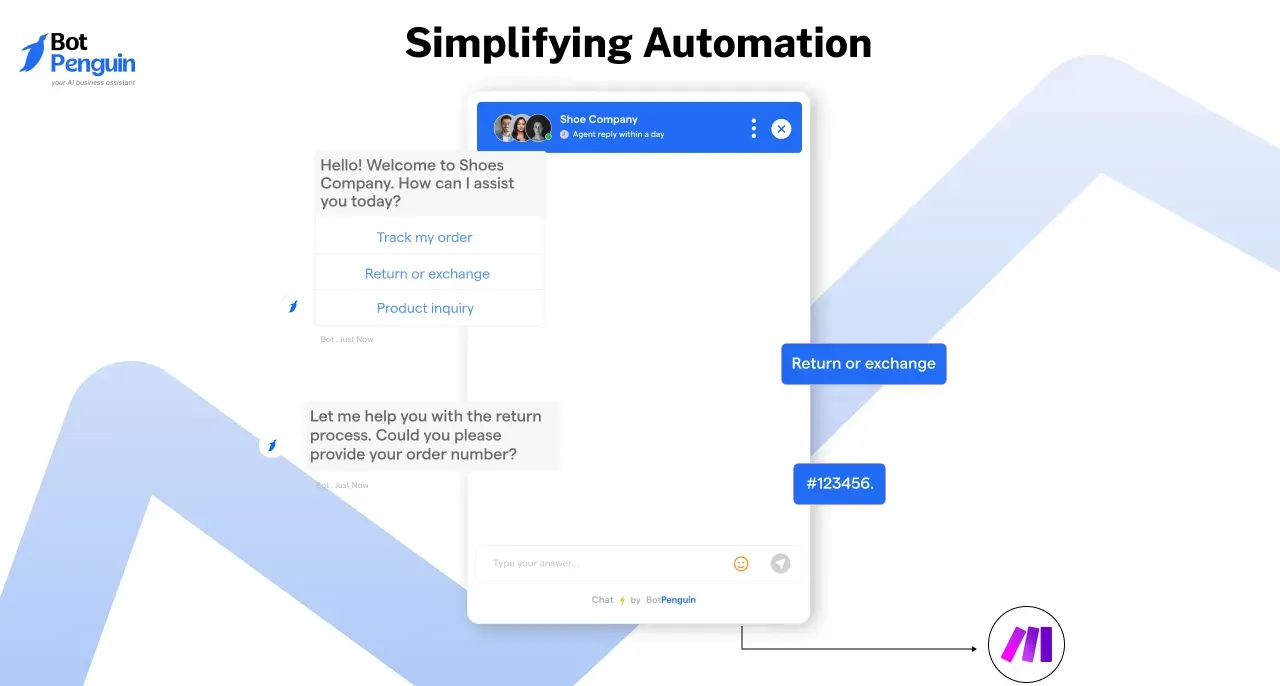
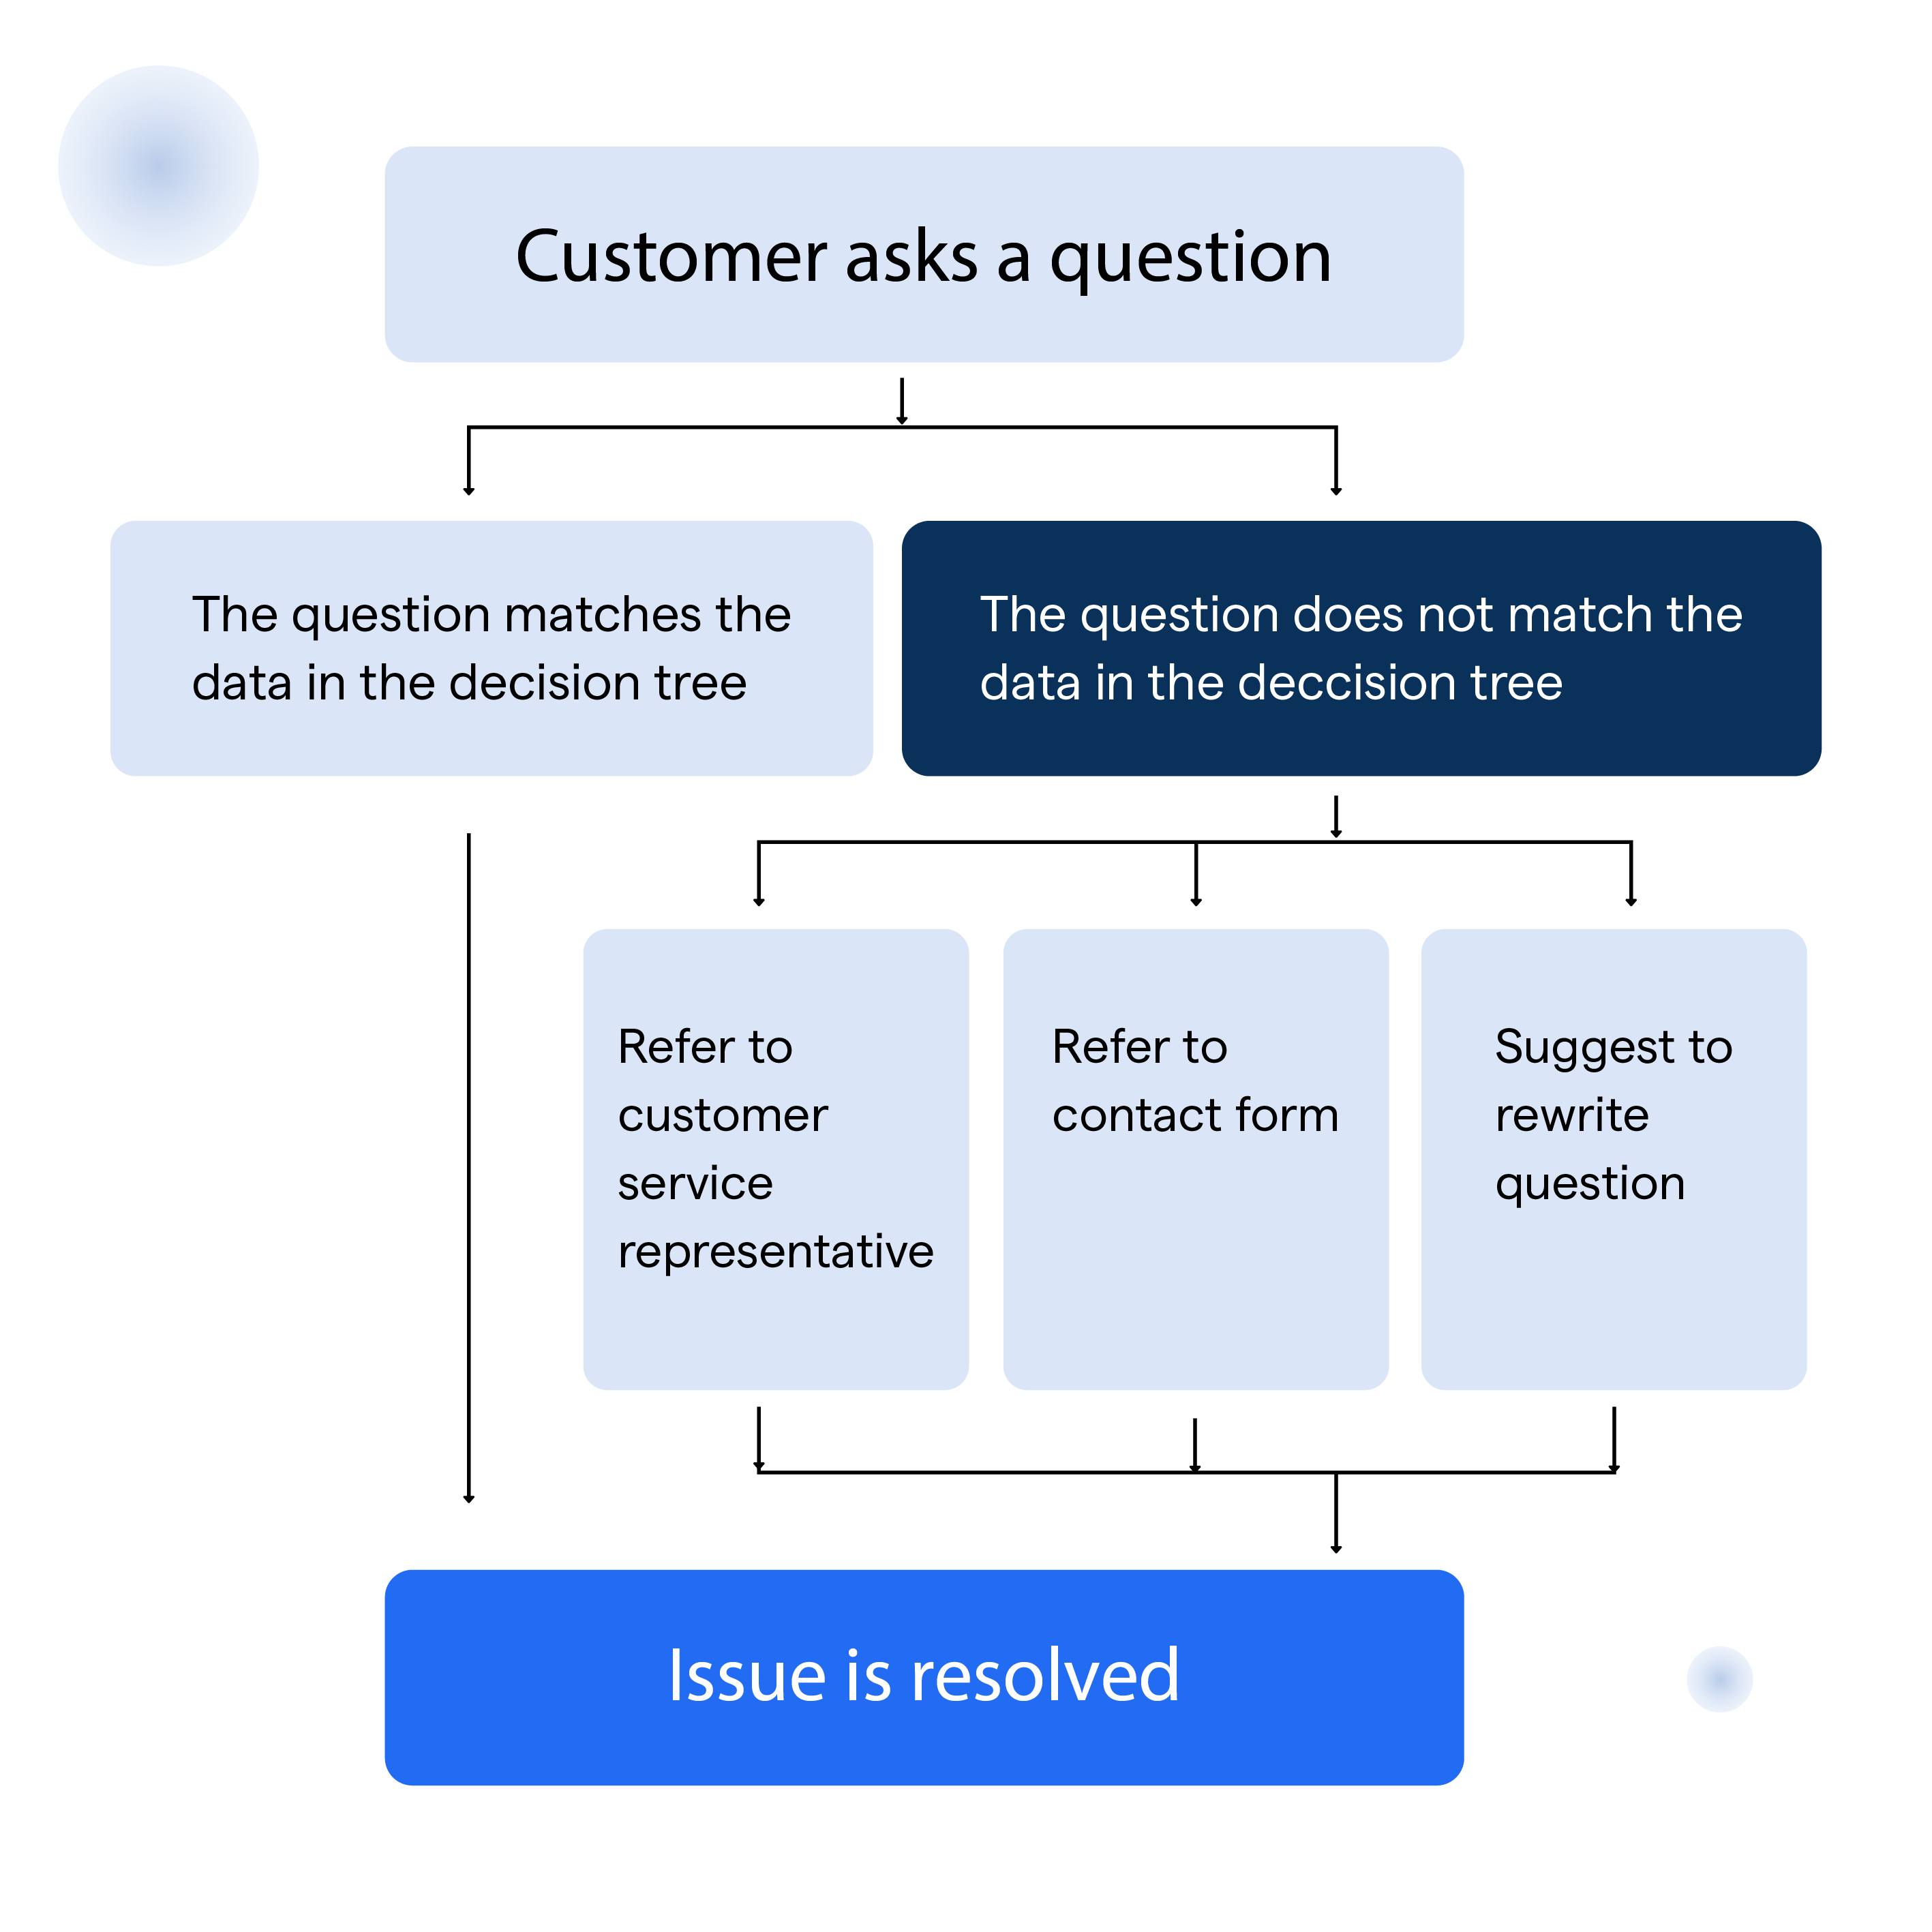
A chatbot isn’t just for conversations. It can serve as the perfect entry point for automating processes.
With a chatbot with Make integration, user queries can trigger workflows seamlessly. It can act as the first point of contact, gathering input and seamlessly passing it to Make for backend processing.
For example, when a customer asks a chatbot with Make integration about their order status, it can connect to Make to retrieve data from an e-commerce platform and deliver an instant response.
This eliminates the need for manual handoffs, streamlining complex operations. BotPenguin further simplifies the process of creating a chatbot with Make integration by providing an intuitive interface that allows businesses to automate workflows without needing advanced technical expertise.
Repetitive tasks consume time and often lead to errors. A chatbot with Make integration automates these tasks, allowing teams to focus on other important work.
In customer support, a chatbot with Make integration can collect customer issues and trigger Make workflows to generate support tickets in a CRM like Zendesk.
Similarly in e-commerce, a chatbot with Make integration can initiate Make workflows to handle actions like order confirmations, and shipment tracking instantly.
Also, when certain conditions are met like low inventory, a chatbot with Make integration can notify relevant teams through email or Slack using Make automation.
Platforms like BotPenguin simplify integrating your chatbot with tools like Make, enabling businesses to automate repetitive tasks across customer support, sales, and operations efficiently.
By combining the conversational power of AI chatbots with the automation capabilities of Make, businesses can streamline operations, enhance productivity, and deliver exceptional customer experiences.
BotPenguin makes this integration effortless, enabling organizations to save time, reduce errors, and focus on what truly matters, growth and innovation.
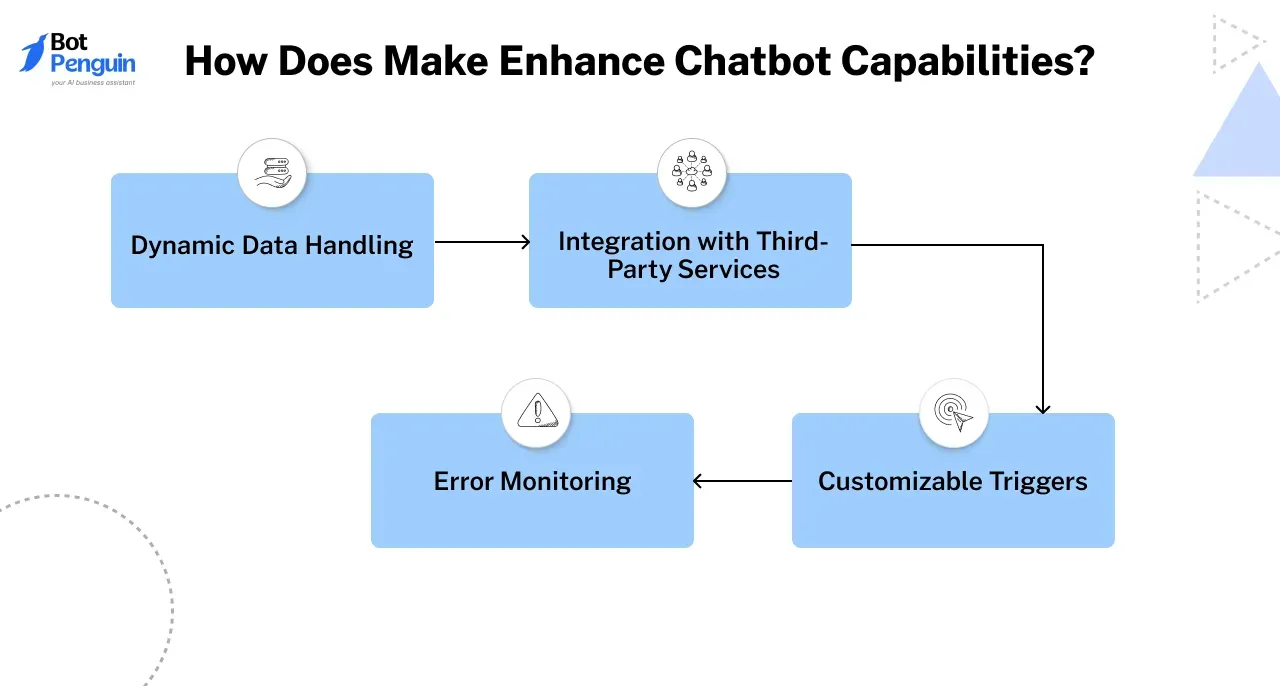
When integrated with a chatbot, Make amplifies its capabilities. It doesn't just respond but performs meaningful actions.
Hence, by enhancing your chatbot with Make’s seamless integrations and automation features, you can create a more intelligent, efficient, and engaging experience for users, ensuring smoother interactions and better outcomes.
To integrate Make with your chatbot effectively, certain tools and a foundational understanding are essential.
With these in place, you can design workflows that run seamlessly. Let us find out about them below.
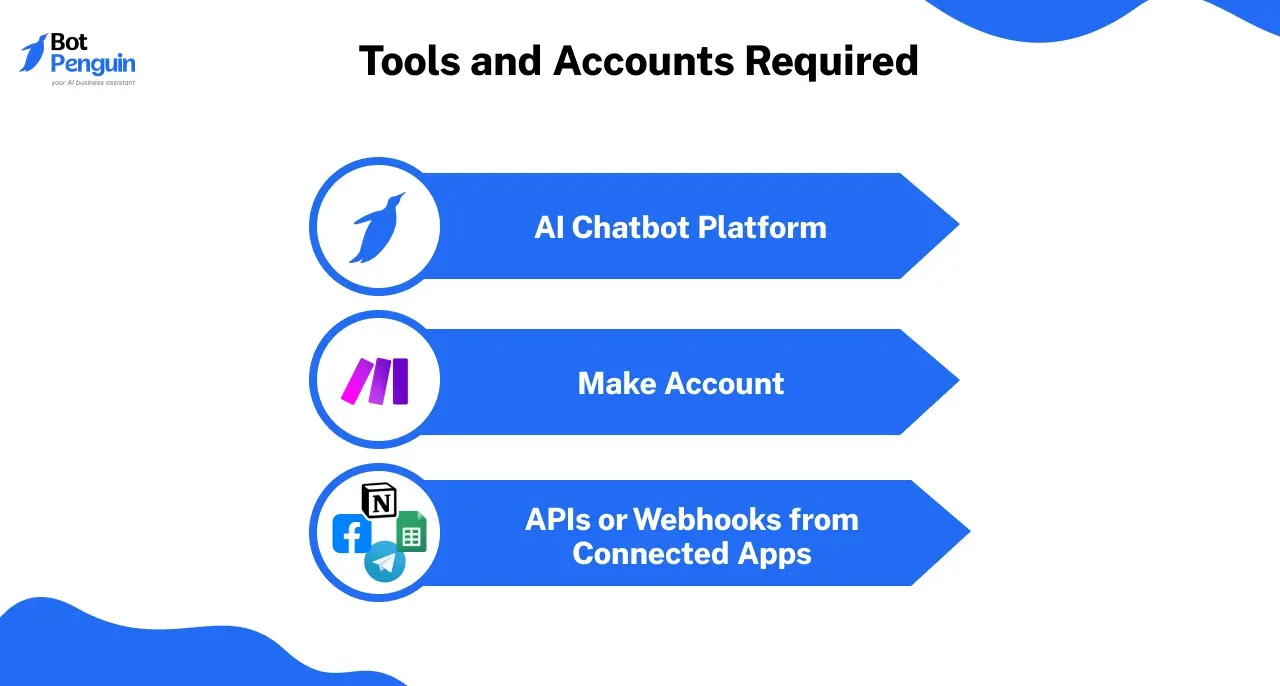
Having the right resources is the first step toward a successful chatbot with Make integration.
By combining these tools, you can create a foundation for a chatbot with Make integration that is both efficient and scalable.
While Make’s interface is user-friendly, understanding the following concepts is key to unlocking its full potential. Let us explore them.
Understanding these concepts well can help you create smooth and efficient workflows that maximize your chatbot’s potential and enhance its functionality.
Take your chatbot with Make integration to the next level by implementing multi-step workflows, dynamic responses, and broader app integrations.
These advanced functionalities enable your chatbot to perform complex tasks seamlessly.
Multi-step workflows allow your chatbot to handle a series of interconnected tasks automatically.
These workflows ensure a streamlined process, eliminating manual intervention and reducing errors.
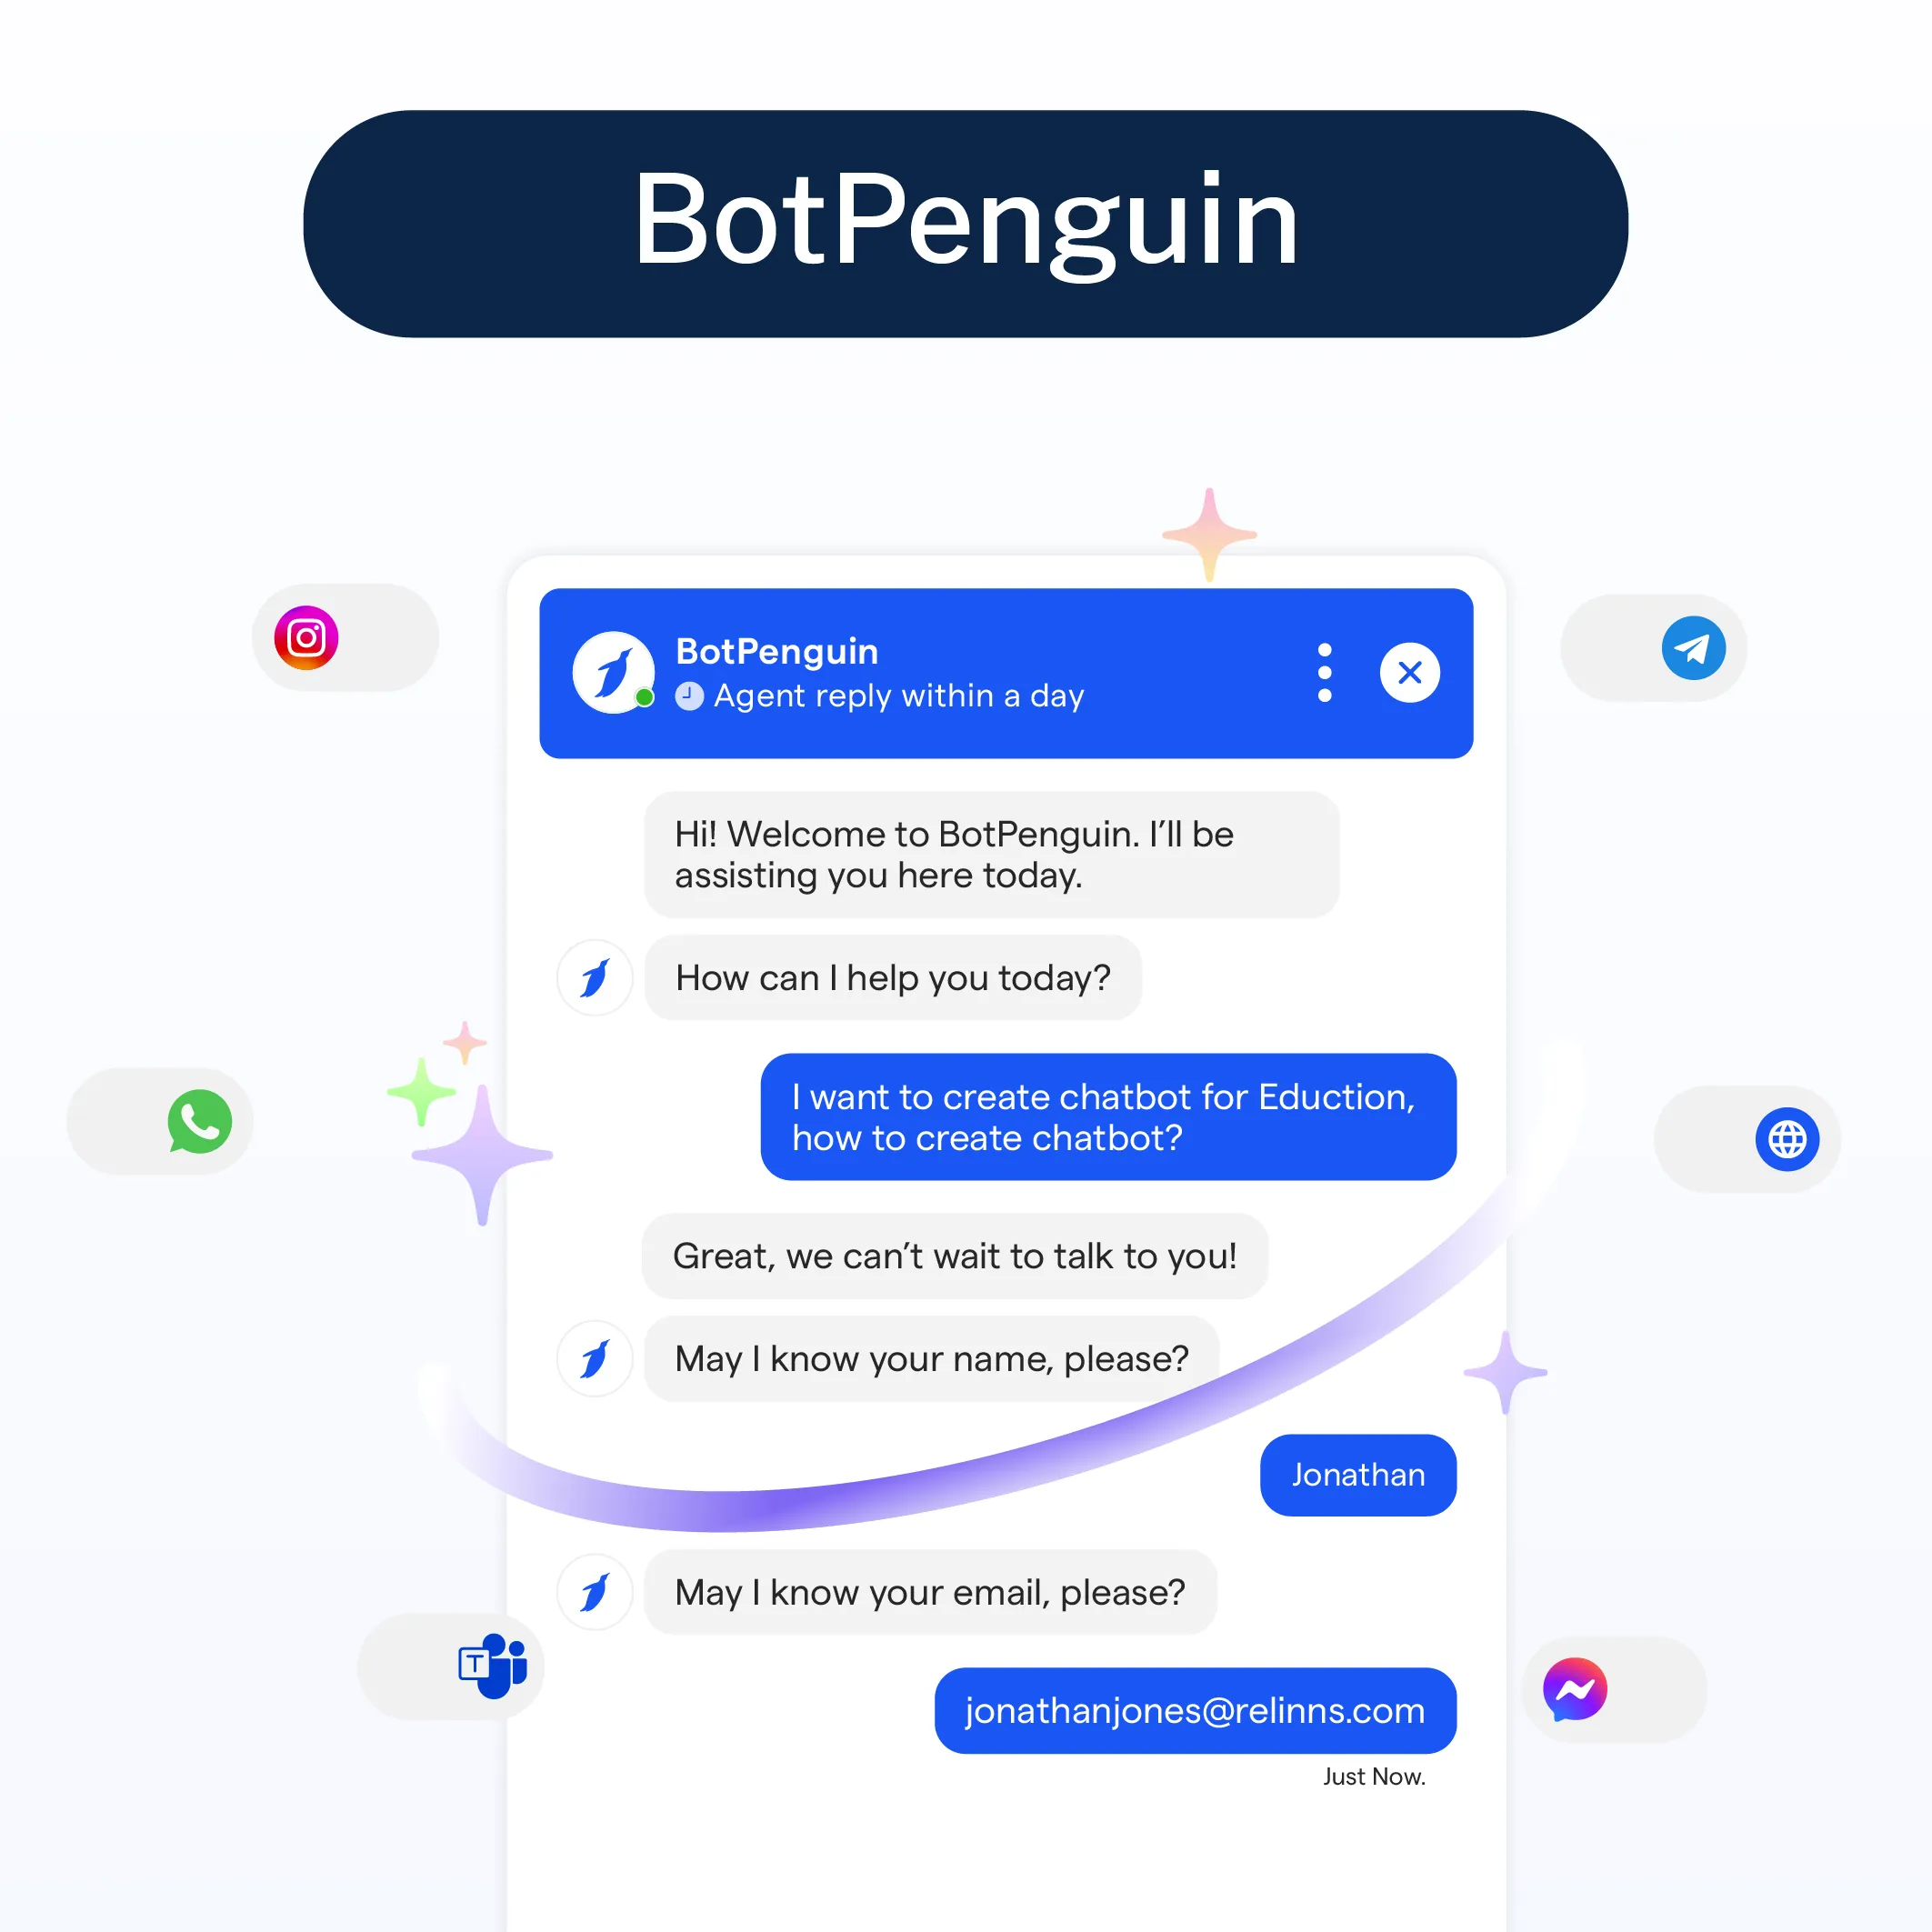
Dynamic responses personalize chatbot interactions based on user data. Use AI-powered chatbots to analyze user input and provide contextually relevant replies.
With a chatbot with Make integration, data collected in workflows can be used to tailor responses, such as personalized greetings or order updates.
For example, a chatbot can greet users by name and update them on their most recent purchases, creating a highly engaging experience.
These integrations expand your chatbot’s capabilities, enabling it to operate as a versatile tool.
With advanced workflows, personalized responses, and seamless integrations, your chatbot with Make Integration can do so much more than just chat; it can transform how you work.
Whether it is automating tasks, keeping your team updated, or creating engaging user experiences, this integration helps you save time, reduce effort, and get more done.
With tools like Make and BotPenguin, building a smart, efficient chatbot has never been easier.
Creating and maintaining a custom AI chatbot isn’t just about building it, but also ensuring it works smoothly, learns, and continues to improve over time. Let us look at the steps involved below:
The first step is selecting the platform to build your chatbot. Each platform offers unique features, so consider your needs carefully.
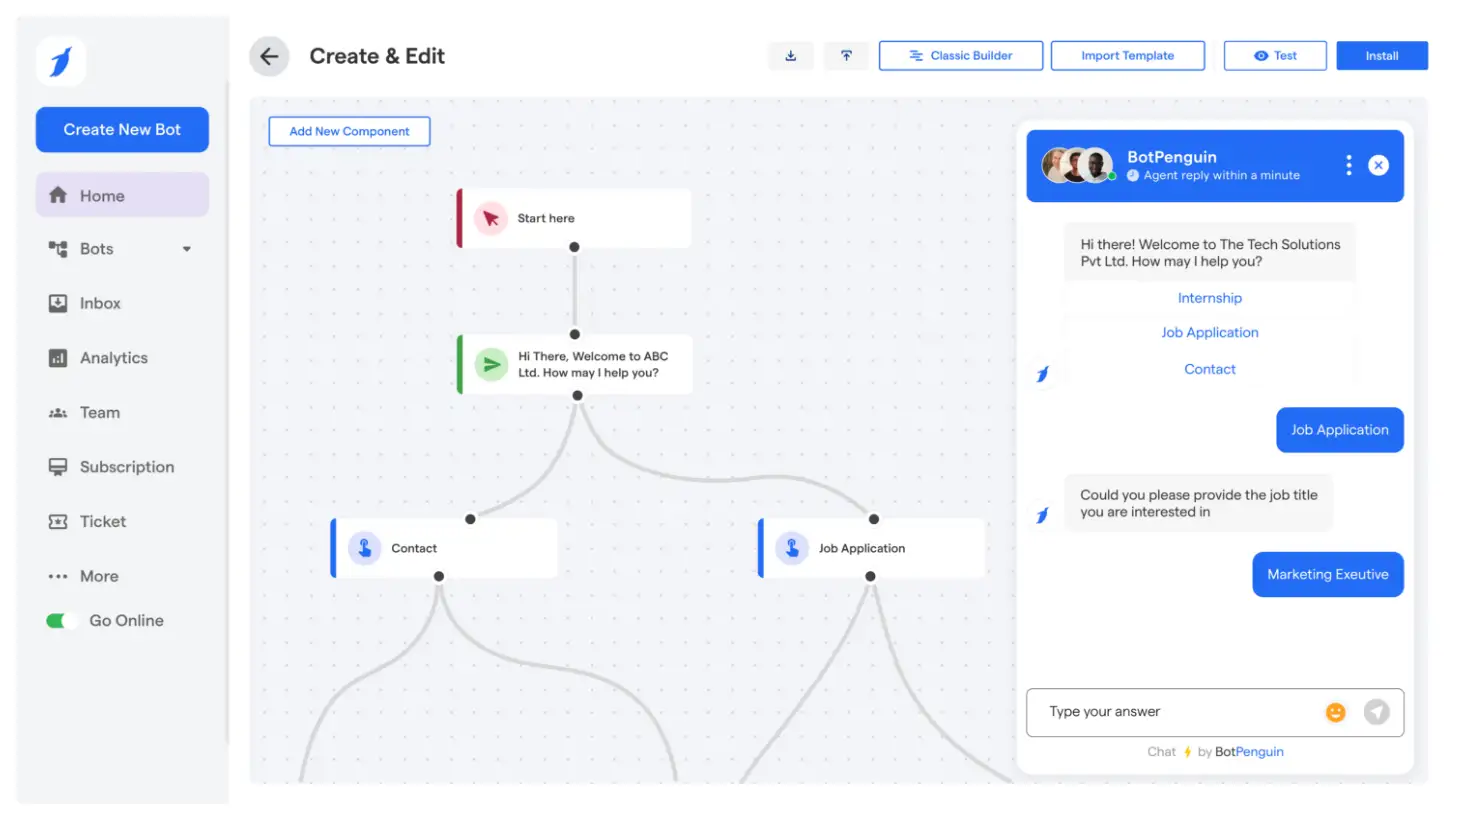
Let us consider BotPenguin a no-code platform that simplifies chatbot creation. It is perfect for beginners or those looking for a quick setup.
Choosing the right platform ensures your chatbot with Make Integration is capable of meeting your goals effectively. For example, if you are choosing BotPenguin to build your chatbot, all you have to do is:
Visit BotPenguin and create an account.
Select the type of chatbot you want to build; whether for customer support, lead generation, WhatsApp, Facebook Messenger, or a website chatbot.
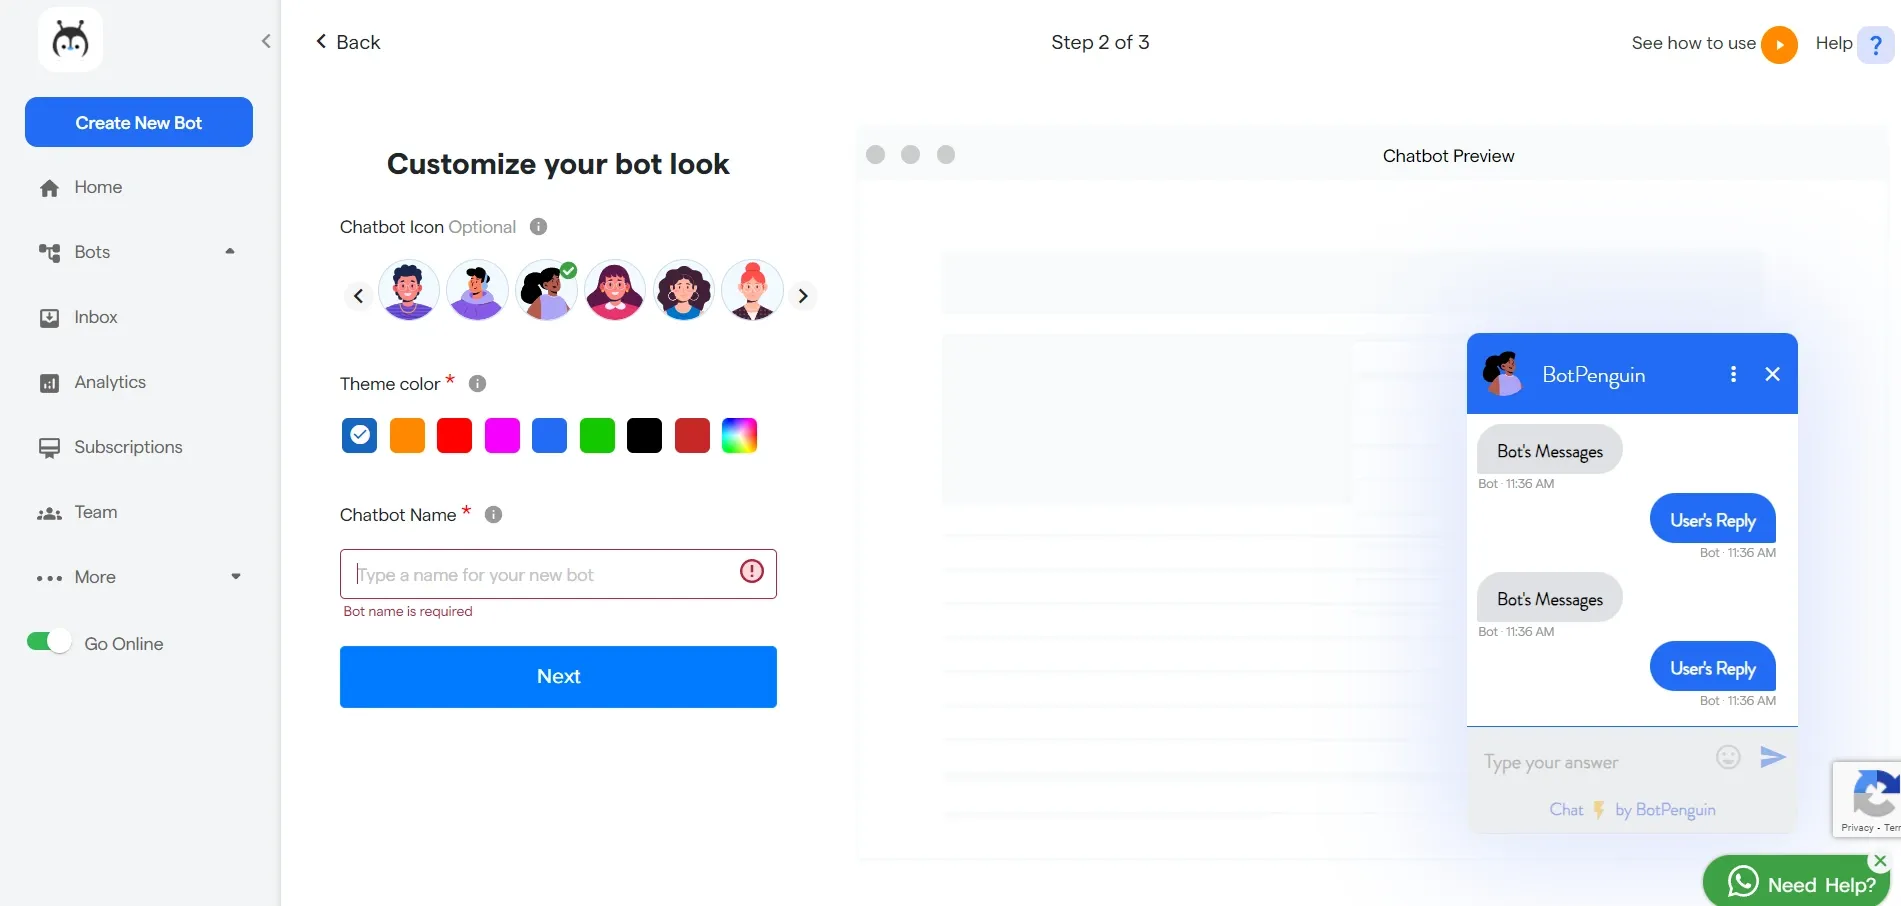
Now it is time to bring your chatbot to life by defining its core functionalities. This step involves outlining its purpose, creating user-friendly interaction flows, and adding advanced features.
What role will your chatbot play? Common purposes include customer support, lead generation, e-commerce assistance, or internal task automation. Tailor its functionalities to solve specific problems for your users.
A thoughtfully designed chatbot doesn’t just answer questions; it provides a cohesive, engaging experience for users.
Thorough testing is vital to ensure your chatbot works as intended. This step allows you to identify and resolve any issues before deployment.
Hence, building a chatbot with Make integration enables businesses to go beyond simple conversations and achieve intelligent automation.
By carefully choosing the right platform, designing core functionalities, and rigorously testing the chatbot, they can deliver seamless user experiences while enhancing operational efficiency.
When tools like BotPenguin make integration easy, creating a powerful AI chatbot becomes a streamlined, and accessible process for all.
By linking your chatbot with Make, you empower it to perform actions beyond basic responses. This integration enables your chatbot to trigger workflows, automate repetitive tasks, and handle complex operations with ease.
Since we have chosen the BotPenguin platform to build the chatbot above, let us explore the required steps to integrate it with Make below.
Start by setting up an account on Make, which serves as the hub for your automation workflows.
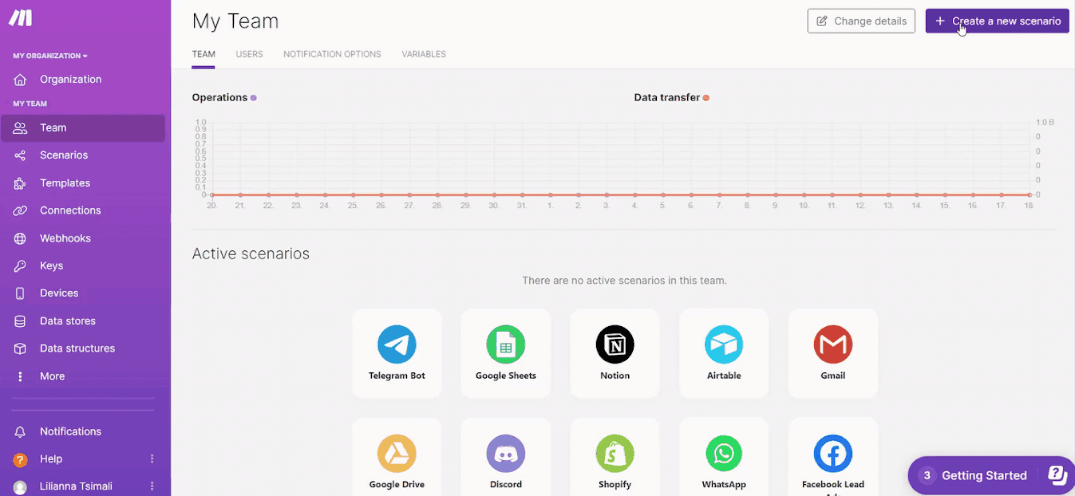
The Make dashboard features an intuitive interface with tools to create and manage workflows.
Key sections include designing and testing your workflows, also known as scenarios; Apps, which is a library of pre-built integrations for various platforms.
Spend a few minutes exploring the dashboard to familiarize yourself with its features, as it will simplify the process of integrating your chatbot with Make integration.
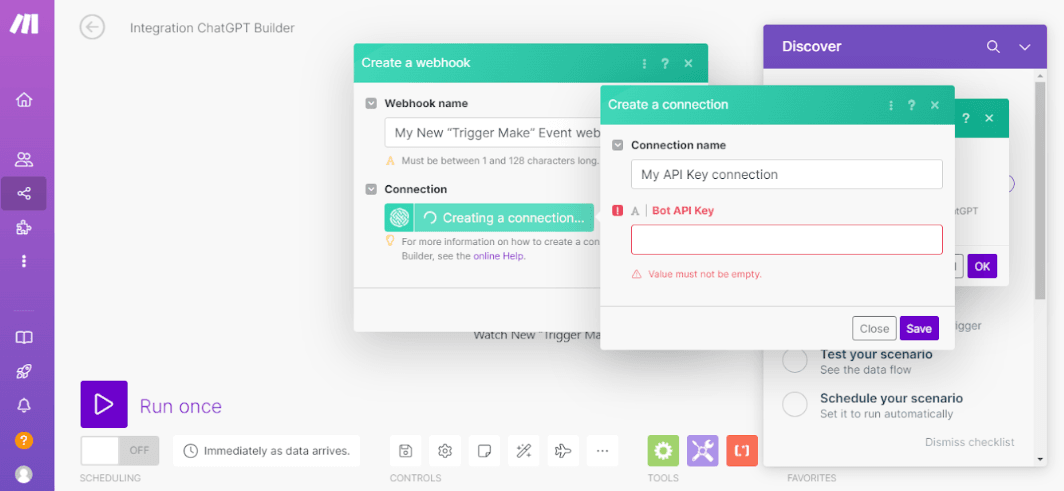
Connecting your chatbot platform to Make is crucial for enabling seamless communication between them. This is typically done using APIs or webhooks.
Now, let us connect your BotPenguin chatbot to Make so they can communicate effectively.
Once the connection is successful, your BotPenguin chatbot with Make integration is ready to trigger workflows.
Designing workflows in Make is where the real power of integration shines. Workflows, called scenarios, allow you to automate tasks based on triggers and actions.
Determine what your chatbot should do. For example, once BotPenguin is integrated with Make, it can collect user details from chatbot conversations and store them in a Google Sheet or CRM like HubSpot; Notify your team on Slack or email when a customer sends an inquiry, and process orders or bookings and send updates via email or SMS.
By following these steps, integrating BotPenguin with Make integration can be a smooth and effective process. This combination transforms your chatbot into a powerful automation tool capable of enhancing productivity, streamlining workflows, and delivering a better user experience.
After setting up your chatbot and workflows, it is time to confirm that everything functions as intended.
Thorough testing and debugging ensure your chatbot with Make integration delivers accurate results and handles practical scenarios. The steps to do this are given below.
Testing your workflow verifies that the chatbot with Make integration triggers correctly and completes the desired actions.
Make provides several tools to monitor and optimize the performance of your chatbot with Make integration. They are given below.
These tools help you verify the accuracy and reliability of your workflows.
Hence, by rigorously testing and debugging your chatbot with Make integration, you can ensure a flawless and efficient user experience. This process not only guarantees accuracy but also empowers your chatbot to operate reliably in handling complex operations and tasks.
During testing, you might encounter issues that disrupt your workflows. Identifying and resolving these problems ensures your chatbot with Make integration functions seamlessly.
Below are common problems and their solutions.
Addressing these common issues can significantly improve the reliability and functionality of your chatbot with Make integration.
This ensures smooth automation, enhanced productivity, and a more seamless user experience for both your team and customers.
Optimizing workflows ensures your chatbot with Make integration performs efficiently and adapts to practical needs.
When you optimize your chatbot with Make integration continuously, you can ensure smoother, faster, and more reliable workflows.
This ongoing process helps your chatbot evolve alongside your business needs, providing users with an even better experience and boosting overall efficiency.
Adopting best practices ensures your chatbot with Make integration performs efficiently and adapts to changing requirements. Let us look at a few practices below.
Adopting these best practices ensures that your chatbot with Make integration remains effective, adaptable, and capable of providing consistent, high-quality performance over time.
Integrating a chatbot with Make integration can transform your business operations by automating workflows and enhancing user interactions.
By following the steps and best practices outlined in this guide, you can build a chatbot that saves time, reduces errors, and delivers real value.
For businesses seeking an easy and efficient way to create AI chatbots, BotPenguin offers a no-code solution. With its intuitive platform, businesses can design, deploy, and integrate chatbots without technical expertise.
Whether for customer support, lead generation, or automation, BotPenguin helps streamline processes and achieve business goals effortlessly.
A chatbot with Make integration can trigger workflows based on user interactions. For example, when a customer places an order through the chatbot, Make integration can automatically update the inventory system, send a confirmation email, and notify the shipping team, all without human input.
Yes, Make features a no-code interface. You can design workflows using its drag-and-drop tools, making it accessible for users without technical expertise.
Make supports platforms like ChatGPT API, Dialogflow, and BotPenguin. It also integrates with CRMs, email services, and e-commerce platforms for robust chatbot workflows.
BotPenguin is a no-code platform that simplifies chatbot creation and integration. It is ideal for businesses seeking to deploy AI chatbots quickly and efficiently without requiring advanced technical skills.
Yes, Make integration supports connections with hundreds of apps like Google Sheets, Slack, CRMs, and payment gateways. This flexibility allows your chatbot to interact with different tools, making it highly adaptable to your business needs.
Subscribe to Our Newsletter
Get the latest business insights straight into your inbox.
Checkout our related blogs you will love.
Updated at Jul 17, 2026
8 min to read
Updated at Jul 14, 2026
5 min to read
Updated at Jul 13, 2026
9 min to read
Updated at Jul 13, 2026
12 min to read
Updated at Jul 13, 2026
15 min to read
Updated at Jul 13, 2026
8 min to read
Table of Contents