Do you know conversational marketing has a more significant impact than traditional marketing?
Conversational marketing is proactive, and it offers a better understanding of clients and prospects. This software is more dynamic and helps in speeding conversion cycles. But what is conversion marketing software?
It can be a chatbot like Instabot( Continue Reading For Instabot Tutorial) Instabot is an AI conversion chatbot for social media platforms like Meta.
It is platform-agnostic and connects to any NLP, including Lex, Dialogflow, Wit.ai, etc. It assists in lead generation, auto-route leads, booking meetings instantly, and improving support. Furthermore, it helps in enhancing personalized user experience and marketing by augmenting onboarding.
How to use instabot in 2024?
Continue reading this article, and learn how to use Instabot to your advantage.
What is InstaBot?
Instabot is known as a conversion chatbot that learns about your users. Instabot uses artificial intelligence (AI) and natural language processing (NLP) to learn rapidly and answer hundreds of queries. Then instantaneously curates material, answers queries, collects contacts, and schedules appointments.
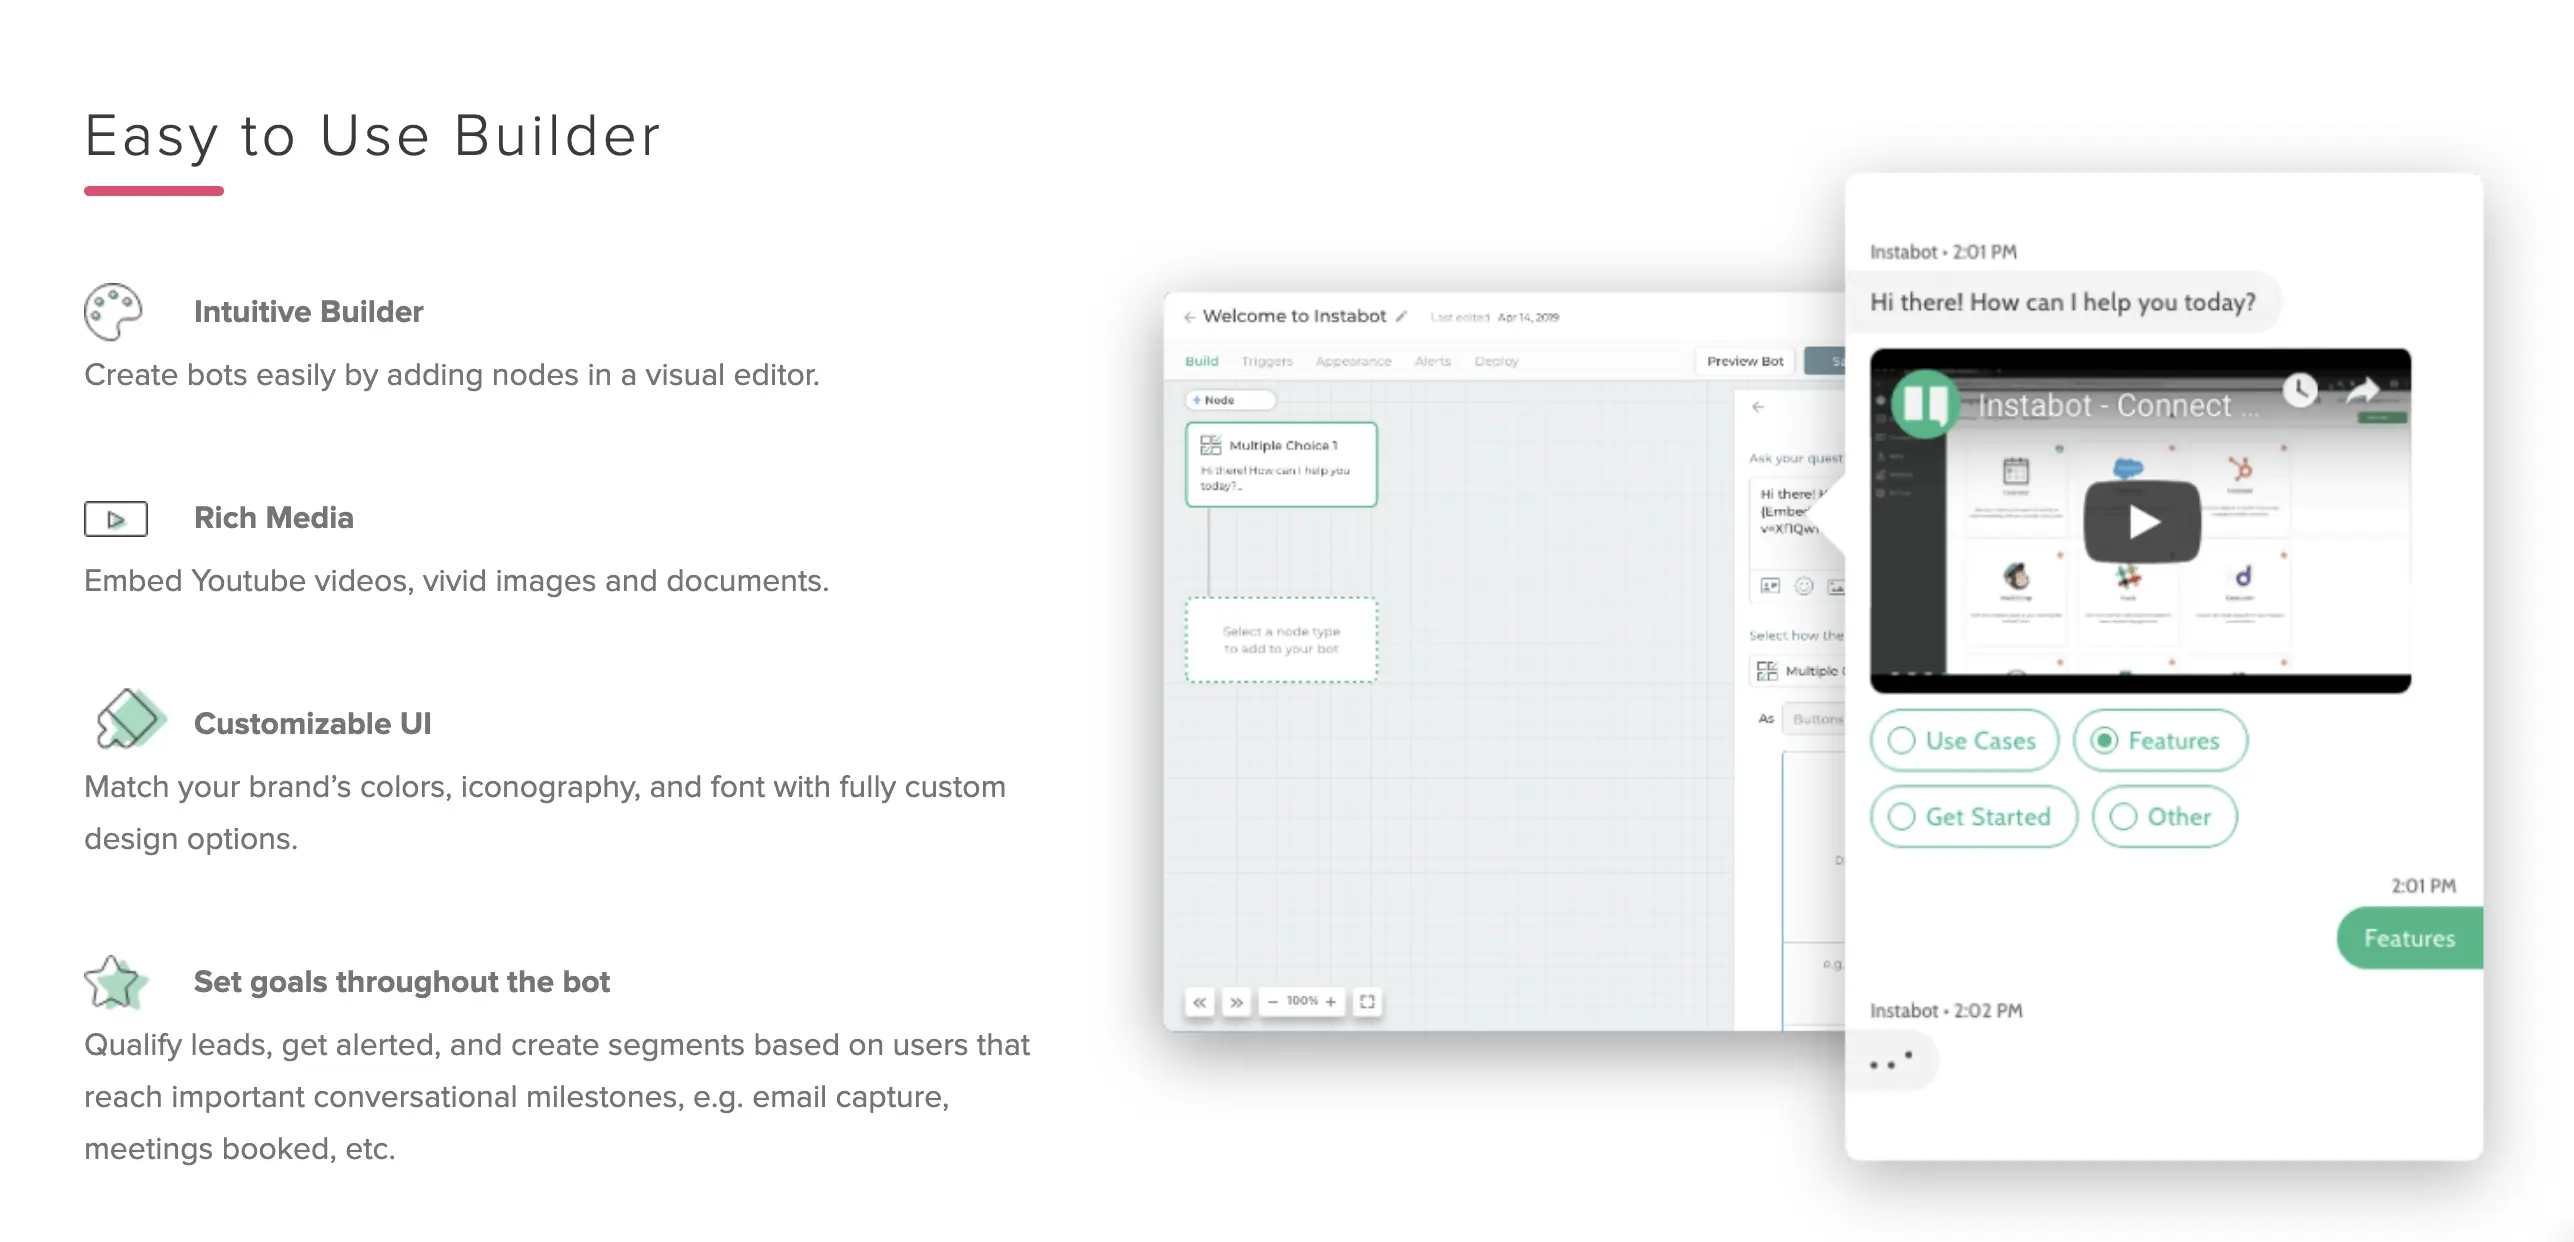
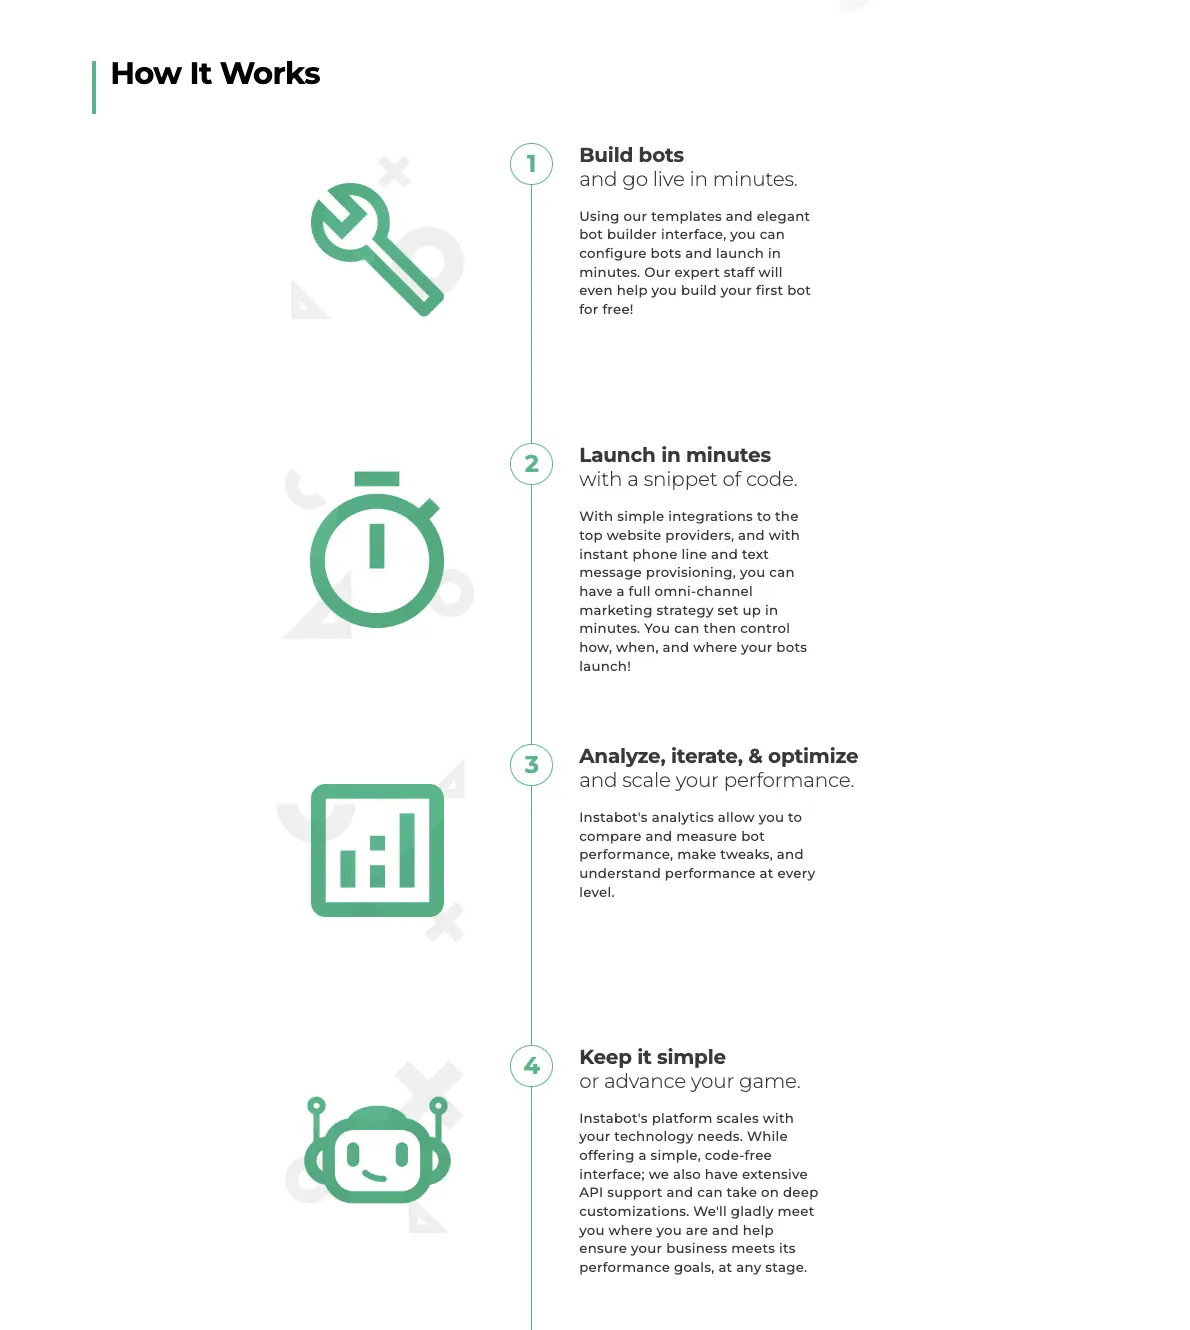
This conversational marketing and experience platform has boosted conversions while lowering expenses. In minutes, you can develop, integrate, and launch Instabot on your website or as a landing page. Transfer data acquired by Instabot to your CRM, marketing automation, email systems, or internal portals quickly.
You can live chat with consumers, see extensive bot data, get optimization advice, and change your bot on the fly after it's launched.
Instabot Tutorial: How to use InstaBot?
Like, any other bot, Instabot also has various features. As mentioned above, it's time to learn how to use each feature for your uses.
How to choose the pages of your site to display the bot
Step 1
Determine whether the bot should appear on each page of your site where you install JavaScript or if it should only appear on specific sites.
Step 2
"Launch on every page." Your bot will appear on every page of your website due to this.
Step 3
Select "Launch on a particular page(s)" from the drop-down menu. The bot will only appear on the pages you specified.
For example, if a user is on a page discussing price plans, you may construct a bot that asks for details to register an account.
Step 4
Add a trigger that requires the term 'price' in the URL. The bot will only appear if the page URL contains the term 'price' when published.
How to include new URL requirements?
To display the bot on all sites with a few restrictions, you may specify various URL criteria, including Does Not Contain conditions. When should you use "any" instead of "all"?
- "all" instructs Instabot that each trigger must match the bot to appear.
- "any," informs Instabot that it must trigger one of the triggers for the bot to appear.
How to set how the bot should open?
Step 1
Navigate to the Triggers page's How section.
Step 2
Choose from Persistent Button, Automatic Launch, or "Both" types of launches.
Step 3
When the website loads, the bot will run immediately, and it will remain available as a permanent button.
Suggested Reading:
Instabot: An In-depth Review 2024
How to control when a bot launches?
You may control not just how but also when your bot launches. These options are available in the When section of the Triggers page.
You can set up these controls in a variety of ways:
- Set a time delay for your bot to appear on your website. After your website has fully loaded, this is the amount of time your bot should wait before launching.
- A bot may emerge when a user scrolls down a specific amount on your page or screen. Set the bot to fire when the following conditions hold:
- The number of pixels browsed
- You can set it up by the percentage of the pages users scroll.
- You may even choose when a bot is active and dormant! Toggle off the "Always active" option and enter your preferred dates, hours, and timezone.
It is helpful if you have a bot designed for offline hours or a specific promotion period for your items.
How to customize the appearance of Instabot?
Step 1
Go to the Bot Appearance page.
Step 2
Select option 3. Appearance tab when editing your bot.
Step 3
Set your Brand Color. The brand color is a simple method to change the look and feel of your bot. Changing the brand color affects:
- The color of your Avatar's backdrop.
- Change the Bot Header's color.
- Choose a color for the user's response bubble.
- Change the Persistent Button's color.
All of these are adjustable separately under Advanced Settings.
Step 4
Add an Avatar to your profile.
Step 5
You may add an avatar that reflects your brand, such as your corporate logo.
Step 6
To upload a file from your computer, select Upload your picture. Recommended Size: 150x150 pixels. Note: You won't be able to change the remaining options if you're on the Basic Subscription. To personalize further, you must have the Standard plan.
Step 7
Change the font of the message and the color of the bubbles. The following options let you change your bot's default typeface and message bubble colors. The preview will refresh as you adjust the colors, allowing you to iterate until you find the appropriate design.
Step 8
Add a Custom Persistent Button to your page.
Step 9
The permanent Button will be the Instabot logo with your company's color scheme. You may, however, upload an image asset using a button from your PC. Suggested Size = 500x500 pixels
Step 10
Select "Show fullscreen options" next to the Widget Options label to alter the Fullscreen Settings.
How to set up Email and Real-time Alerts?
Use Alerts to be notified when users interact with your bots or accomplish particular milestones in their chat with your bot.
Step 1
Go to the Alerts page.
Step 2
When modifying a bot, go to the 4. Alerts tab:
Step 3
You may customize alert settings for each bot under the Alerts Tab throughout the bot building/editing process.
Step 4
Turn on Email or Real-time notifications using the toggle; you may get an email and real-time browser alerts.
There are two ways to get notifications:
- Whenever a task is complete within the bot
- All interactions with the bot.
It's not only Instabot admins that can send email notifications to particular persons on their team. You may also choose whether you want an alert the first time a new user interacts with the bot or whether you want a notification every time.
- Real-time alerts will send a browser message whenever the bot is activated,
- All interactions with the bot, whenever you achieve a goal with the bot's assistance
You must utilize browser notifications if you're using Instabot Live Chat! You may pick which specific objectives you want to get information for if you choose Goal fulfillment.
Mobile Apps You may also download our iOS and Android apps to receive real-time notifications when consumers interact with your bots right on your phone. It will allow you to keep an eye on Live conversation and continue it.
How to publish your Instabot?
Step 1
Copy JavaScript snippet
Step 2
Copy the piece of code from the "Deploy" tab of your bot and put it on your site.
Step 3
Note that all of your bots use the same Javascript snippet. Thus it doesn't matter which deploy screen you use if you have many bots! Based on the Triggers you've set up, Instabot will choose which bot to activate.
Step 4
Use a Website Builder. Like WordPress, Squarespace, Wix, Shopify, or Google Tag Manager to administer your site
Step 5
Paste JavaScript into your Website. If you're not using one of the platforms listed above, paste that code into your site's head> element.
Step 6
Your bot should now be active if you've previously published it! If you haven't done so already, this is the last step before you can see your bot in action on your website.
Step 7
When you click Publish, a pop-up window will appear, allowing you to examine all of your selections.
Step 8
Go ahead and publish when you're ready!
Step 9
Your bot is live!
The Bottom line
InstaBot is a software tool for automating and replicating human manual processes. It is an AI chatbot and helps build the easiest, fastest way to create an AI chatbot.
It allows you to build and launch chatbots on your websites within a few minutes.
It has tools designed for using AI with natural language processing (NLP) and machine learning (ML). This chatbot provides an organic and sophisticated human-like conversation.
If you're looking for an alternative, try BotPenguin. BotPenguin is an intuitive, flexible, easy-to-build, and managed AI chatbot platform for any business sector.

