Helpshift can be useful software for small, medium, and large enterprises alike. You get the features, integrations, and multi-channel support options to provide customers with the best support possible. However, 71% of Americans say the communications they receive from brands never or rarely feel personal. (PR Newswire) To utilize Helpshift ( read ahead for the Helpshift tutorial) to its optimum levels, it needs to be planned, customized, and improvised according to your business and customer needs. A help desk software that’s tailored according to your business will perform way better than one that’s off the shelf.
According to Social media today, 91% of customers would use a self-service option if it were tailored to their needs.
This tutorial will show you how to set up, start using, add functions as you grow, and integrate your Helpshift account.
Before you dive straight into it, It's important to create a plan of action.
Helpshift Tutorial: Plan
Define Your Company Goals
The most important objective of a help desk solution is to improve customer service. However, it’s important to narrow down the objective to more specific goals.
Plan your in-app features, triggers, and themes that match your organization’s foundation. Do you want to implement AI chatbots and a knowledge base?
How are you planning to change your support workflow over time?
What types of metrics do you want to use for measuring team performance?
You can use it to keep your customer interactions organized, use it as a team collaboration tool, and use it to meet customers where they need support most. Defining goals will ensure that the team members have clarity and are less prone to mistakes.
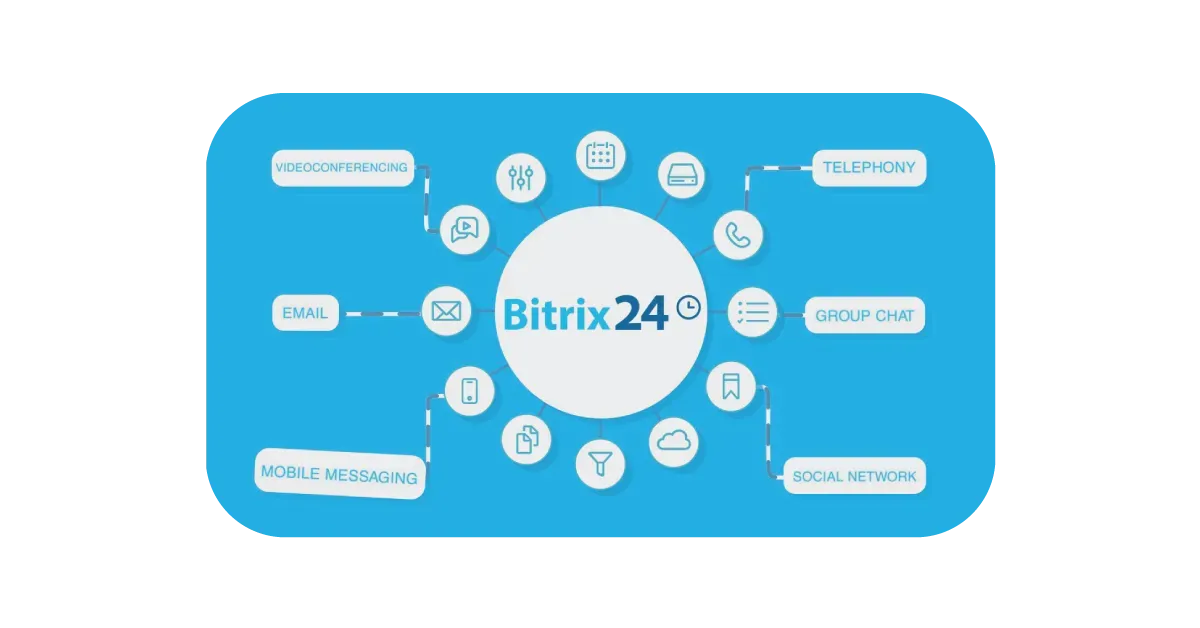
Make the most of the Helpshift multi-channel communication
Though customers are heavily using apps on mobile phones, it’s better to consider implementing a help desk on other channels. Many customers will still prefer being reached out to through email, or self-serve using a knowledge base.
Helpshift offers support on multiple channels- your apps, social media, website, and email.
You can use Help Scout to manage customer communications from the channels that your team is well versed with, to have complete control of the software and maximize output, create a self-service knowledge base that reduces support tickets and saves time.
Track your KPIs
Monitoring every customer service metric might do more harm than good by shifting your focus from what’s critical. However, key performance indicators like your teams’ average response time, query resolution time, customer feedback, ticket volume spikes, etc. should undoubtedly make it to your list.
Define Employee Roles
Categorize customer support team members as agents, admins, managers, etc. Defining an agent role ensures that the right tasks and permissions are distributed based on their expertise. Therefore, before setting up a ticketing system, ensure the team members understand their roles.
Setting up and being able to use Helpshift’s in-app help desk can be done within a few hours if you follow the steps mentioned below:
Helpshift Tutorial: How to use Helpshift
Helpshift Tutorial: Set up a Dashboard and important SDKs
While planning, you must have decided on a set of Custom Issue Fields that your team needs to start managing Issues. The first step is to create Custom Issue Fields so that your developers can configure the SDK to hand through the data.
Helpshift Tutorial: Custom Issue Fields
- To create a new Custom Issue Field, head to Settings > Workflows > Custom Issue Fields.
- To add a new issue field, click the ‘New Custom Issue Field’ button.
- After being prompted to select the field type, you can edit a Custom Issue Field. The Customer Issue Fields page shows a list that is used to classify issues. An edit icon will be displayed, hover over the icon where you’ll find the ‘Editable by Agent’ text.
- Add Custom Issue Fields to your contact us page by going over to Settings > App Settings > select your app. scroll down to the ‘Web Contact Us Form’ section, and click the ‘Customize Contact Us Form’ button.
- Next, you can add new fields by clicking the ‘Add Field’ button at the bottom.
- After you’ve selected the field, you’ll be given options to indicate whether the field should be necessary, optional, or unavailable.
Helpshift Tutorial: Create Helpshift apps
Create your first Helpshift apps that represent each of the products or services you support.
Fill up the following credentials in the create apps section-
- Pick an app name – this is how it will appear in the Dashboard for your agents and admins.
- Choose the platforms your app is currently available for (iOS, Android).
- Store URL (optional): The URL for the app on Apple/Play store.
Once you’ve filled in this info, click the ‘Add’ button to save the data. Once done, you’ll be redirected to the new app page where you can add more platforms, languages, or other information.
Helpshift Tutorial: Set up In-app Messaging & Bots
The Helpshift iOS & Android SDKs allow users to offer a seamless messaging experience to in-app users. Users can also use the chatbots to handle simple parts of the conversation and help the support team take on end-to-end Issue management.
Helpshift Tutorial: Setting up Conversational issue filling
- Download the latest SDK for iOS and Android from Helpshift’s developer documentation.
- Create a testing app in your Helpshift Dashboard for testing out the Conversational Issue Filing flow.
- Integrate the latest Helpshift SDKs into the app
- Enable Conversational Issue Filing from the SDK Configurations page in your testing app.
- Once enabled, try out different configurations that match your needs by enabling/disabling from the options.
- When you know the settings that work best for your workflow from the testing, update your app and Dashboard with Conversational Issue Filing.
Helpshift Tutorial: Activate Bots
The following types of chatbots can be configured from the Conversational Issue Filing page in the dashboard:
- QuickSearch Bot- responds to the customers’ first message by suggesting three relevant FAQs to help your users find answers quickly from the Knowledge base.
- Identity Bot- The Identity Bot requests customers’ names and/or email addresses if not collected before.
- Custom Bots- Custom Bots can be summoned at any point in a conversation to carry out a series of five different actions from a user’s query.
Configure Custom Push Notifications
Once you’ve set up in-app messaging and chatbots, you can enable push notifications that are sent from your app to the customers.
Helpshift Tutorial: Add the Web Chat platform to the Dashboard
Before integrating Web Chat, you must add a new platform for your app from the app settings page in the Helpshift Dashboard. To complete this step, go through the process below:
- Head to Settings > App settings > select your app
- From the list of supported platforms, click ‘add platform’
- In the pop-up that follows, check the box that reads ‘Web Chat’ and click ‘add platform’ again.
Helpshift Tutorial: Implement Web Chat (for developers)
The Web Chat widget can be added to any page using a single line of JavaScript.
This JavaScript snippet is accessible from the SDKs (for Developers) section of your app, which can be found by following the steps below:
- Head to Settings > SDKs (for Developers)
- Scroll down to find ‘Web Chat’
- Your domain, platform ID, and JavaScript snippet with your domain and platform ID are listed here.
- Test the Web Chat widget by initiating a chat as a customer and then replying to yourself as a Helpshift Agent.
Configure the User Experience (for Admins)
Configure and customize the greeting and primary color from within the Helpshift Dashboard. The primary color appears in the following segments:
- The launcher icon
- Color as the title bar
- Accent color for buttons and other interactions, like suggestions, and FAQs
Use Quick replies
Quick Replies are pre-built messages that agents can easily access and use to reply to users. These messages can be greetings, answers to FAQs, signatures, and more.
Helpshift Tutorial: create Quick replies
- Head to Settings > Workflows > Quick Replies
- Create folders to organize different quick replies based on the category by clicking ‘+ New Folder’
- A pop-up will emerge where you can title and save the folder.
To add more quick replies for the future while you’re dealing with a customer-
- Click the ‘+ New Reply’ button to add a new Quick Reply to that folder.
- In the pop-up that follows, give it a title, message, folder, and tags that need to be applied when the quick reply will be used within an Issue.
- Use Placeholders to automatically fill in information that is already available within the Issue, such as the customer’s name within the greeting or an Agent’s name in the signature.
- Once you click ‘Save’, your agents will be able to use quick replies from the list in the dashboard.
Helpshift Tutorial: Set up Email Support

Setting up Email support will help you reach customers that prefer email interactions and subscribe to your newsletters. You can customize the emails sent by Helpshift to match your brand.
- Find ‘Review your email support; settings by heading to Settings > Support Settings > Email Support. On the support channel page, you’ll notice your full email address listed
- Click the ‘Add Channel’ button on the support channel page.
- A pop-up will allow you to configure the Name, email, and Auto-Response for this channel. You can also use a text Template to send a response in the customer’s language.
- Click ‘Save’, and the new channel will be created.
Use Automations
To create a New Issue Automation, proceed by:
- Navigating to Settings > Workflows > Automations
- Ensure that ‘New Issue’ is selected
- Click on ‘+ New Automation
- In the pop-up, enter a title and select the conditions and actions that trigger the Automation to run.
Queues
A Queue is a grouping of Issues sorted by a customer’s wait time. Queues can be used in your workflow in numerous ways as mentioned below-
- You can create, manage, and review queues from the Queues page on the Helpshift dashboard. Click the ‘Settings’ button on the left and select ‘Queues’ from the Workflows section.
- Enable Auto-Assignment to assign Issues to Queues and Agents automatically. Enabling Auto-Assignment permits agents to mark themselves as ‘Available’ or ‘Away’.
Helpshift Tutorial: Launch
Now that your platforms, workflow, and support team are all in place, it’s time to launch Helpshift!
It’s important to make sure everything is set up correctly before offering your new support experience to your customers. To ensure your Helpshift implementation will be a success, It’s recommended to review your setup and make changes as your business grows.
Here are some popular integrations that can take your customer support goals to the next level-
Helpshift Tutorial: Integrate Helpshift with Zendesk CRM
From Helpshift
- To connect your Zendesk with Helpshift, head to Settings > Integrations from the Helpshift Dashboard.
- Click ‘Setup Integration’ from the Zendesk field.
- Enter the Zendesk domain, email, and API token in the pop-up that appears.
- Click the ‘Setup Integration’ button to complete the step.
From Zendesk
Once you’ve configured your Helpshift for Zendesk and synced your users, you’ll need to set up the Zendesk domain to receive and manage Helpshift Issues.
- Head to the Zendesk apps page and search for ‘Helpshift’. Click the app to head to the Helpshift app page.
- Next, click ‘Install’, In the pop-up that follows
- After installing the Helpshift app, enter your personal Helpshift domain and API key in the required fields (the Helpshift API key can be found on the Helpshift Dashboard under APIs).
The installation process is complete. The app will be accessible from the list of installed apps on the ‘Manage Apps’ page.
Helpshift Tutorial: Make the most out of the pricing plan
Helpshift's pricing model is based on completed customer service interactions -- meaning you only have to pay for the issues that you create and resolve using Helpshift. The pricing isn’t based on the number of agents using the app, meaning you can use as many agents as you like.
This is a convenient pricing system as you only pay for what you use each month. You can also make the most out of the free demo to experiment and see where your business stands and how Helpshift can fit in and help with your business errands.
The Bottom line
Helpshift has no limit when it comes to its features and available customizations. Some of its most useful features are the AI- Chatbots for 24x7 customer service, ready-made templates, reports and analytics, and real-time issue reporting, which can all be used in multiple ways.
However, it’s still important to narrow down the list and use the integrations and features that you need from the wide array of options from this tutorial. Stuffing features can make the workflow rusty, making your team lose its primary focus and objectives.
The primary goal of setting up an online Help desk should always be to provide top-notch customer support because 93% of customers are likely to repeat purchases with companies that offer excellent customer service (HubSpot Research).

