How to Add a Chatbot to Your Website: A Complete Step-by-Step Guide
Updated at Oct 6, 2026
17 min to read
Key Takeaway
A successful appointment booking chatbot collects only the essential information—such as name, contact details, service type, preferred date and time, and location—to streamline the booking process and avoid overwhelming users with unnecessary questions.
Integrating the chatbot with a calendar or booking software is critical to prevent double bookings and ensure real-time slot availability, which builds user trust and operational efficiency.
Testing every possible booking path—including incomplete details, unavailable slots, and human handoff requests—helps catch edge cases before launch and ensures the chatbot delivers a frictionless scheduling experience.
To build appointment booking chatbot workflows that convert, start by defining clear booking rules—such as appointment types, slot logic, and confirmation paths—so the chatbot becomes an efficient execution layer rather than a generic support tool.
Your front desk team spends three hours a day answering "Is Saturday 2 PM available?" and still misses bookings.
An appointment booking chatbot fixes this without adding headcount and makes booking faster for customers.
However, building an appointment booking chatbot involves more than adding a chat window to your website.
From designing booking flows to setting confirmations, integrations, fallback support, and conversation logic, multiple elements need to work together for a smooth scheduling experience.
This guide explains how you can build appointment-booking chatbot workflows, step-by-step.
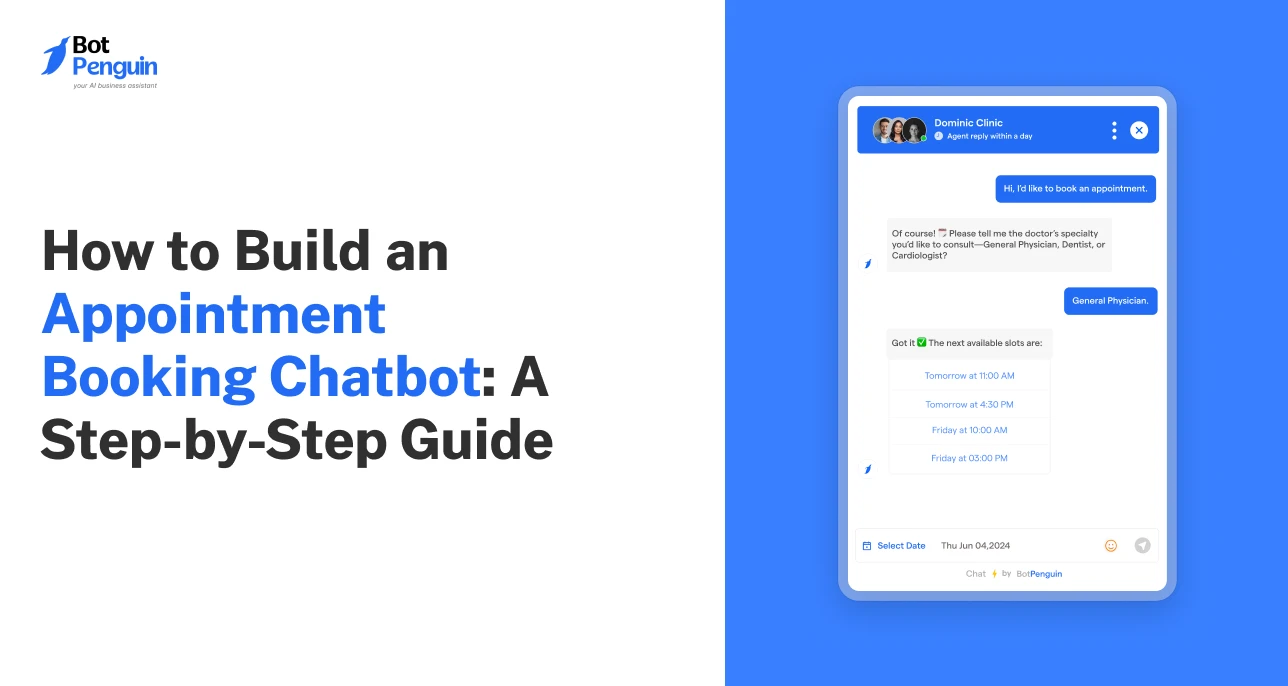
An appointment booking chatbot helps businesses convert booking intent before customers drop off.
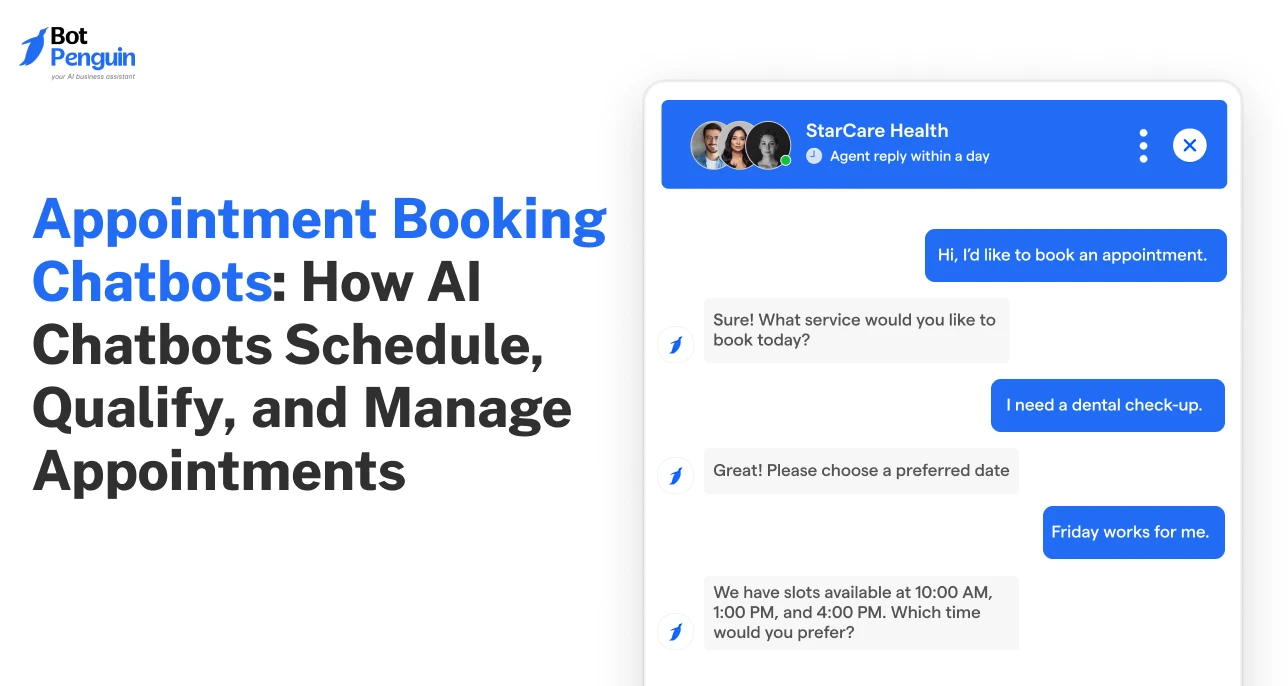
Instead of making users call, wait for replies, or fill out long forms, it guides them through service selection, slot preference, and confirmation inside one conversation.
Businesses are keen on building an AI chatbot for appointment booking to:
This is why many businesses build appointment booking chatbot workflows before scaling their booking operations.
But to scale, you must first know how to build one.
To build an appointment booking chatbot, start by deciding what booking information the chatbot should collect, then choose the right platform, create the conversation flow, connect calendar tools, train the AI, customize the experience, and test every booking path before launch.
The goal is simple: help users choose a service, share details, select a slot, and receive confirmation without unnecessary back-and-forth.
Before you build an appointment booking chatbot, define what users are booking and what information is required to confirm the appointment.
This keeps the chatbot focused on scheduling instead of becoming a generic support flow.
Details to collect from users:
Rules to define for the business:
This step helps the booking chatbot collect the right details before the request reaches your team.
Choose a no-code chatbot platform for appointment booking that supports templates, calendar integrations, AI training, channel deployment, custom fields, and live chat handoff.
The platform should help you manage the full booking flow, not just collect basic contact details.
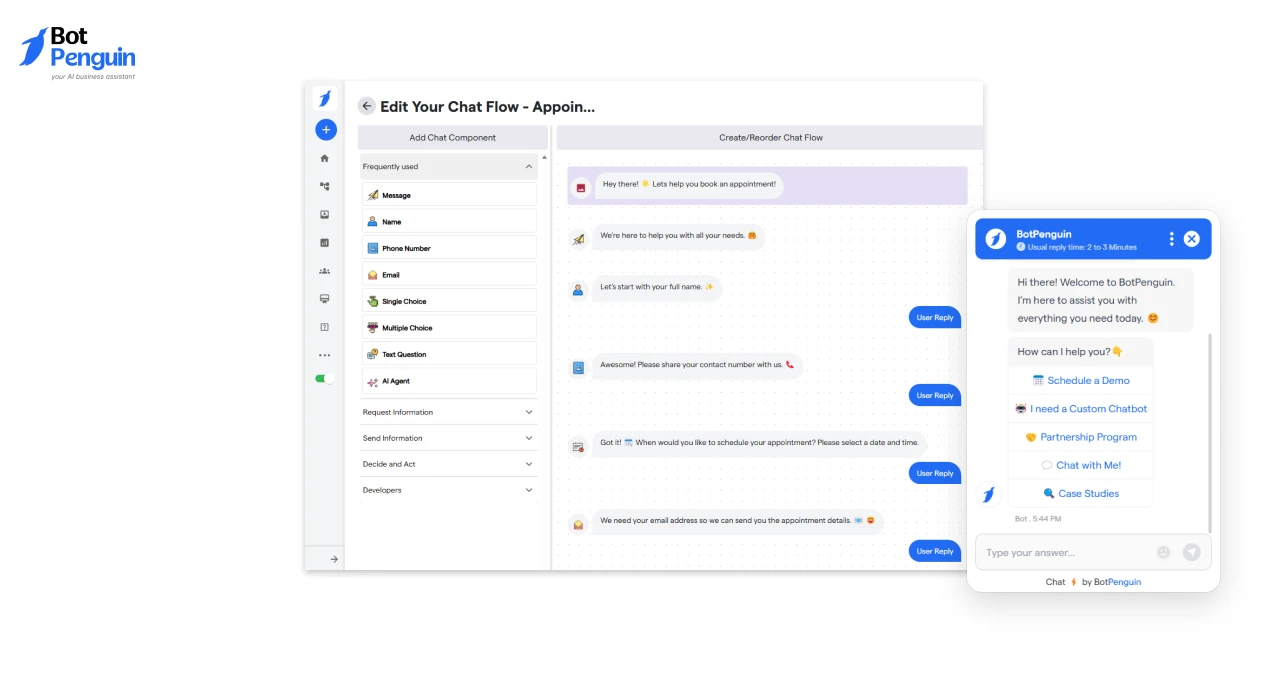
For example, BotPenguin supports ready-made appointment-booking templates, visual chatflow editing, calendar integrations such as SimplyBook and Google Calendar, AI training, custom attributes, and deployment across websites and social media.
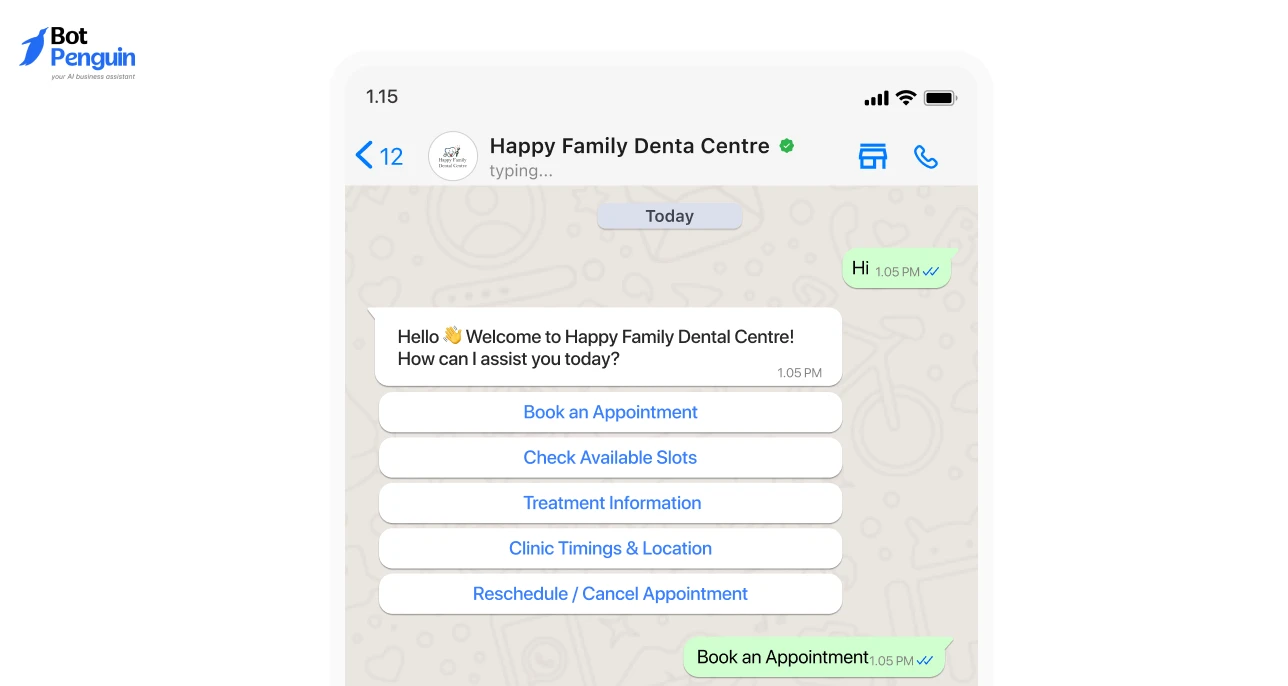
Start by choosing where users will interact with the appointment booking chatbot. The right channel depends on where customers usually ask for appointments.
Common channels include:
For website use cases, the chatbot can appear as:
Choose one primary channel first. Add more channels later only when your team can manage bookings and follow-ups across them.
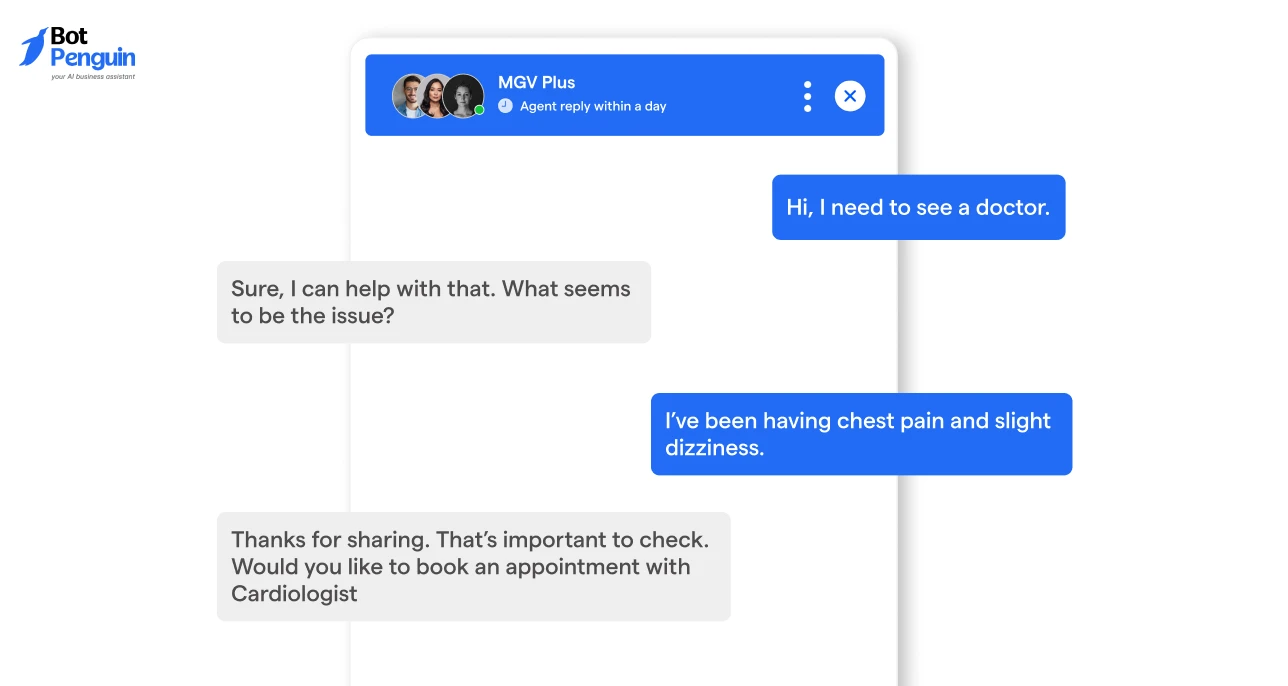
Choose a template that matches the booking use case instead of starting from a blank flow.
A relevant template gives the appointment scheduling chatbot a ready structure for collecting details, asking booking questions, and guiding users toward confirmation.
Look for templates across industries such as:
Select the closest template. Then adjust the messages, questions, booking fields, and appointment logic to match the actual business workflow.
Use the no-code flow builder of the chatbot platform to create the booking journey step by step.
The flow should collect only the information needed to confirm the appointment.
A simple appointment booking chatbot flow can include:
Keep the flow short. The user should not answer ten questions when four are enough to complete the booking.
Configure the appointment rules that control how users view, select, and confirm available slots.
These settings decide when appointments can be booked and how the chatbot responds when a preferred slot is unavailable.
Set details such as available days, working hours, start time, end time, appointment duration, buffer time, booking window, unavailable-slot response, and confirmation copy.
Keep the rules practical. For example, a clinic may need fixed 15-minute slots, while a consultancy may need longer appointment durations and wider booking windows.
Connect the calendar or booking software before launch so the appointment booking chatbot can show accurate availability and reduce double bookings.
Relevant appointment integrations may include Google Calendar, Outlook Calendar, SimplyBook, Acuity Scheduling, and Go High Level.
For paid appointments, consultations, events, or classes, a payment gateway can also be added before final confirmation.
This keeps booking details synced between the chatbot, calendar, and internal team.
Train the AI chatbot with appointment-related information so it can answer common questions before asking users to book.
Training sources can include:
This helps when users ask about pricing, documents, locations, service details, rescheduling, or availability before selecting a slot.
Keep the training data clean and current. A trained chatbot is only useful when its answers match actual business rules.
Use custom attributes to capture structured booking data. These fields help the business understand the request before the appointment happens.
Useful custom attributes include:
These attributes can also support CRM updates, segmentation, follow-up messages, and live-chat handoffs.
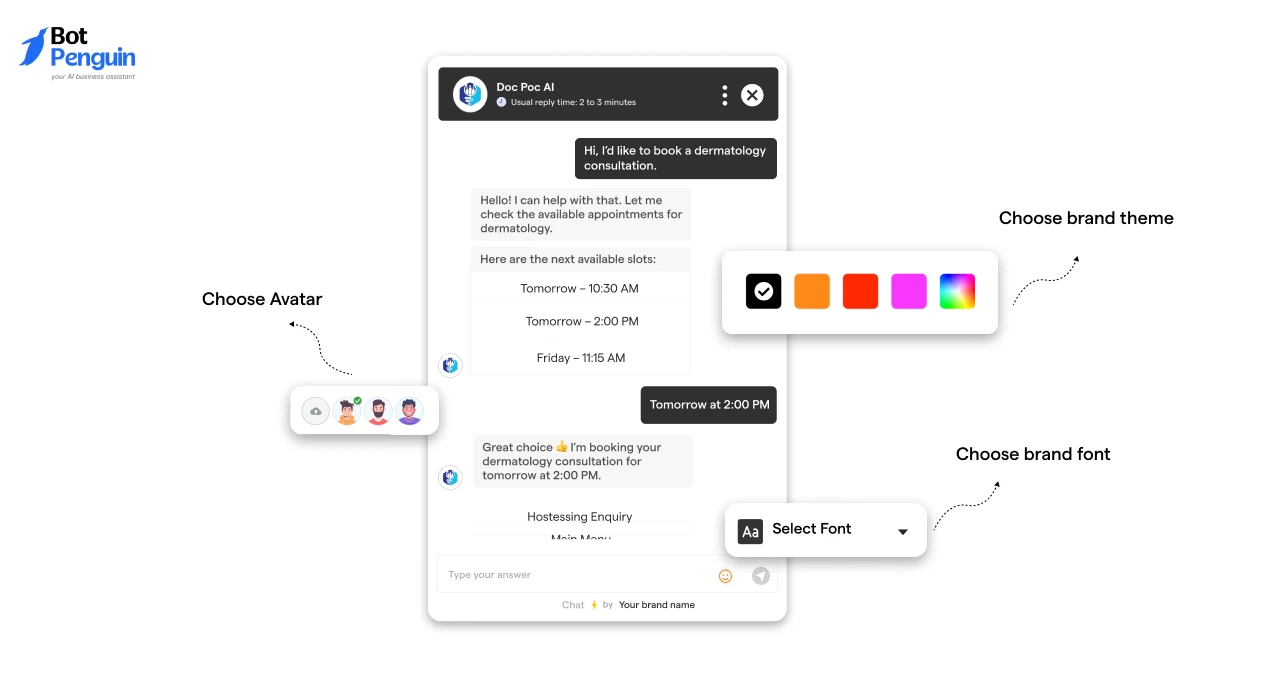
Customize the chatbot UI so it matches the brand while keeping the booking path simple across desktop and mobile.
Update the brand colors, bot avatar, chat launcher style, widget placement, mobile layout, welcome message, slot selection prompt, confirmation copy design, and handoff message.
Keep the design clean. The goal is to help users book quickly without visual clutter or unnecessary steps.
Install the chatbot on the selected channel and test the complete booking journey before launch.
Focus on slot accuracy, data capture, calendar sync, and confirmation logic.
Test these cases:
Once these checks pass, the appointment booking chatbot is ready to handle live booking requests.
However, even with the right setup, small mistakes can still create booking gaps.
The next section covers the most common mistakes that occur when building appointment-booking chatbots and how to avoid them.
The most common mistakes are using a generic flow, skipping calendar sync, asking too many questions, and failing to test unavailable slots.
Fix these before launch:
A strong appointment booking chatbot, therefore, should reduce friction, not create another layer of manual follow-up.
Avoiding these issues keeps the chatbot focused on its real job: helping users book faster with fewer manual steps.
BotPenguin helps reduce these mistakes by giving teams appointment templates, calendar and booking integrations, custom attributes, AI training, live chat handoff, and omnichannel deployment in one setup.
Businesses can build the booking flow, test slot logic, capture structured data, and launch.
To build appointment booking chatbot workflows that convert, start with the booking rules before the tool.
Define the appointment type, required details, slot logic, calendar or booking integration, confirmation flow, and handoff path first.
Once the foundation is clear, the chatbot becomes an execution layer, not a guessing system.
It should guide users smoothly from intent to booking, reduce back-and-forth, and confirm appointments instantly.
With BotPenguin, businesses can create AI-powered appointment booking chatbots using ready templates, AI training, calendar integrations, custom attributes, omnichannel deployment, and seamless connections with existing business tools.
Choose what information to collect, select a platform & a booking template, build the flow, connect a calendar, train AI, customize design, test scenarios, and launch.
Yes. No-code chatbot software lets you use templates, visual flow builders, calendar integrations, AI training, and channel installation without writing code.
It should collect name, phone number, email, service type, preferred date, preferred time, location, and any appointment-specific requirements.
Set the appointment type, working hours, slot duration, booking window, buffer time, confirmation message, and rescheduling rules before connecting the calendar.
Not always. A chatbot can collect booking requests and details without a tool, but a booking system is needed for real-time availability and avoiding double bookings.
Appointment booking chatbots can use models such as OpenAI, Gemini, Claude, DeepSeek, or custom LLMs, depending on platform support and setup.
Subscribe to Our Newsletter
Get the latest business insights straight into your inbox.
Checkout our related blogs you will love.
Updated at Oct 6, 2026
17 min to read
Updated at Sep 28, 2026
15 min to read
Updated at Sep 28, 2026
19 min to read
Updated at Sep 25, 2026
9 min to read
Updated at Sep 1, 2026
10 min to read
Updated at Jun 24, 2026
10 min to read
Table of Contents