Do you have a LiveChat software subscription? Want a LiveChat Tutorial?
Do you want to know how to use LiveChat to your advantage?
Stay with this article, and by the time you reach the end, you will be well-informed. You can then chalk out a roadmap for your business growth with LiveChat.
What is LiveChat?
LiveChat is an online customer service tool. It has capabilities for live chat, help desk, knowledge base, and chatbot. Although it came in 2002, it uses technology like SaaS. It tracks sales and automates goals for boosting revenue.
You can easily integrate LiveChat into your website within a few steps. The software is easy to use. It saves time by making communication with customers go smoothly.
How to use this tutorial?
You can use this article as a helpful guide. It will assist you in integrating LiveChat into your website. Moreover, you will develop a smooth running workflow. It will be beneficial for both your support team and customers.
How to use LiveChat in 2022?
Set goals for LiveChat. It's critical to identify what you want to gain from LiveChat early on. Because only then will you be able to monitor its performance. Furthermore, depending on your goals, you will most likely utilize some functions more than others (or use them differently).
If you use LiveChat for help, one of your key goals may boost client happiness. You may use prefabricated replies and sneak peek to minimize response time. Alternatively, you can use the ticketing system to ensure that no support problems go unanswered.
If you're utilizing LiveChat for sales, your primary aims may be higher conversion rates and lower cart abandonment rates. Use greetings to target consumers stalling on product and basket pages, and tag each interaction to observe patterns. Moreover, you can filter reports by tags to see discussions that ended in a transaction.
If you're utilizing LiveChat to generate leads, you're undoubtedly looking for high-quality leads (a lot of them). Use the pre-chat survey to gather the information you require before the visitor initiates a discussion. Use automated greetings on sites that receive the most valuable traffic.
LiveChat Tutorial: How to Create a LiveChat account
It takes a few minutes to set up an account. You complete a three-step form, and that's all there is. They offer a 14-day free trial. There is no credit card necessary.
You are on the Team plan by default, with unlimited seats. If you wish to test a different plan, contact the support team to set it up for you.
LiveChat Tutorial: How to Log in to the LiveChat app
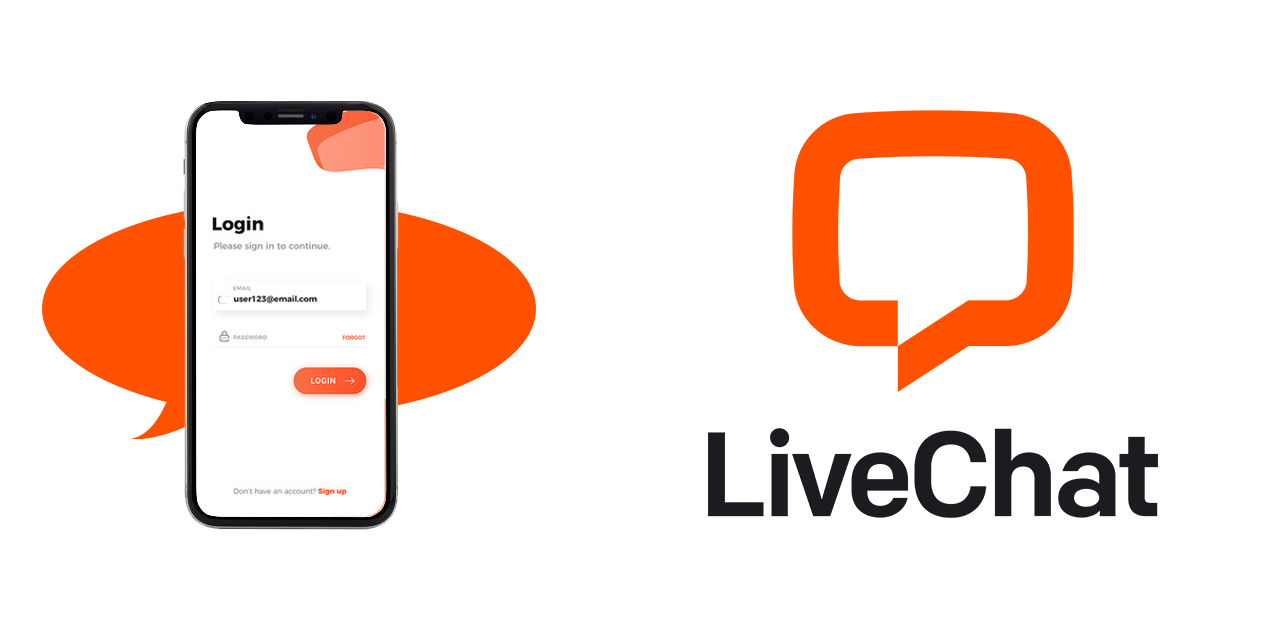
You can instantly connect to the LiveChat app when you sign up for an account. If you logged out or closed the browser, here's how to re-login:
Step 1: Navigate to the LiveChat login page.
Step 2: Enter the email address and password.
Step 3: Select Sign in, and there you go!
LiveChat Tutorial: How to invite Agents?
The sooner you invite your team members to LiveChat, the better. Because it allows them to learn the software with you, it's also a great time to explain why you need LiveChat and how it may benefit them with their business.
Step 1: Navigate to the Agent's area of the app.
Step 2: Select Invite Agents.
Step 3: Enter your peers' emails and assign them a position. When you push the send button, they will receive invites in their inboxes with instructions on what to do next.
LiveChat Tutorial: How to Edit Agent's profile
After you've invited your colleagues, each of you may customize your profile settings. Note that the Owner and Admin can alter these settings for everyone.
To modify an agent's profile, follow these steps:
Step 1: Navigate to the Agents section.
Step 2: Select your profile from the drop-down menu.
Step 3: Select the pencil symbol in the upper right corner.
Step 4: Change your name and work title and upload your profile photo (clients appreciate seeing an honest face).
Step 5: Save your modifications once you finish the task.
Admins and the owner can also change the conversation limit. So, how many conversations can one agent handle at once? Even two conversations may appear to be too much at first, but after a few days, agents can manage six without breaking a sweat.
LiveChat Tutorial: How to Install LiveChat using a JavaScript code snippet
Sign up for a free 14-day trial if you haven't already (no credit card needed). After you've made an account, proceed as follows:
Step 1: Sign in to your LiveChat account and navigate Settings > Channels > Website.
Step 2: Then, select Copy code.
Step 3: Paste the code before the /body> element into the source code of your website.
Step 4: Refresh the page once you've successfully uploaded the LiveChat code to your website. In the bottom right corner, there should be a chat widget.
LiveChat Tutorial: How to add and customize the chat widget
Examine the chat widget once you figure out the LiveChat software. The chat widget is a little window on your website that your consumers may communicate with you.
LiveChat Tutorial: How to install a chat widget on your website
To include the chat widget on your website, either add LiveChat code to the source code of your site or utilize one of our integrations with major CMSs and e-commerce systems.
LiveChat Tutorial: How to edit the look of the chat widget
The chat widget should be an essential element of your website and consistent with its identity. You may change the theme, colors, location, visibility, displayed messages, and other settings. All you need is just a few clicks.
LiveChat Tutorial: How to change your status to accept chats
You've gone through all of the parts, had a few practice discussions with yourself, and are eagerly awaiting the first actual chat, yet nothing happens? You may set your status to 'not accepting conversations,' in which your customers will be unable to message you. You may change the status to 'accepting conversations' by following these steps:
Step 1: In the lower-left corner, click on your profile image.
Step 2: From the list, choose to Accept conversations.
Step 3: When you're done for the day, change the status to "not accepting conversation."
LiveChat Tutorial: How to start a chat manually?
You can see customers browsing your website in real-time in the Traffic area.
Click Start chat to send a pre-written welcome message to the client, or click the pen symbol to create the message. The conversation will appear in the Chats portion of the list when you do.
LiveChat Tutorial: How to Accept Chats?
As soon as you log in to the LiveChat Agent app, you may begin accepting chats. It will automatically allocate new visitors who choose to engage in chat on your website. It is ideal for a staff that is prepared to interact with consumers. If you wish to concentrate on other things in the app, you may turn off the "accepting conversations" state.
The app has a switch that allows you to adjust your availability.
You may discover it on the desktop application by following these steps:
Step 1: Click on the profile button in the lower-left corner. It will bring up a screen with the profile options.
Step 2: Toggle the toggle next to Accept conversations to turn the status on or off:
And you may discover it on the mobile app by following these steps:
Step 3: Tap the profile button in the app's bottom right corner.
Step 4: The Accept conversations toggle is available at the panel's top.
How to create a ticket in Archives
The Archives sections stores a record of all conversations with visitors. This area is convenient if you need to double-check any information left in discussions by visitors. For example, their email address, name, or order are data. You may find the conversation transcripts in the Archives area at any time.
Step 1: Log in to LiveChat first. Then go to Archives and do the following:
Step 2: Click the three-dot symbol "..."
Step 3: Select Create Ticket.
Step 4: Supply a ticket title (as well as the customer's email address if they did not provide it in the pre-chat survey).
Step 5: Select Create Ticket.
How to send a transcript from Archives
Step 1: Log in to Livechat first. Then go to Archives and do the following:
Step 2: Click the three-dot symbol "..."
Step 3: Select Send transcript to an email from the drop-down menu.
Step 4: Select Send a copy (you must provide the customer's email address if they did not submit it in the pre-chat survey).
How to ban a customer in Archives
Step 1: Log in to Livechat first.
Step 2: Then go to Archives and do the following:
Step 3: Click the "..." three-dot symbol in the top right corner of the conversation stream.
Step 4: Choose to Ban this client.
Step 5: Determine the number of days the visitor should be barred.
Step 6: Finally, click Ban client.
That's all. In Settings, you may view a list of all the blocked customers. You can always unban a client if you make a mistake.
How to add and delete tags in Archives
Step 1: In Archives, click on add tag in the bottom left corner to apply a tag to a specific discussion.
Step 2: Then, from a list, select a tag.
Step 3: To erase a tag, click the x button next.
How to add extensions or live chat plugins?

The LiveChat chat plugin is free, but you must be a LiveChat customer to utilize it. LiveChat offers a 14-day free trial, allowing you to try the service.
Step 1: First, get the zip file and download it.
Step 2: Go to WordPress Admin > Plugins > Add New and upload the file you downloaded with Choose File.
Step 3: Enable the extension.
Step 4: Create a LiveChat account or sign in to an existing one.
Final Thoughts
LiveChat is an excellent tool for your business. It comes with both a website and a mobile app. You can easily experience LiveChat features and services without actually paying. They provide a 14-day free trial without asking for any credit card information.
You can track your websites after adding LiveChat code to your site. LiveChat software is not only present for chatting. It can help you manage other support correspondences.
We hope that this LiveChat tutorial post enables you to create lasting relationships with your customers.
Another alternative for customer engagement is with BotPenguin's chatbot. Take a look here!
Related: