Statista forecasts a 1.25 billion dollar market for chatbots by 2025, up from 190.8 million dollars in 2016. According to Wotnot, the top countries using chatbots are the USA, India, Germany, Brazil, and the UK. It makes chatbot-building apps like Lanbot popular in the market.
Chatbots not only increase customer engagement on your website but also improve customer service. Stick around for a comprehensive LandBot Tutorial in this blog.
One of the best no-code chatbot creators available is Landbot. Landbot makes creating a chatbot enjoyable and straightforward. Landbot allows you to personalize each bot's aesthetics using your brand's colors, fonts, avatars, and backdrops. You can provide your chatbot with a personal touch of your brand.
With Landbot, you can design your chatbot avatar, which makes it exceptional from other chatbot platforms. Now, that you understand why you should be choosing Landbot over others, let us learn the working of Landbot.
1. Create an account with Chatbot Builder
Before you do anything else, you must first register an account with Landbot. Signing up is free. Upon signing up in Lanbot, you will receive a link to create a bot project.
It provides a pre-built template conversation flow based on your specified use cases. Click the small house symbol on the left to navigate the dashboard and better view the platform.
2. Select Your Channel and then click "Build a Chatbot."
You may change an existing bot project from the dashboard or create a new one by selecting "Build a Chatbot." The bot builder will ask you what kind of channel you are interested in developing. You may use the web or any messaging platform with an API.
WhatsApp has a restricted user interface, so you won't be able to use all of Landbot's features. You can learn how to get around it by visiting our WhatsApp dialogue design guide for rule-based chatbots.
The Landbot chatbot template library will appear as soon as you select a channel. However, to make this lesson a little more complicated, we will create a chatbot from scratch.
3. Improve the Welcome Message
In the bot-building exercise, you can design a subscription bot for the fictitious online gaming magazine "GameWorld."
My bot introduces itself, and the user may start a conversation by pressing the "Hi" button. Since this is a welcome sequence, a single response helps to initiate the conversation.
4. Insert Your First Sequence
Drag the green arrow from a specific response to add a new sequence to your welcome message.
Each button choice sequence will conclude with a purple "DEFAULT" button. This button is only available to you when you are in the builder. There are numerous buttons to choose from, but the flow remains the same. Create the following sequence by dragging an arrow from the default option.
You'll get a menu of questions and integration blocks after dragging an arrow. Select "Simple Message" as your new block type, and then input your message to customize it. That brings your first sequence to a close.
5. Ask Questions
Real-time customization is the key to developing any basic interactive chatbot. It would be a shame not to use this right away, for example, by requesting the user's name.
Landbot builder, as you may have observed, has a wide range of inquiry kinds. Bots, therefore, arrive pre-formatted and ready to collect data so that setup is faster with them. For example, URL questions will only accept URL answers, while phone number questions will only accept digits.
Drag an arrow from the previous block and choose "NAME" to add the Name block to the bot flow. As the Name block visualizes, the following side settings window will show on the left: Here, you may change the default query wording "What's your name?" to something more appropriate for the tone of your brand.
Variables in the format "@" + "variable name" in the Landbot builder serve to categorize and store data acquired by the bot. It helps personalize the conversational flow or export it to an external database. You can utilize the predefined variables or define your own.
6. Make Inquiries
As seen in the picture above, the next step will be to build the first correct button selection. So, if you haven't already done so, drag an arrow from the name block and choose "BUTTONS." The button block functions similarly to the welcome block.
If the user decides to return to the website, include a "GOODBYE" block. You can also have the social network sharing buttons or allow restarting the chat.
Activate automatic URL redirection and customize the reroute message. You allow users to quickly access your social profiles or website, even if they aren't subscribers. If users subscribe, we'll direct them to the subscription funnel.
7. Submit a Question Regarding Email
To become a member, you must provide an email address. Therefore, the first subscription inquiry will be just that. Return to the initial button selection and draw an arrow from the "Subscribe" option.
Fortunately, Landbot builder includes an "EMAIL" question block that consists of a pre-set @email variable and verifies the email format.
After setting up the email block, draw an arrow from the "Subscribe" option in the "Learn more" branch. Customer subscription flows are the same if they subscribe immediately or after reviewing the magazine.
8. Google Spreadsheets Data Export
Integrations are another key to designing a chatbot that will simplify your life. We now have the most critical information, so let's export it to Google Sheets.
First, create a spreadsheet on Google Drive with the following name. Select "GOOGLE SPREADSHEETS" in the menu to return to the Landbot chatbot development platform.
- First, you must link your Google Drive to Landbot.
- Click "ADD ACCOUNT" to connect the two tools.
- Then, select the account that you wish to associate with your bot from a drop-down menu. (If there is more than one account, a drop-down list appears.)
The spreadsheet to which you wish to send the data: Make a new row.
- You must update the existing row.
- Take data from the spreadsheet and bring it to the discussion.
- Select "Insert a new row" since you will be establishing a new row for each new subscriber at this stage.
- The last step is to match the column names with the variables you wish to store in the columns: Click SAVE.
9. Submit a Question
After sending an email, you can offer a more tailored subscription experience. The next question is listed below. You want to spice up the button selection for a bit of variety. Click on the three dots in the block's top right corner:
- A visual editor for button blocks will emerge on the left side of the screen. There, you may add some rich media to your button choice questions:
- After you've finished uploading the photographs, scroll down the editor and add a variable to save this answer:
- Click the "SAVE" button.
- Picture button selection appears this way.
10. Submit An Image Question
Another excellent Landbot platform question is the picture choice block, which displays an image carousel instead of buttons. Draw an arrow from your last block's "Default" button and choose "PICTURE CHOICE" from the menu.
11. Answers The Image Question
Utilize this question type to inquire about the user. When configuring photo selection, use the same steps as when configuring button images.
- Define the description and upload a relevant image.
- Don't forget to edit the variable to preserve the user replies in an easily identifiable format.
12. Multiple Choice Question
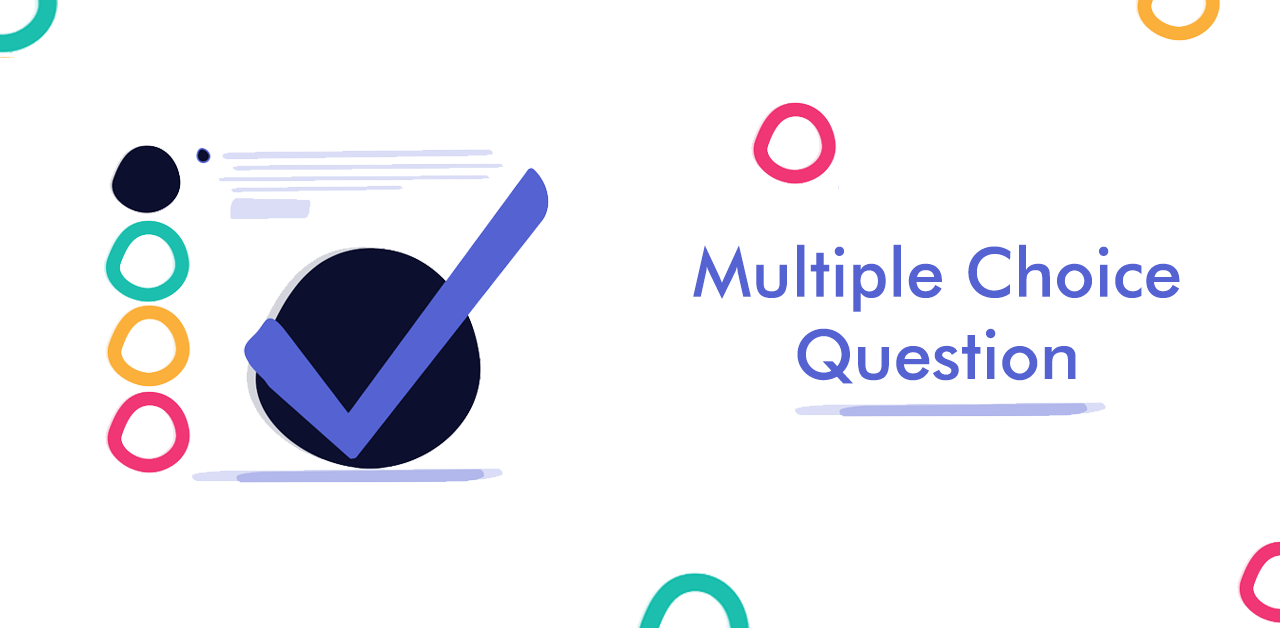
It also allows for multiple choices when a single selection isn't sufficient.
To create a multiple-choice question, use the following syntax:
- Make a new button block and button replies.
- In the upper right corner, click the three dots.
- Scroll down the editor and check the "Multiple Choice!" box.
- Remember to configure the response variable.
13. Submit an Open-end Question
In some cases, you cannot hide behind a button, so let your users express themselves. You may use the "TEXT" question block to allow the user to write and public input. It just provides an empty field for the user to fill in.
14. Allow the user to rate their experience.
Landbot provides the "RATING" and "SCALE" blocks to help you create a survey bot.
- Draw an arrow between the final Buttons question and the sub-question, then choose the "RATING" block from the menu.
- Again, the setup is straightforward: Create your rating questions.
- Choose the rating format (number of stars, emo.)
- Make the variable to save the answer.
15. Add New Data to Google Spreadsheet
Move a green arrow from the last block's "Default" button and utilize the Google Sheets integration block again. We want the bot to update the row it already made, so we need to set the action to "Update a Row." You can select this option to find the updated row by choosing a "reference column.". You can edit the fields in the reference column by selecting the column and the variable corresponding to it. It means the bot will look in the "Email" column, locate a match, then complete the rest of the information.
Use Mailchimp to create segmented mailing lists. As you construct the bot, make sure it does everything to simplify your life. There are a few conditional logic blocks. You may use them to create informal logic processes in the pattern of "IF THIS THEN THAT."
You can use the following criteria in the Landbot builder.
- They put up the condition that we wanted the bot to separate the subscribers based on their gaming devices.
- Landbot went through the process again for each of the available devices. If the bot determines that the criteria are correct, it will send the data to Mailchimp through the green output.
- Else, it will verify the following condition and the next using the pink output.
Drag an arrow from the first condition to the menu and choose "MAILCHIMP." Connect your account to Landbot. Now, according to the color codes in the figure, do the following:
- Yellow: Highlight the email address associated with this account
- Green: Mailing list you wish to add to the email Pink: Mailing list group.
- Dark Blue: Variable that stores the user's email.
- Blue Light: Other values you'd like to include.
Subscriber emails can be automatically segmented based on groups. Repeat the process for each group, and it's over.
This conversational assistant uses Google Spreadsheets and Mailchimp connectors. Boost bots across hundreds of apps like Slack, email alerts, Stripe, Calendly, Zoom, and more with Landbot builder. For a better user experience, ensure consistency in your conversational chatbot. Landbot provides many alternatives for allowing your brand's individuality to show through.
Click "Design" in the top menu to bring up design components. You'll find a long list of personalization options on the left side.
16. Design Templates
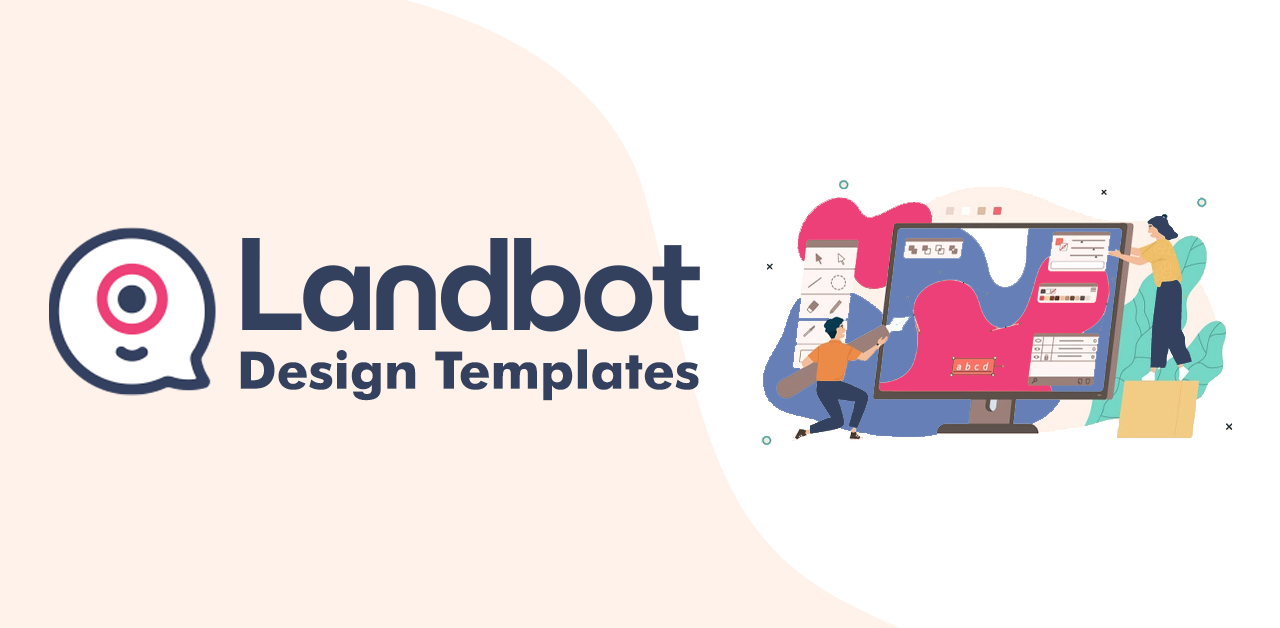
Allow you to select a theme from a collection of appealing Landbot templates previously designed. These are useful when you immediately send the bot out into the world.
Colors & Background
It gives you complete control over your bot's color scheme, so this is where you will modify it.
Avatar & Logo
Allows you to change the logo and text in the chat's header and personalize the bot's avatar.
Fonts
You can alter the typeface of your bot here, which is terrific, especially if a specific font is part of your identity.
Advanced
Those who know some CSS or have a coder on their team can make the most significant changes here - only your imagination limits you. Changing themes, branding, messages, and logos in the header is as easy as clicking a button.
17. Integrate a Chatbot into Your Website

- Return to the Landbot app.
- In the top navigation bar, click "SHARE."
- There are four distinct embed choices available here:
Fullscreen
Have the bot interact with the user and take up the whole screen.
Popup
Have the bot appear when someone visits your website.
Embed
Display your bot as an embedded function in one of your website's sections.
Live Chat
Display your bot as a live chat message in the user's screen's corner. Each icon will take you to a slightly different set of simple instructions.
Conclusion
Landbot lets you turn common sequences (such as email signup or verification) into virtual bricks. In seconds, you can collect basic information about your customers in a friendly way using the chatbot template library.
Moreover, you can create a chatbot for any platform in your language. Landbot makes it easy to build a chatbot with a drag-and-drop option. It also has inbuilt templates for easy usage of chatbots.
You can also construct your own chatbot with BotPenguin in minutes without any coding and for Free. Go check it out!